

How to sew an invisible seam by hand
This post contains affiliate links
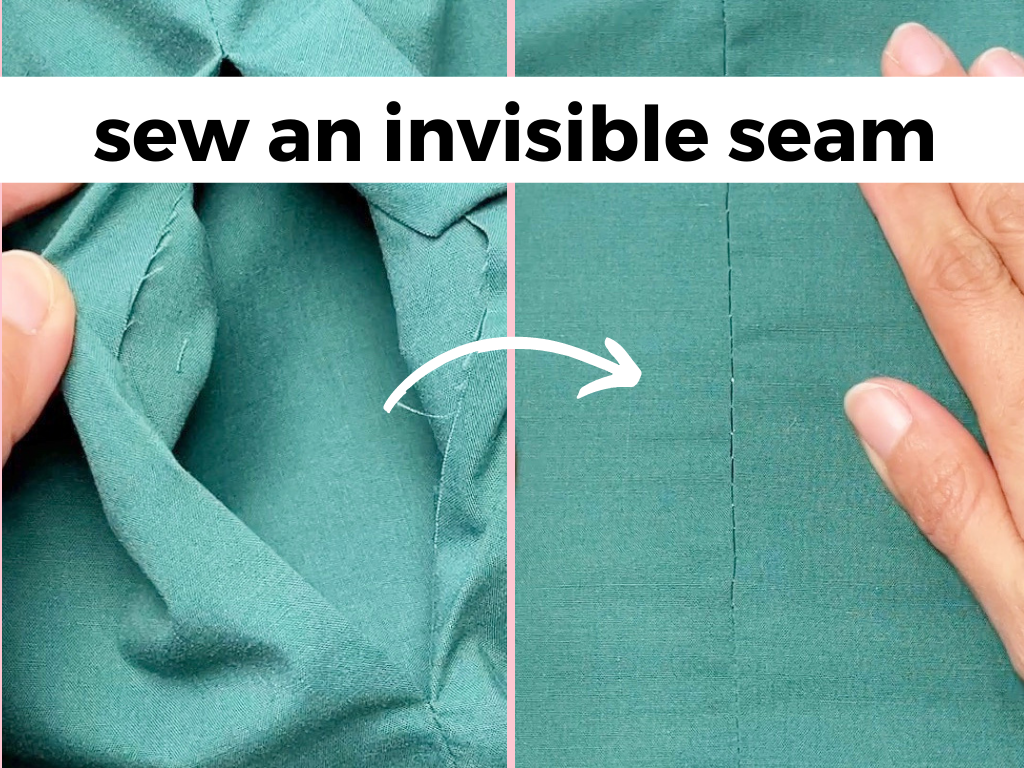

Before
After
In this post, I am going to show you step-by-step, how to sew an invisible seam by hand. This stitch is called the ladder stitch because it resembles a ladder! It is the most easy and straightforward handsewing stitch that I use every time I have to sew a seam shut by hand.
Here are some of the projects where I used the ladder stitch to sew an invisible seam:
mending ripped dog beds (this short IG sewing process video)
sewing the seam opening shut for my upcycled teddy bear (this short Tiktok sewing process video)
sewing the seam opening shut for my A/W red vest (this exact moment on Youtube)
attaching the mini patch pockets onto my A/W corduroy dress (this exact moment on Youtube)
How to sew an invisible seam by hand
Materials for handsewing
handsewing needle
thread
a pair of scissors
… a bit of patience and good lighting
Amazon affiliate links:


Steps to sewing the ladder stitch
Let’s go through how to hand sew a seam shut with this step-by-step photo tutorial!
1. Prepare the needle and thread for handsewing

Tie 2 overhand knots, one over another

Optional: Snip the excess thread tail
Thread your needle and tie an overhand knot at the end of the thread. I like to work with a thread tail of about 1.5 times the length of the seam opening. However, bear in mind that the longer the thread, the harder it is to work with it!
When tying a knot, I usually tie 2 overhand knots to make a big knot. The knot needs to be big enough so it doesn’t get pulled through the weave of the fabric easily.
2. Prepare the seam for handsewing

Pressed seams
If possible, try to press the seams so that the seam allowance is folded towards the wrong side / insides of your sewing project. In some cases, particularly in sewing pillows and soft toys, this may not be easy to do. For those projects, I tend to just “eyeball” the seam allowance. However, if you wish to be more precise, you may also measure the seam allowance and mark the stitch line beforehand.
3. Begin handsewing

*poke

Knot be gone!
Insert the needle through the fold of the seam, right at the beginning of the seam. Do this from the inside of the fold so that the knot is hidden on the inside.
4. Make the first stitch

Gettin’ stitchy
Insert the needle into the fold on the opposite seam and make a stitch of about ¼” long. It is important to make the insertion (almost) directly opposite the last stitch for the finished seam to look neat. Also, avoid making a stitch longer than 1/4”. Anything longer will make the seam a little too loose and the resulting seam will be… visible rather than invisible. And that’s not what we want, right???
5. Continue handsewing the ladder stitch

Key things: Insert needle opposite, make a 1/4” stitch

Continue in this same way back and forth until the entire seam is sewn shut. Always inserting the needle opposite the last stitch and always making a small 1/4” stitch.
Here’s a little illustration to make it clearer:
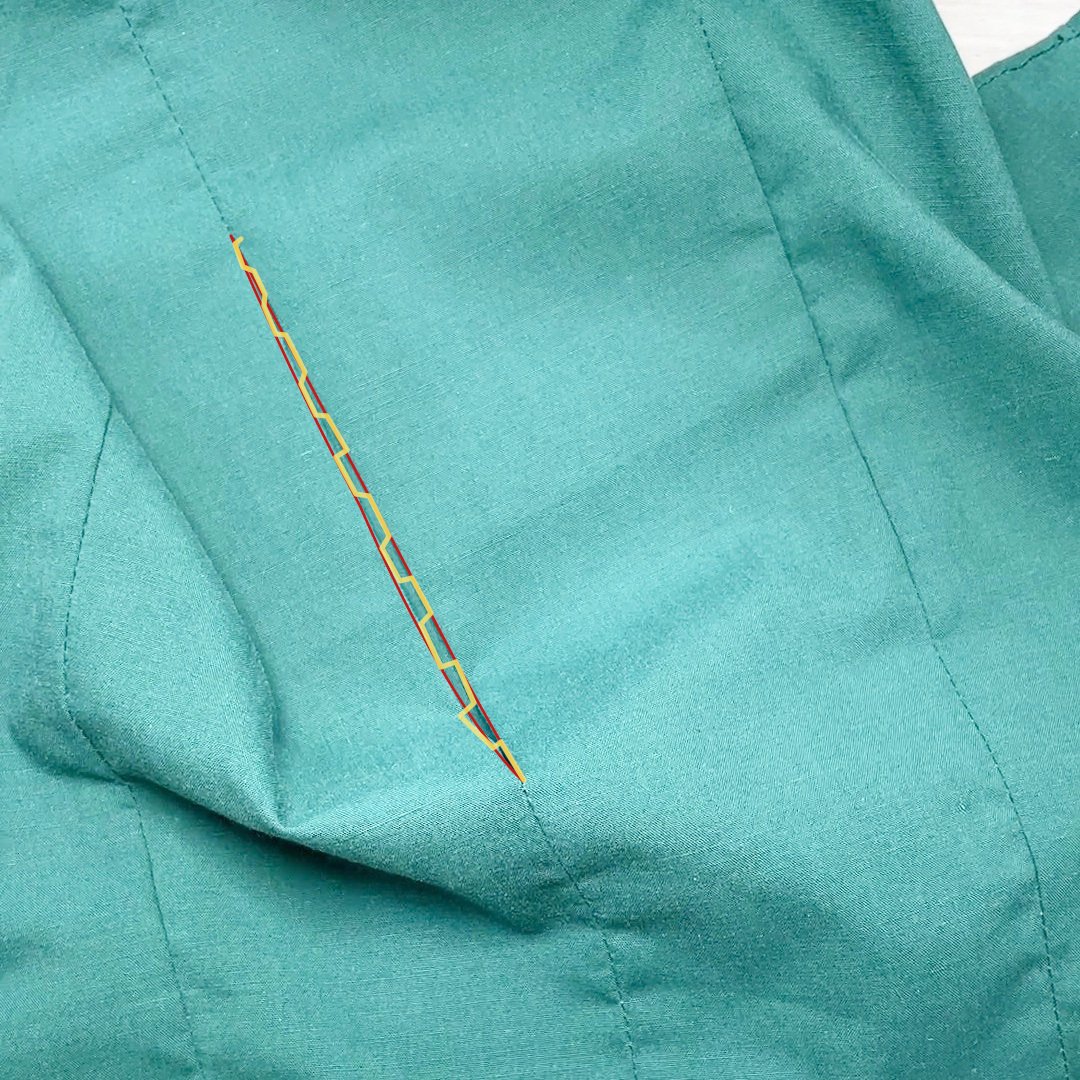
Red = stitch line
Yellow = thread
And again another one so there’s 0 confusion:

6. Finishing

Once you are done with sewing the entire length of the opening, tie a knot right around the end of the last stitch.
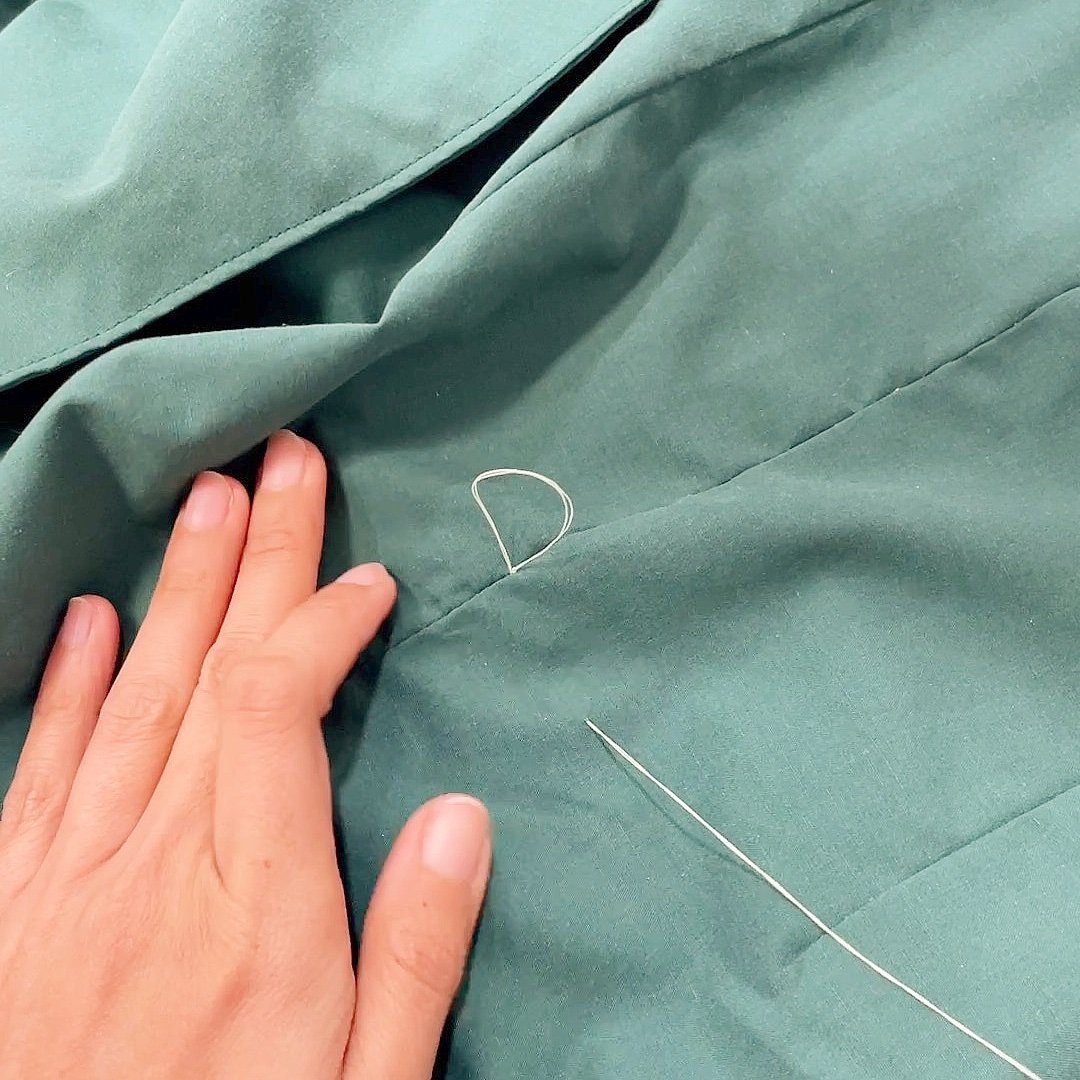
Then, draw the needle through the middle of the seam and push it out about 2” from the seam. Pull the needle with the thread lightly so the knot gets pulled into the insides of your sewing project and gets hidden. Ta da!!!

Oh, and of course, cut the remaining thread and you’re done!
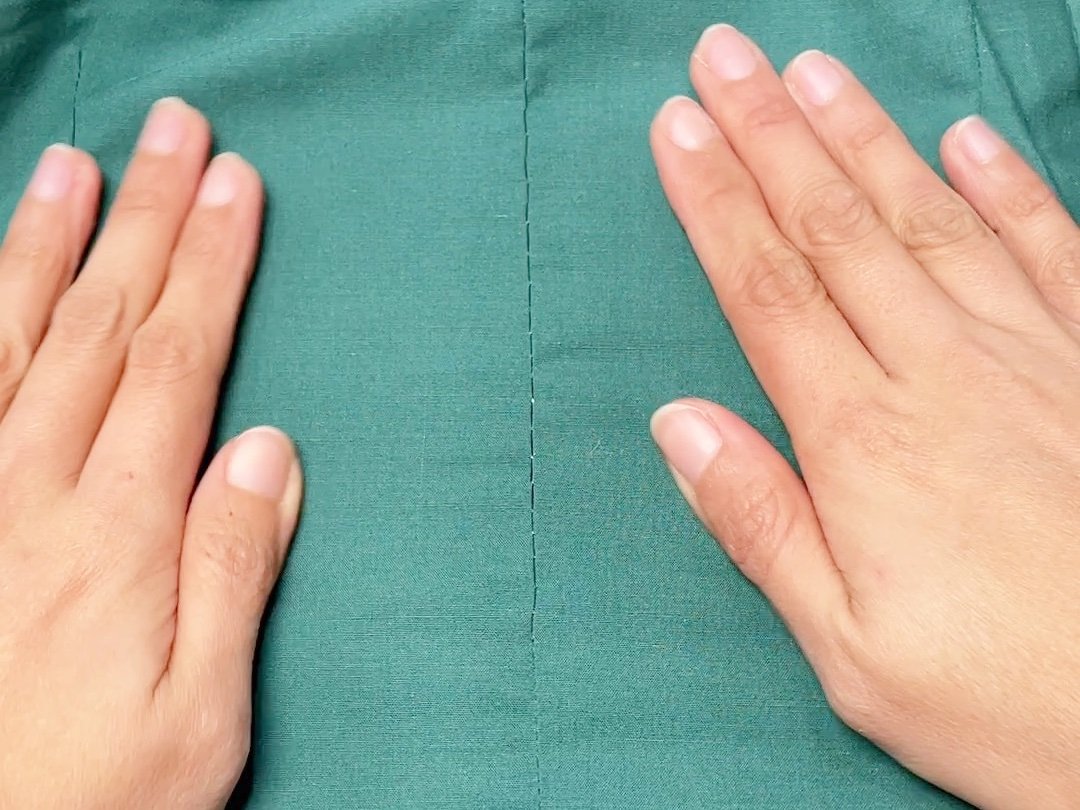
Done!
You just finished sewing a seam by hand using the ladder stitch!

More step-by-step sewing tutorials


