

Sewing a raincoat: My top 8 tips for success
Disclaimer: This article contains affiliate link marked with (*)
Last year, I made my first rain jacket using a waterproof PUL fabric. This year, I topped that sewing project with the cutest and dreamiest custom raincoat using the 3.3oz Ventek WPB fabric from Ripstop by the Roll*. I learnt a lot through these 2 projects and today, I’m sharing my top 8 tips to sewing the perfect raincoat.
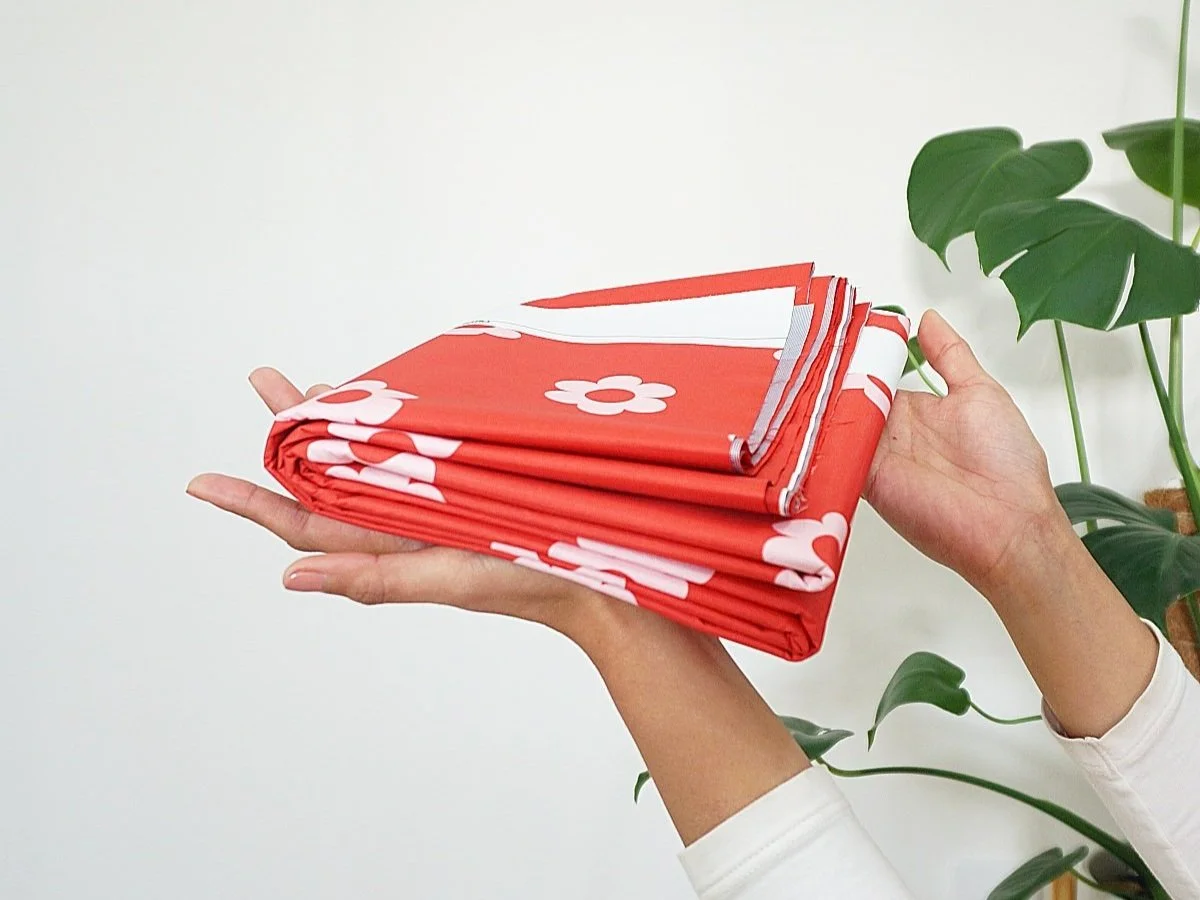
Custom print 3.3oz Ventek 30 WPB fabric from Ripstop by the Roll
My top 8 tips for sewing with a raincoat
Have you been thinking about sewing your own forever raincoat as well? Here are my top 8 tips for sewing success!
Tip 1: Pick the right pattern

There are a number of wonderful sewing patterns that are readily available for your raincoat sewing project. Last year, I made my camo rain jacket using the Glide Pattern by MadeIt Patterns. This year, I sewed my custom retro raincoat using the McCall’s 6517.
If you are thinking about using a hooded jacket sewing pattern (like one of these 8 hooded jacket sewing patterns) to make your raincoat, take a moment to check the list of recommended fabrics for the pattern. I won’t recommend using a pattern that has not listed waterproof fabric as an option. Not all regular coat sewing patterns can be used to make a raincoat.
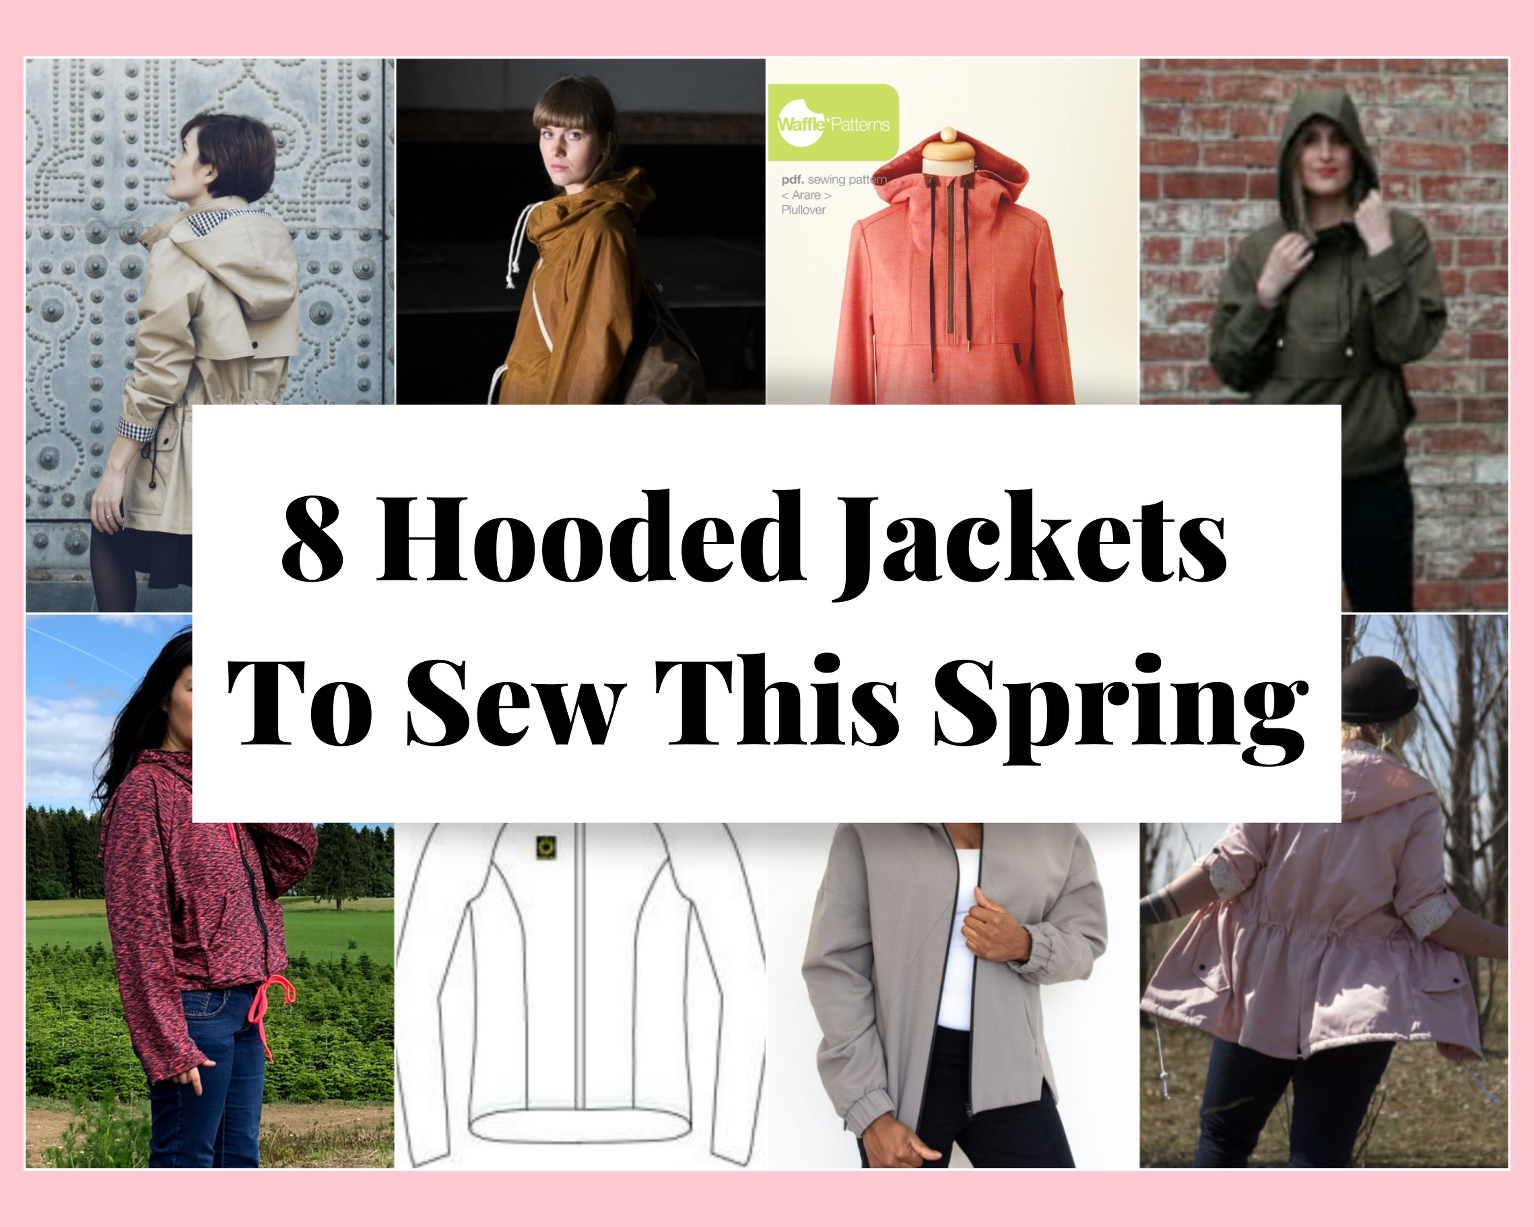
Read the pattern list here
If you’d like to work with a pattern developed by a pattern company specialising in weather wear, then check out the Rainhaven Collection by Twig and Tale, as well as the sewing patterns by The Green Pepper Inc.
Based on my experience in sewing both the Glide Jacket and the McCall’s 6517, I realised that there’s a degree of expertise behind designing weather gear. Personally, I find that the hood design with a centre piece like the one in the Glide Jacket fits nicer than a regular single-seamed hood in the McCall’s 6517.
If were to do it all over again, I would sew the same M6517 raincoat pattern but use the hood design from Glide Jacket.

Photo comparison of the 2 hoods. Left hood is constructed with only a center seam, right hood has a middle panel. Notice that the hood on the right conforms the contour of the head better.

Illustration of a hood construction with a middle panel

Illustration of a hood constructed with only a single center seam
Also, while I didn’t have much difficulty with sewing the set-in sleeves when making the mock-up for the M6517, I had a little bit of trouble trying to sew my sleeves perfectly with the Ventek WPB fabric. After all, WPB fabric behaves differently from cotton muslin! I had to unpick one of my sleeves once and it was a little nerve-wrecking because I didn’t want to end up with a ton of tiny little holes in the waterproof fabric! So, if you are already NOT A FAN of sewing sleeves, I recommend picking another pattern with raglan sleeves instead of set-in sleeves for an easier time with the sewing machine.
Tip 2: Make a toile

McCall’s 6517 toile made with cotton muslin
As with all major sewing projects, especially the ones involving more expensive, specialty fabrics, making a toile will save you from a lot of tears and frustration later in the process. I don’t make toiles for my projects 80% of the time so you know when I say make a toile… I’m being very serious!!!
Okay so, for my Glide Jacket, I didn’t make a toile but I did take measurements of the pattern pieces and ended up shortening the length of the jacket by a pretty significant amount. For the McCall’s 6517, I also ended up shortening the body of the coat.

Folded pattern piece for shortening the length of the bodice of the Glide Jacket sewing pattern
Also, making a toile and going through the entire process of sewing the pattern is a great way to plan your process for seam sealing (see Tip #6).
Tip 3: Use fabric clips
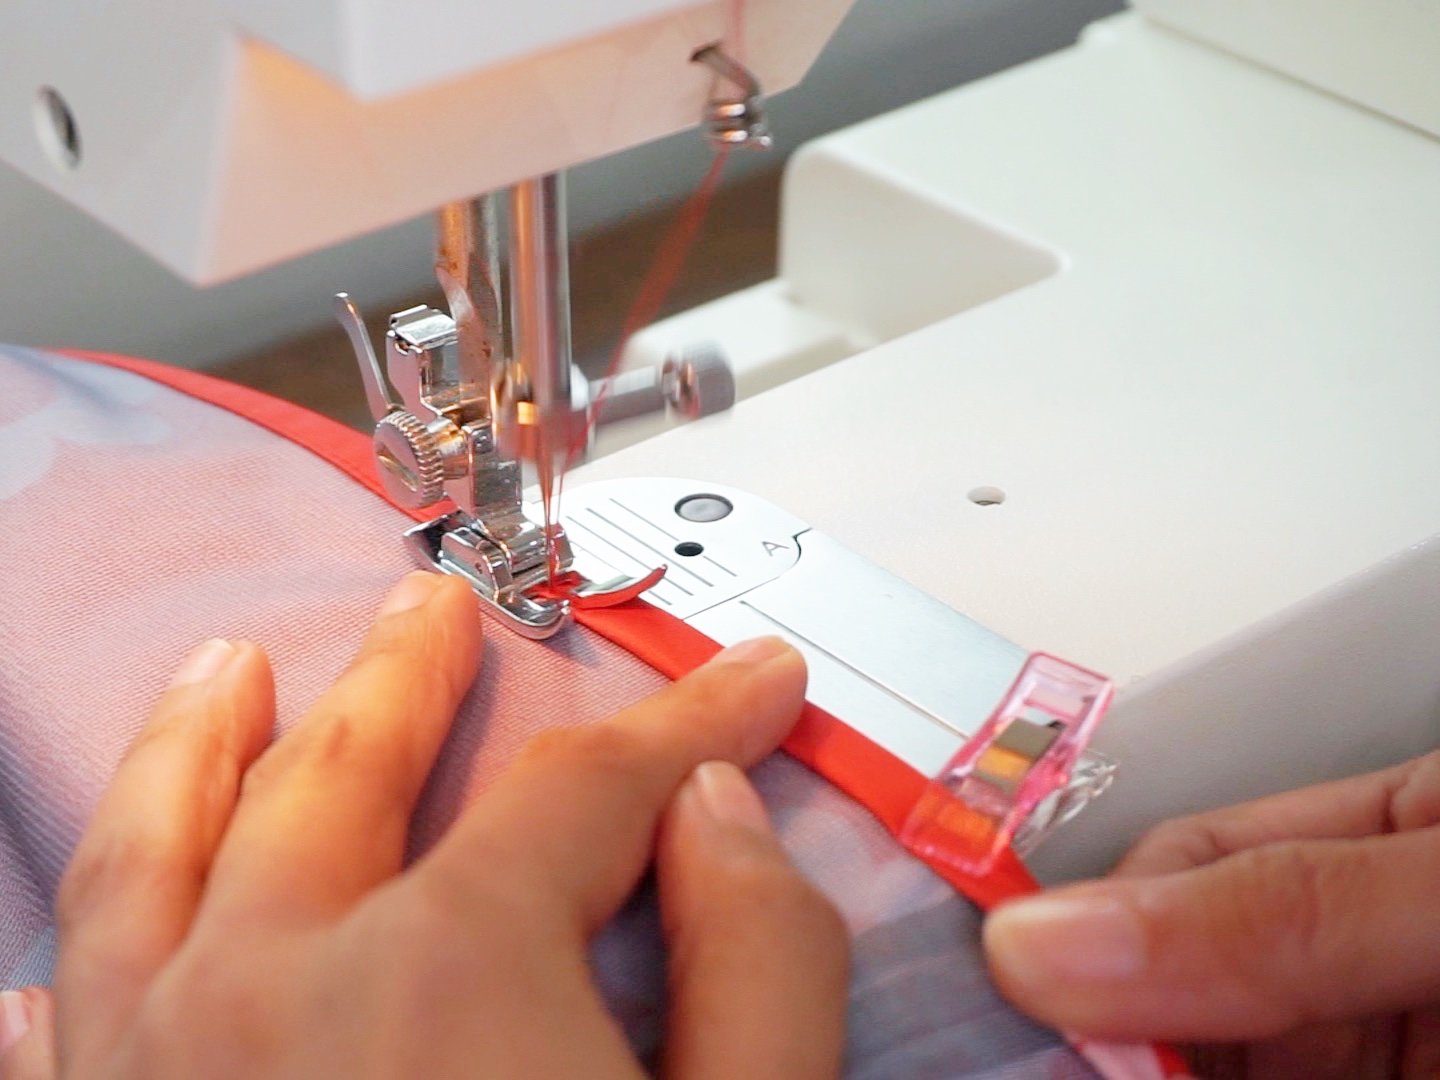
When it comes to sewing raincoat fabrics like waterproof PUL and the 3.3 oz Ventek 30 WPB, every single pierce through the fabric creates a hole that water can enter later. So, obviously, we want to try to avoid that as much as possible. The solution - fabric clips!
There’s a range of sizes of fabric clips available. For a regular garment project like raincoats that doesn’t involve thick layers of fabric, I use the standard 1” long clips that are similar to the Wonder Clips by Clover*.
That said, it’s not entirely evil to use sewing pins when working with these fabrics. When I was working with my camo PUL fabric, I did end up using sewing pins occasionally when sewing certain areas where using fabric clips were difficult. However, I also made sure that I kept the pins within the seam allowance of the fabric pieces AND took my time to pierce the pins through the material each time.
Surprisingly, I found even using a single sewing pin to pierce through the Ventek 30 WPB fabric tricky. I think the knitted upper layer of the PUL fabric is easier to pierce through with a regular pin. On the other hand, the Ventek 30 WPB has a specially formulated laminate film that was much harder to pierce through with a regular sewing pin. In my opinion, this really says a lot about the sturdiness and overall quality of the Ventek 30 WPB fabric!
Tip 4: Use a rotary cutter

Now, since using sewing pins with waterproof fabrics is tricky, the regular techniques of pinning a pattern piece on these fabrics and then cutting the pattern pieces out OR using a tracing wheel and a transfer paper DO NOT WORK.
Right, it’s not impossible because where there’s a will, there’s a way. When sewing my rain jacket with the waterproof PUL, I used a ballpoint pen to draw out the pattern pieces on the white plastic side, then used fabric clips and regular fabric scissors to cut the pattern pieces out. It worked! But, the entire process was pretty tedious.

This time, when working with the Ventek 30 WPB fabric, I cut out the pattern pieces by tracing my rotary cutter around each pattern piece. This made the process of cutting the fabric SO MUCH MORE EFFICIENT because the step for tracing the pattern pieces out became redundant.
Tip 5: Use sharp sewing needles

Same sewing machine, same fabric, same needle tension, same stitch length. The only difference between these 2 samples is the type of needle used.
In my recent sewing adventures (like my faux leather newsboy hat), I am starting to appreciate the art of choosing the right sewing needle for the project. There’s tons of articles explaining what needle to use for what type of fabric but at the end of the day, I think it’s still important to just test it out on your with your fabric and your sewing machine.
When sewing with the waterproof PUL fabric, I used a brand new universal sewing needle of the appropriate weight. However, when sewing the Ventek 30 WPB fabric, I found the sweet spot with a leather needle.

For some reason, I didn’t think to try a universal needle with the Ventek 30 WPB fabric but when comparing the stitches between a jeans needle and a leather needle, I found that the leather needle produced cleaner stitches.
Tip 6: Seal your seams

Sealing the seams of the raincoat is crucial for making the raincoat absolutely waterproof. While the fabric itself is waterproof, all the little holes that you punched with your sewing needle along each seam is an opening for water to seep through. If you are spending all the time and effort in planning, cutting, and sewing, you should definitely go the extra mile to seal the seams of your raincoat.
There are a number of different ways to seal the seams of a waterproof garment. Flat felled seams, liquid adhesives and seam tapes are common methods of waterproofing the seams of a waterproof garment. Here are some things to consider for each of these methods
Flat felled seams: This method of finishing the seams make the seams a little more rigid and bulky. It may not work for all seams, depending on the construction of the garment
Liquid adhesives: Being a liquid, application may be messy. The adhesive will also require time to cure.
Seam sealing tapes: Applies like regular interfacing. Needs a little bit of patience especially with curved seams.

For both the seam sealing tapes and liquid adhesive, different products work for different *types* of waterproof fabric. For my 3.30z Ventek 30 WPB fabric, I used the MELCO tape from Rockywoods that is specific for use with 3-layer waterproof/breathable fabric. If in doubt, ask for help!
And if you must know, I didn’t seal the seams for my Glide Jacket! I didn’t know seam sealing was a thing until I did a little bit more research this year. Oh, the things I have learnt!
Tip 7: Embrace the small imperfections

Remember how I said that every single stitch created by the sewing needle creates a hole in the fabric that water can seep through? That means that every single stitch that you unpick may or may not be leaving a hole for water to leak into the inside of your waterproof garment.
There are certain parts of this raincoat that I actually want to unpick really badly. But I talked myself out of the unhelpful perfectionism. After all, I don’t want to make my final raincoat less functional because of me trying to make a “perfect” raincoat. So, if it’s ~good enough~, leave it. Don’t unpick the stitches and sew the same seam again because every time you do that, you risk leaving irreparable damages to the waterproof fabric!
What are you waiting for?

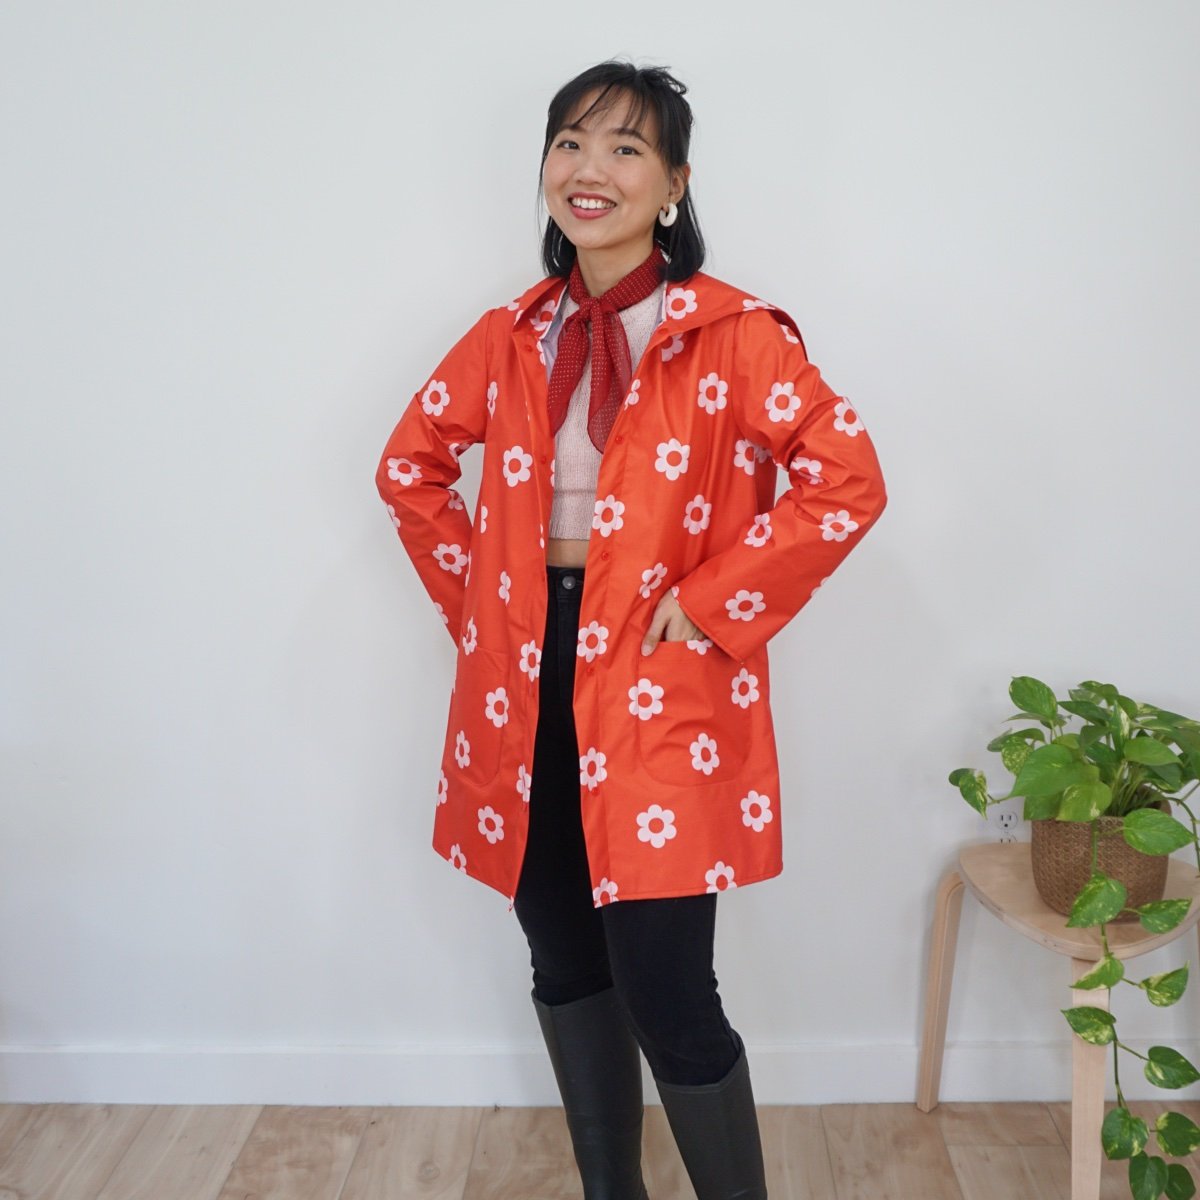
My ✨forever✨ raincoat. As in like, literally, this raincoat will last me a lifetime.
So, if you are planning to sew a raincoat, I hope you find these 8 sewing tips helpful. Leave a comment and let me know if you have sewn a raincoat and if you are thinking about making one. I am here to cheer you on!!