My 7 practical tips for sewing with faux leather

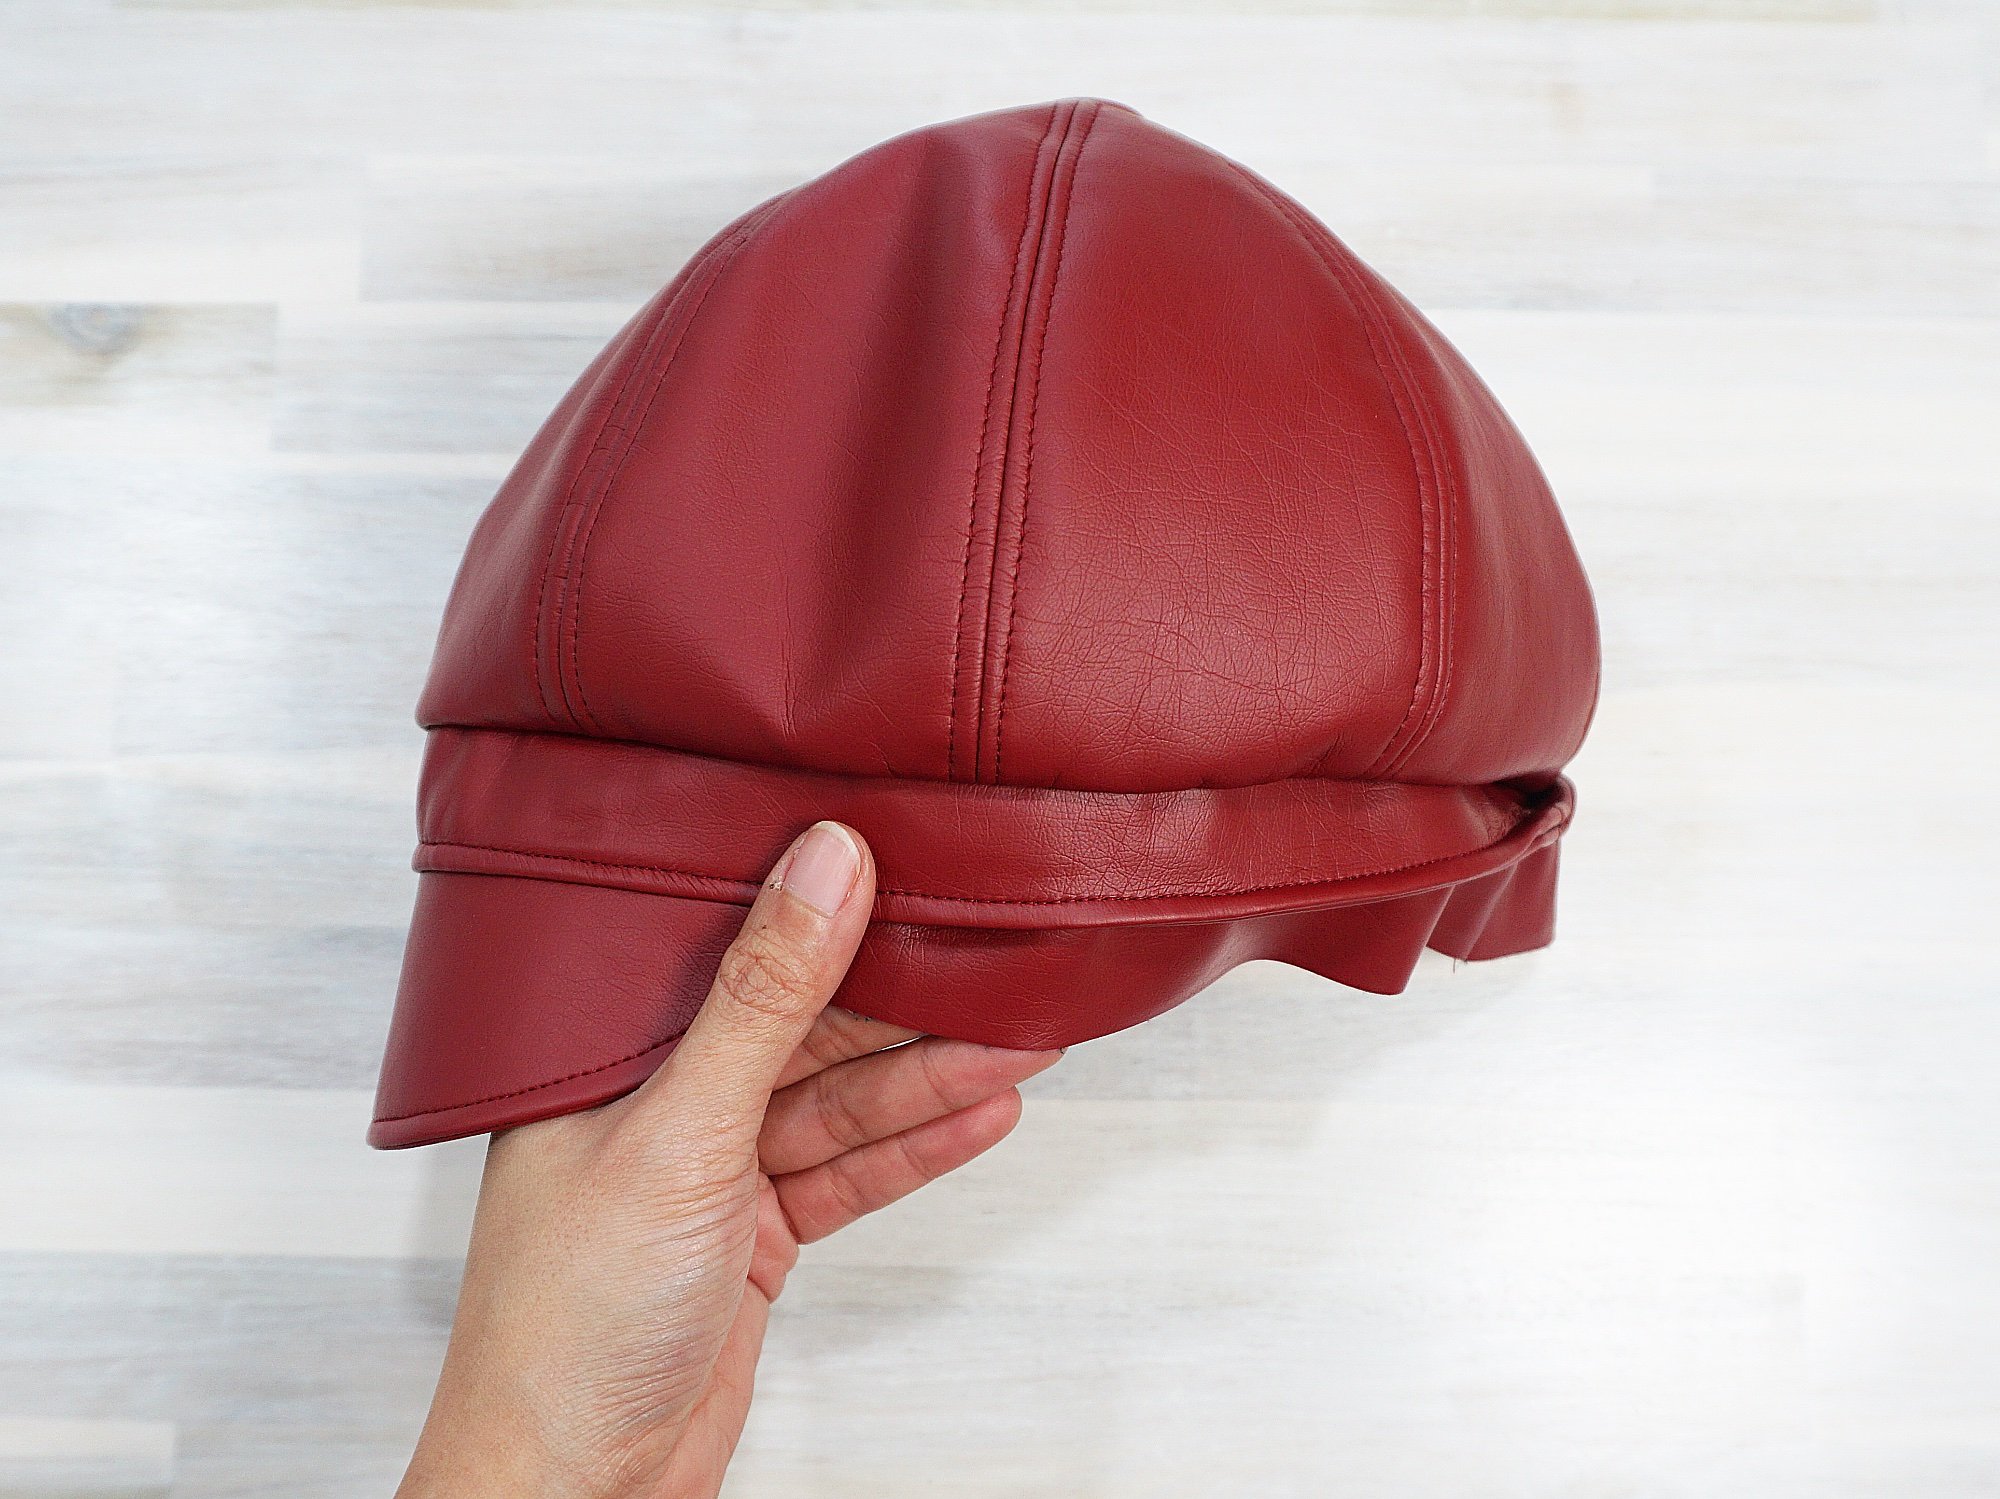
Faux leather, also known as pleather, is a great vegan alternative to sewing with real leather. I recently gave myself a little sewing challenge and made a faux leather newsboy hat using my Orion Hat sewing pattern. There were a couple of obstacles and it was a bit of a learning curve but I did it! Here are my 7 practical tips for sewing with faux leather.

Click here to check out the Orion Hat sewing pattern
Disclaimer: This maroon faux leather fabric is a gifted PR product from Eversewn provided without any obligation for a blog post or social media post.
Real leather vs faux leather
The environmental impact of real leather is undeniable. From the farms, to the slaughter house and to the tannery, leather has a big negative impact on the ecosystem and the workers in the industry (via). Compared to real leather, faux leather has a smaller environmental impact (via) and is a good alternative if you wish to work with a material that looks and feels like real leather.
However, obviously, faux leather is made of plastic and it’s not the ultimate solution. Everything is better in moderation!
Different types of faux leather
There are different types of faux leather. In this article, I speak mainly about my sewing tips for working with PU leather which is the synthetic faux leather from Eversewn I used.
Can I use a regular sewing machine to sew faux leather?
Let’s answer this important question first - can you sew faux leather fabric with a regular sewing machine? YES YOU CAN! I sewed my newsboy hat using my vintage Singer Touch and Sew 626, which is a domestic sewing machine from the 60s. I chose to use it over my other domestic sewing machine, the Singer CM-17, for the following reasons:
I am able to lower the feed dogs with my Touch and Sew 626
I was using my Singer CM-17 for another project at the same time and didn’t want to bother with the hassle of constant re-threading and changing of sewing needle
Yes, simple as that. I’ll talk about an alternative if you can’t lower your feed dog in the later part of this article.
My 7 practical tips for sewing with faux leather
(1) Cut faux leather fabric with rotary cutter and pattern weights
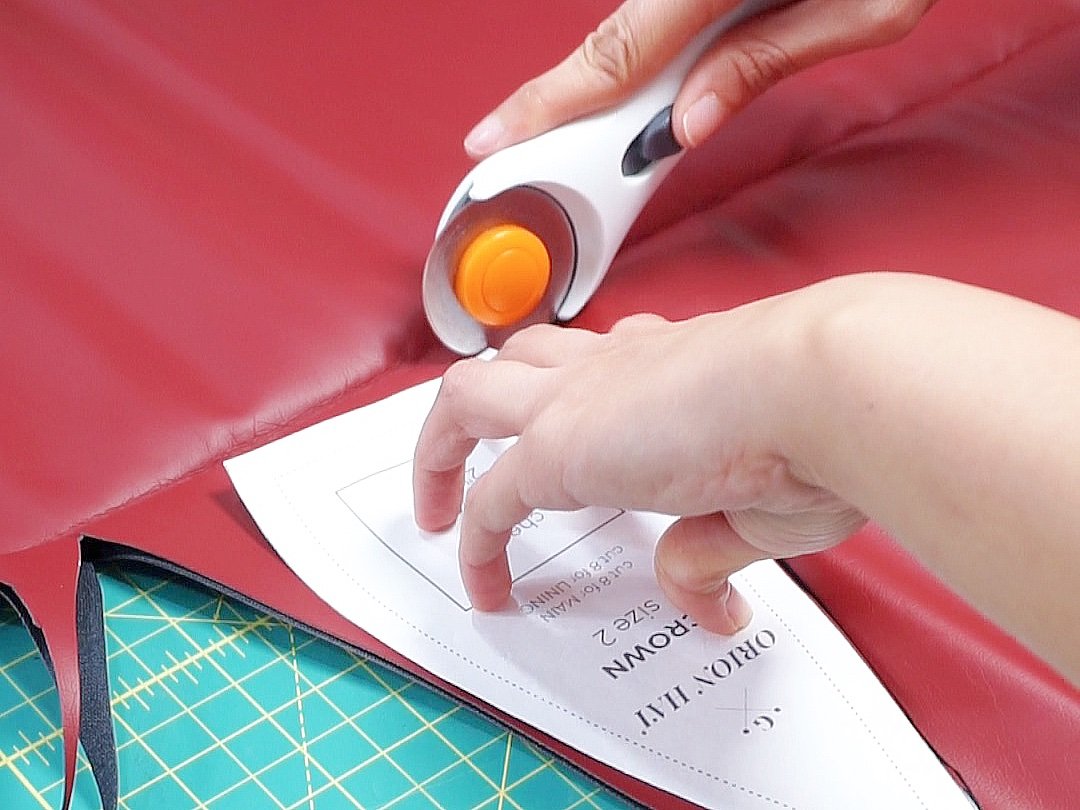
Using a rotary cutter to cut the pattern pieces out for faux leather
It’s impractical to pin and/or trace pattern pieces onto faux leather. The easiest way to cut pattern pieces out when working with faux leather fabric is to use a rotary cutter and some pattern weights to hold the pattern pieces down.
Using a “pattern weight” to hold the paper sewing pattern down on the same spot
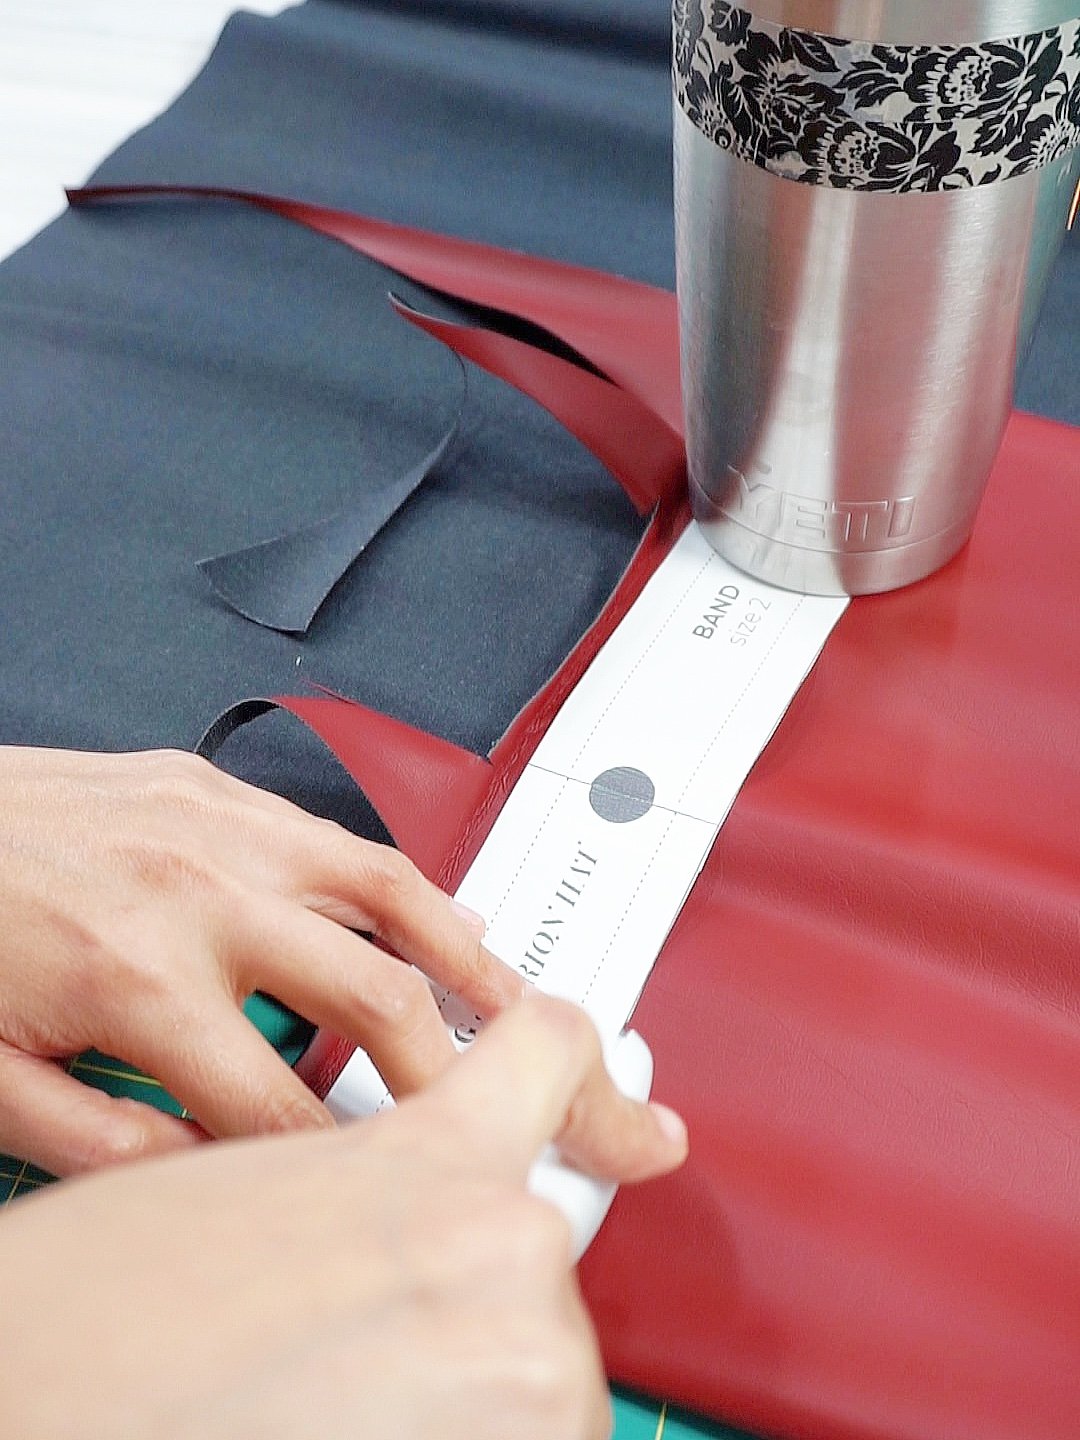
Look, you don’t even need fancy pattern weights. I used my Yeti cup to cut the pattern pieces out for my newsboy hat sewing pattern.
(2) Use sharp microtex or denim needles
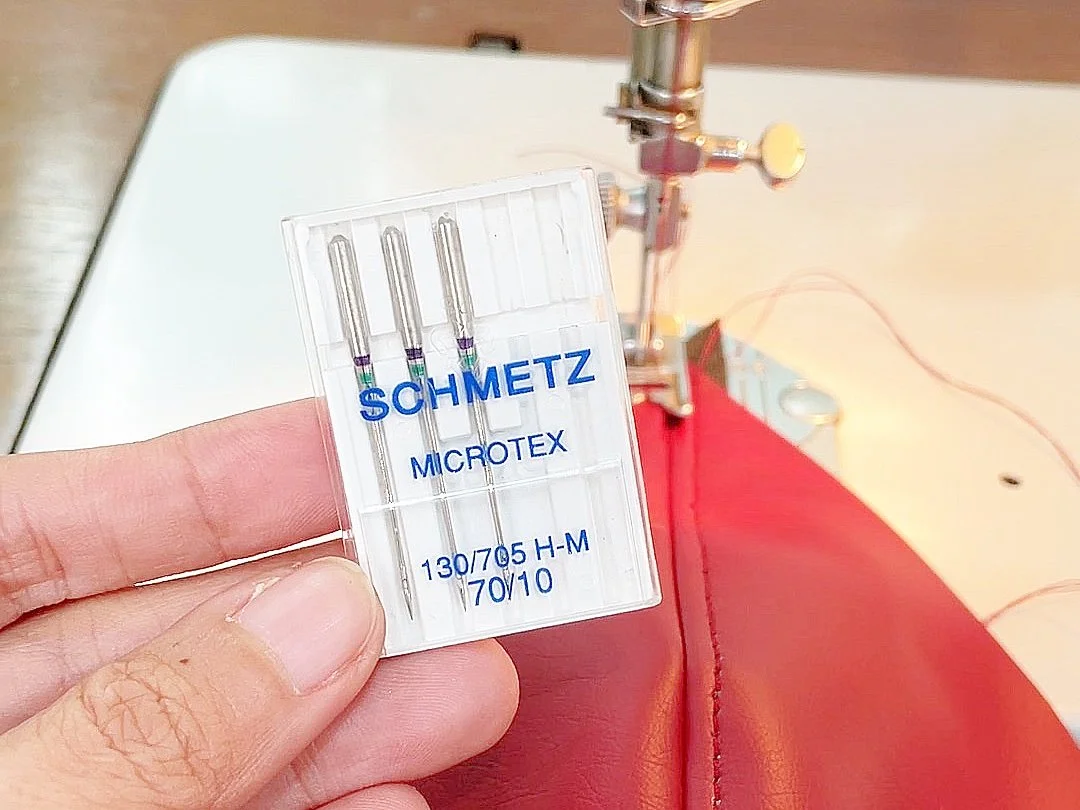
Using the Schmetz microtex needle (foreground) after realising the cuts and damage to the faux leather along the stitch line created by leather needle (background)
It is always important to use sharp needles when working with synthetic materials because we want the needle to make a clean cut through the material rather than creating a tear through it. Initially, I thought using a leather needle would be a good option for sewing with PU leather. However, I realised that it created tears in the stitches and I ended up using a microtex needle to sew the rest of the hat.
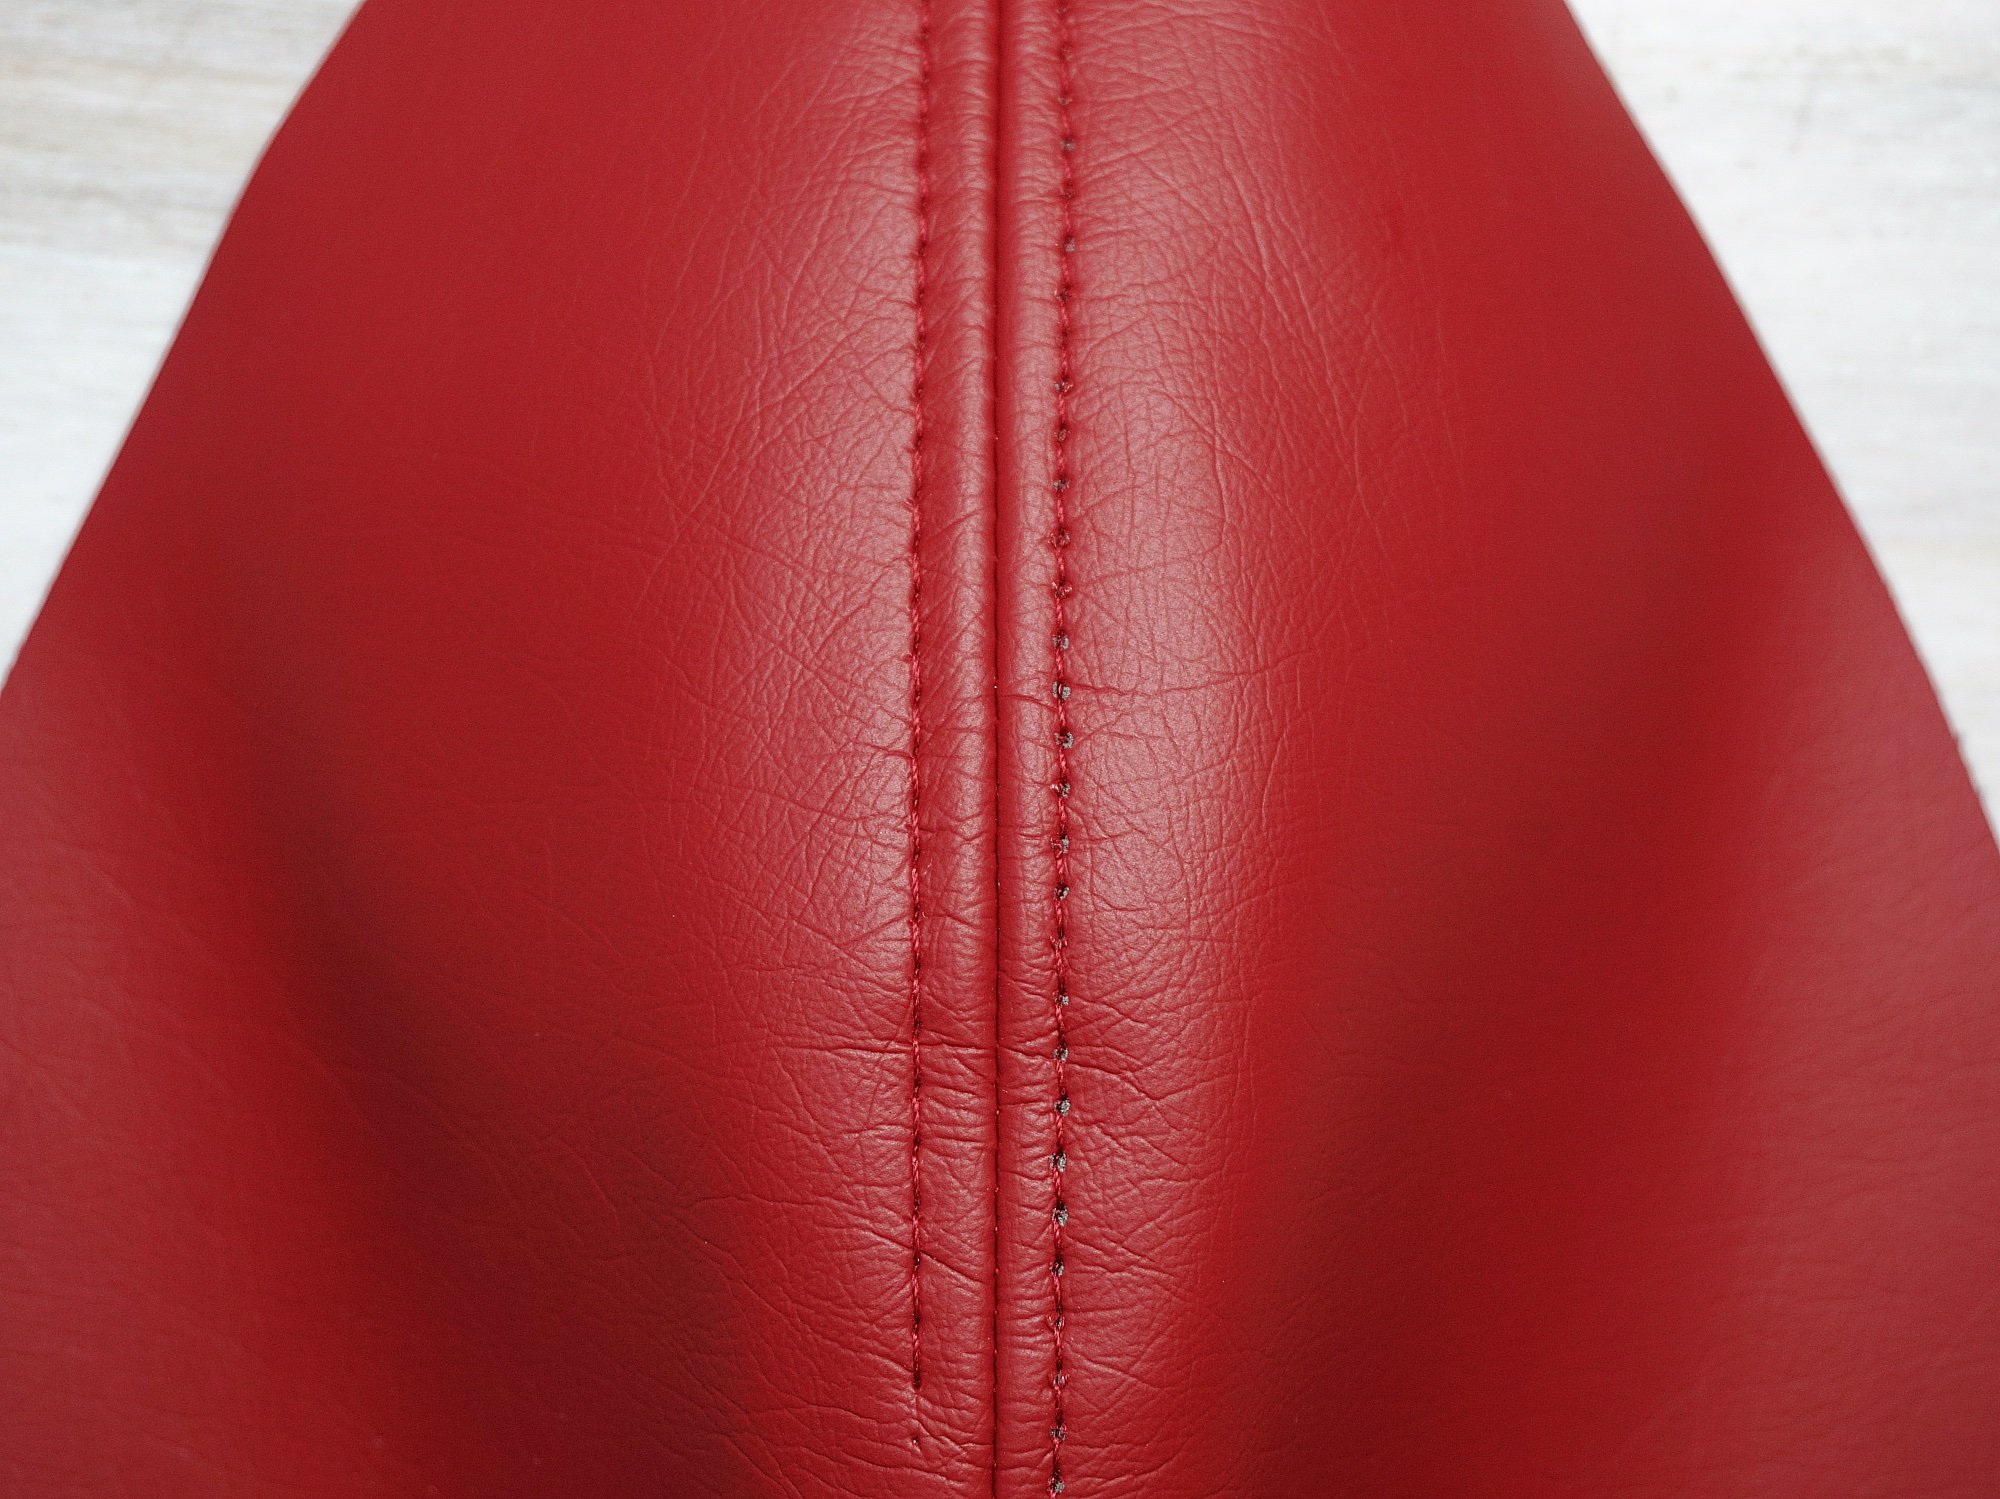
Left: Topstitching sewn with microtex needle
Right: Topstitching sewn with leather needle (notice the grey dots which is a tear to the upper red PU material of the faux leather fabric
Both stitching are made with the same stitch length setting.
Based on my subsequent research, it seems like a denim needles of 90/14 or 80/12 will work nicely as well. As always, test your stitches beforehand!
(3) Increase the stitch length to between 3.00mm - 4.00mm

Same needle, different stitch length.
Left: approx. 3.00mm
Right: approx. 2.50mm
This stitch length would translate to the stitch length number of 3 - 4 on the dial of my Singer CM-17, a basic domestic sewing machine. On my vintage Touch and Sew 626, it’s the setting number 6. (For reference, I use stitch length of 8 - 10 on my Touch and Sew for regular dressweight wovens.) Personally, I like using a stitch length of 3.50mm to 4.00mm for sewing this faux leather fabric.
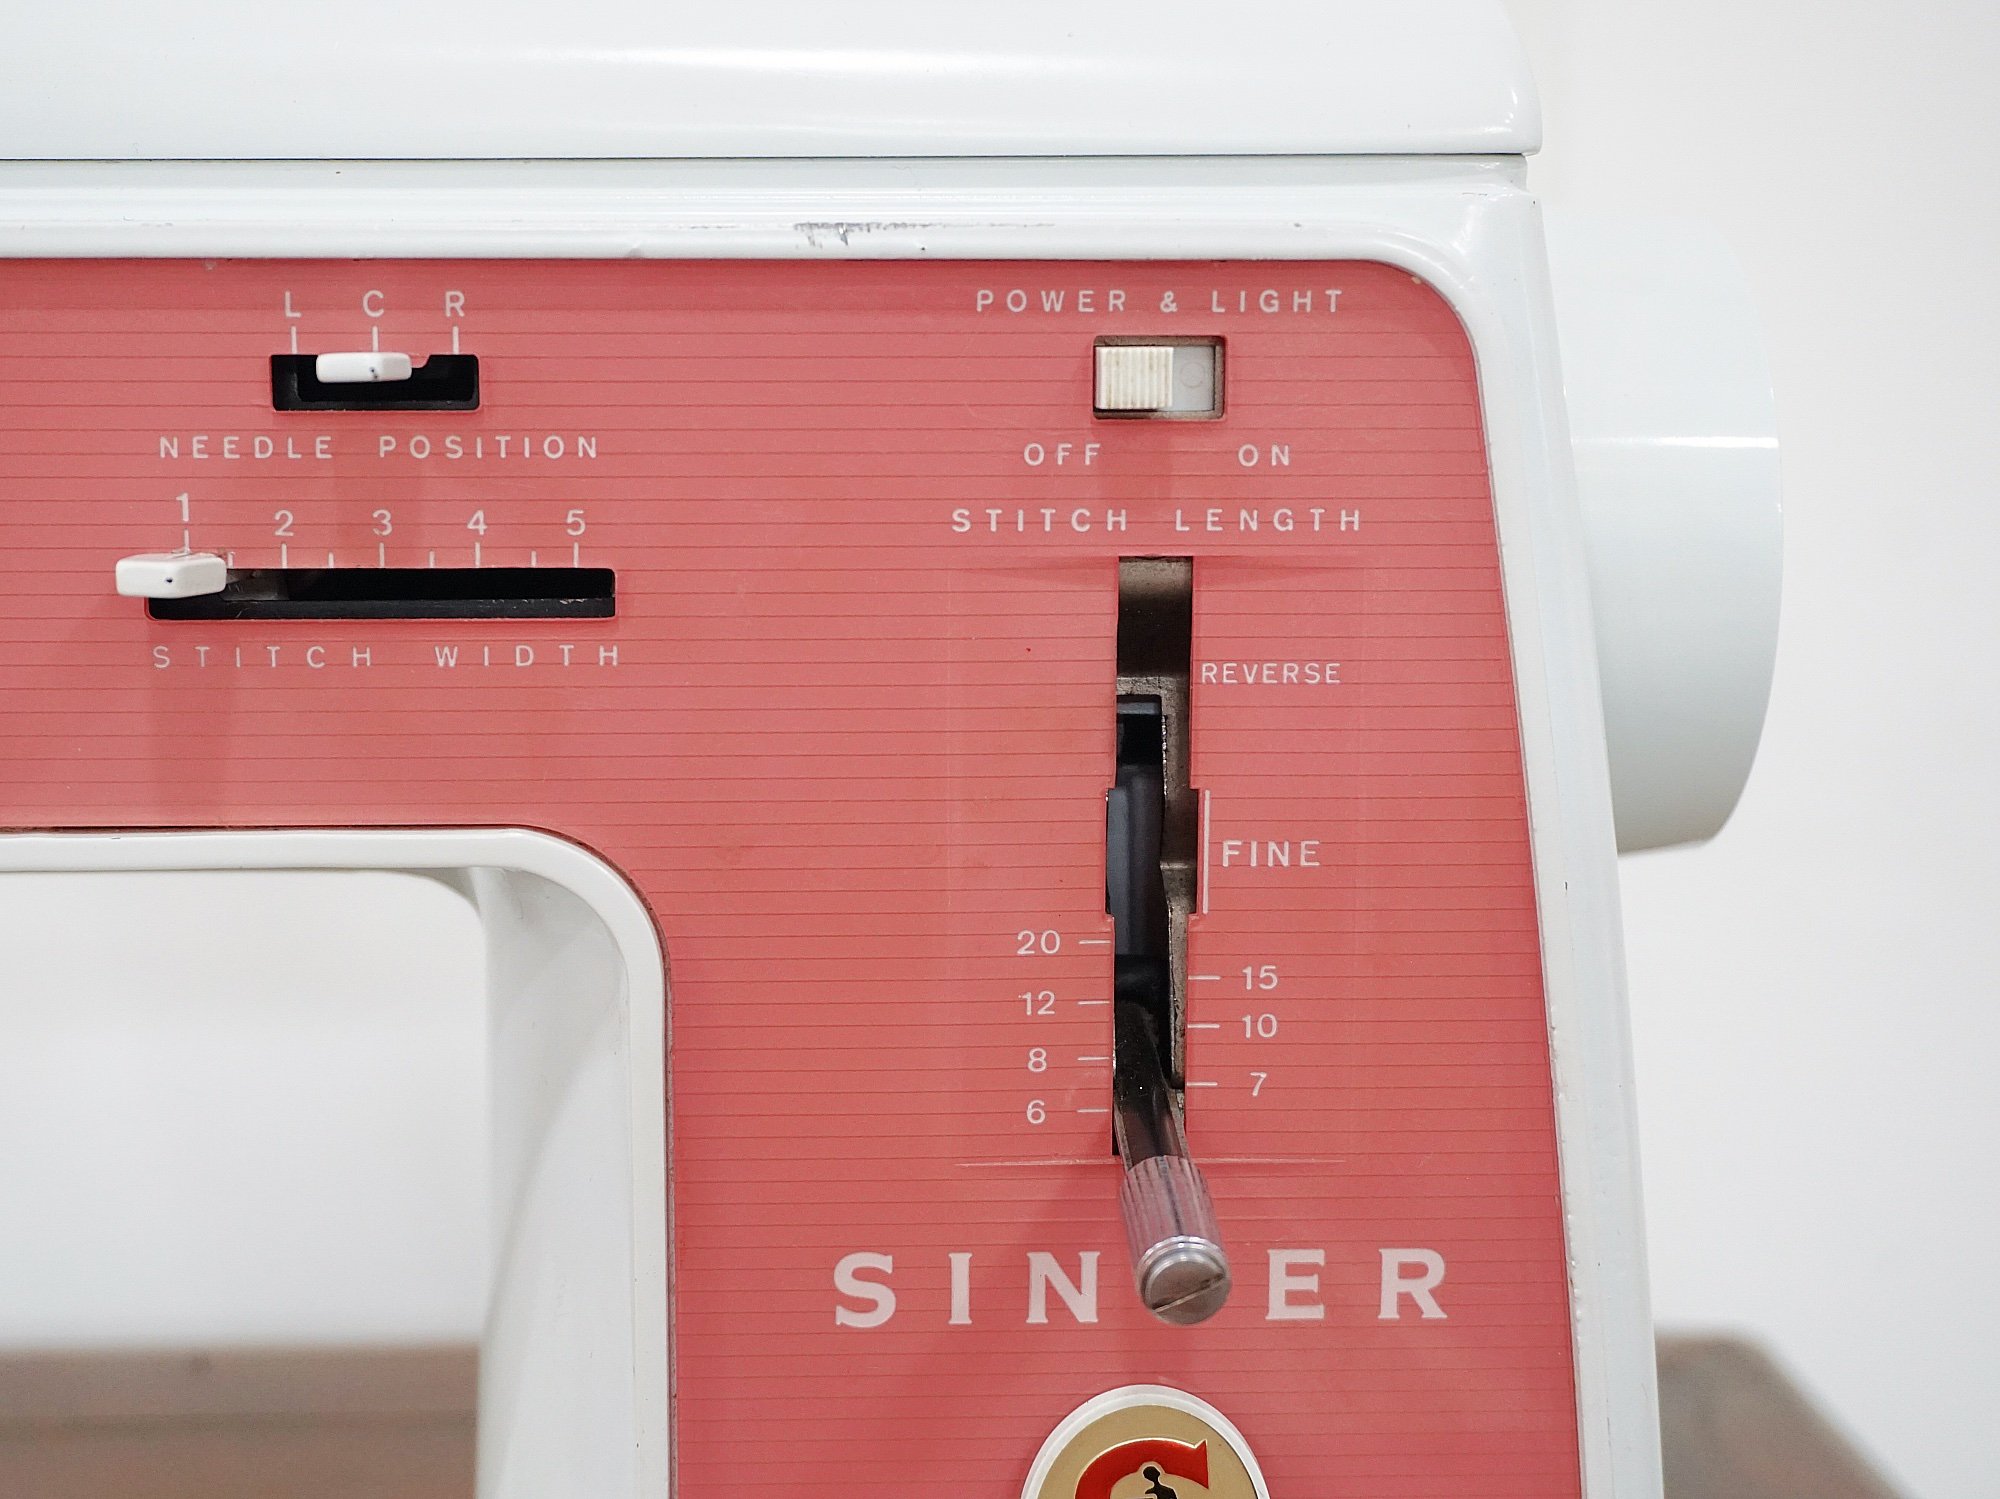
Small stitches tend to show up looking messy on faux leather. Also, the closely-spaced stitches can end up creating a perforated line on your faux leather and cause your material to tear easily. This is the same concept as those perforated edges of confidential letters!
(4) Use clips to hold the faux leather pieces together
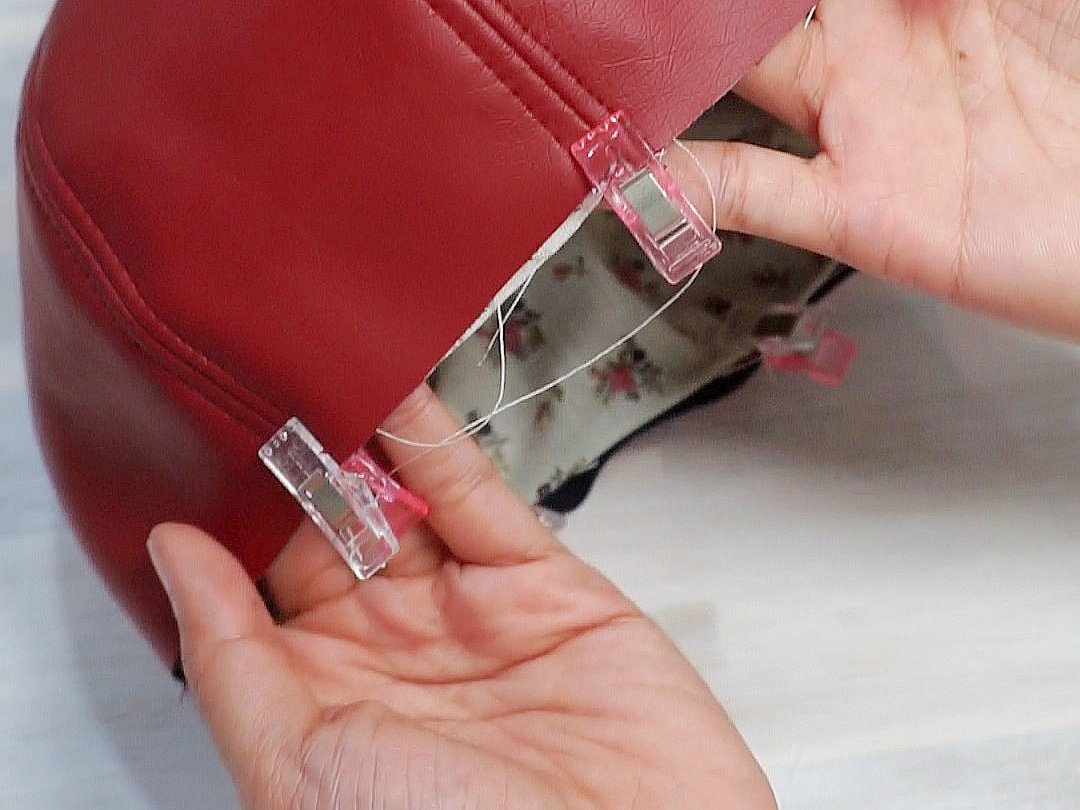
Using fabric clips to hold the faux leather crown and lining crown together before basting them
While it is not impossible to use sewing pins with faux leather, it is cumbersome and risky. Similar to using a dull sewing needle, using sewing pins might tear and damage the surface of faux leather.
Opt to use fabric clips or bulldog clips (or nothing at all!) to hold faux leather fabric pieces together. If you think you are putting your project away for a while, I will recommend NOT leaving these clips on your faux leather fabric as they may leave marks and indentations on your pleather material. Otherwise, just make sure the point of contact remains only within the seam allowance.
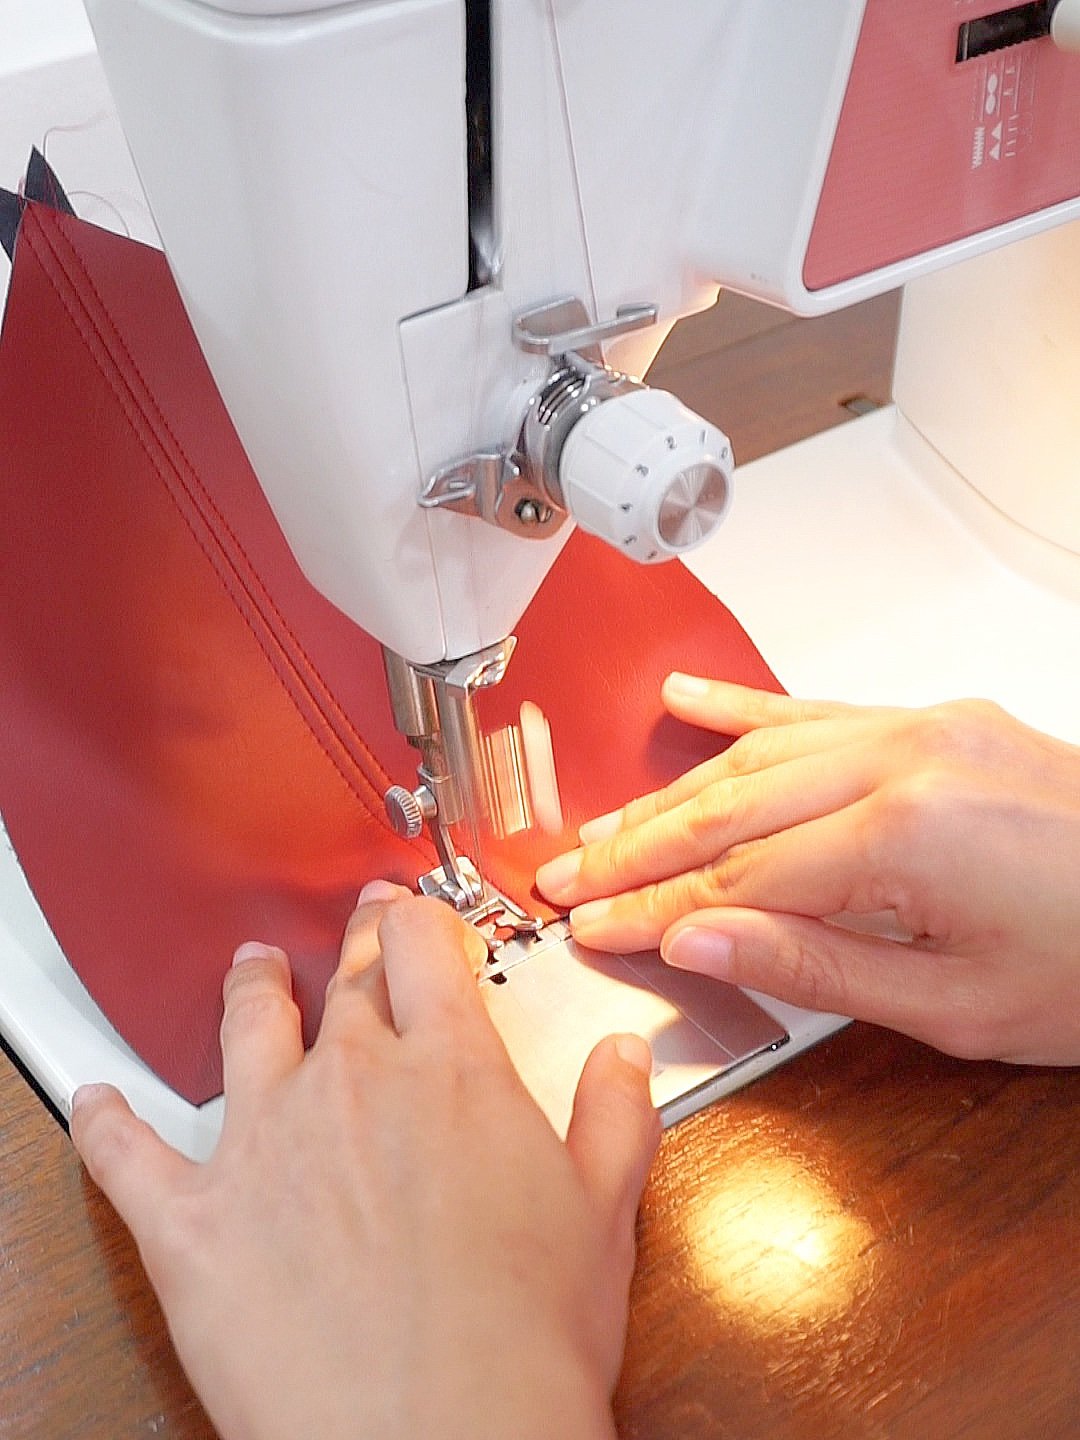
(5) Reduce the pressure between the presser foot and the throat plate and/or lower the feed dog
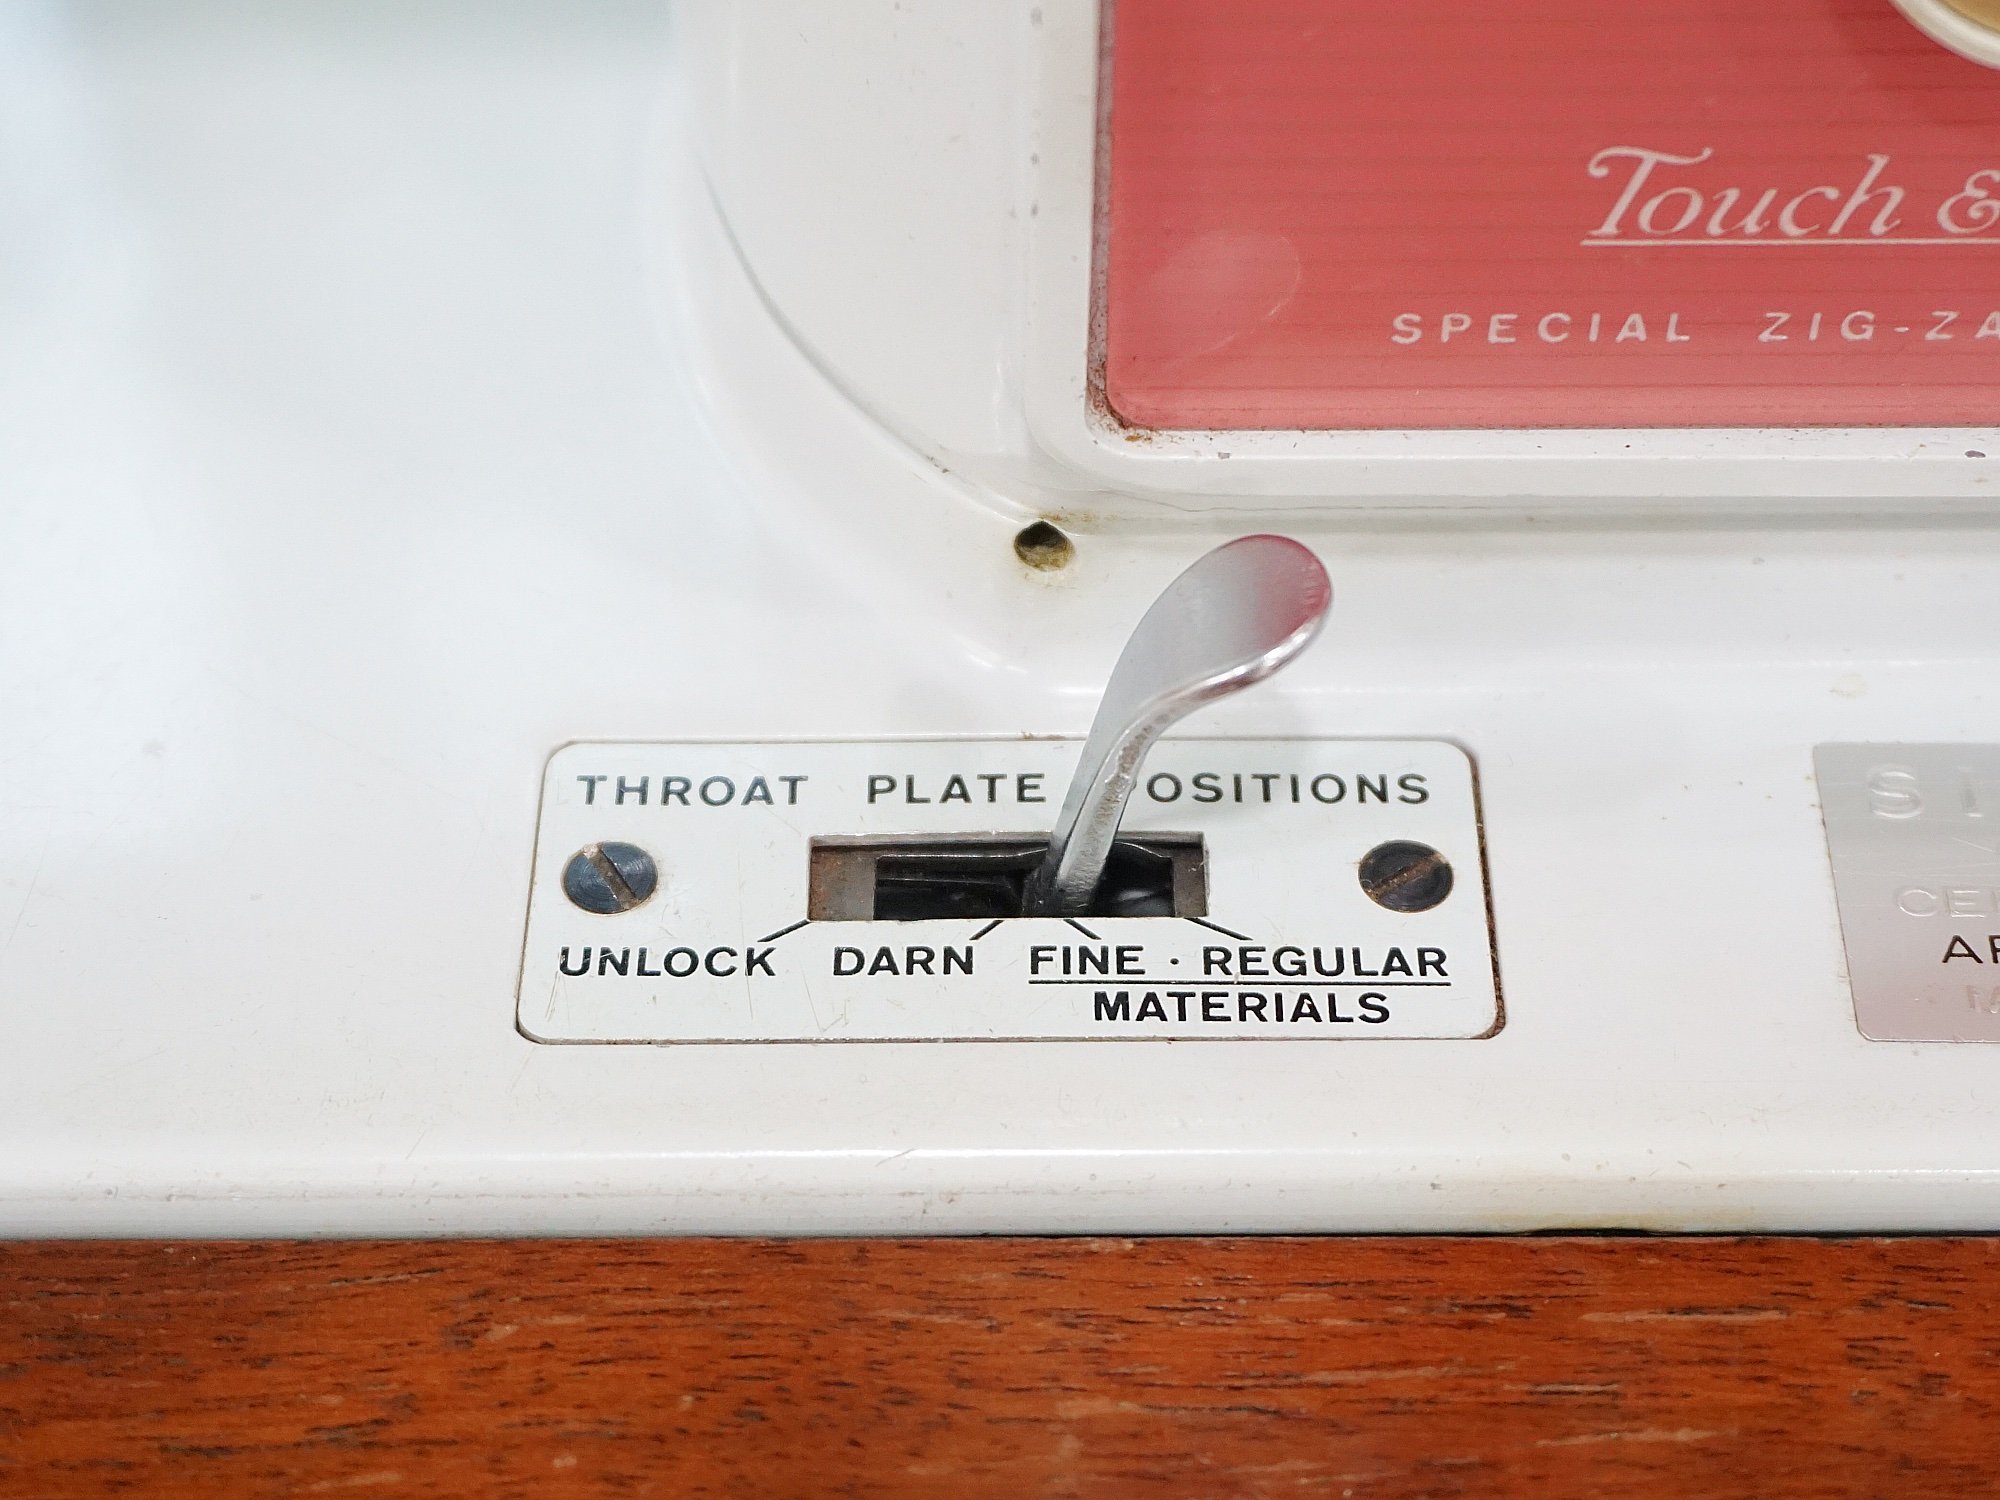
Feed dog settings on my vintage Singer Touch and Sew 626. I used the “fine” setting when sewing the newsboy hat with this faux leather material.
The right side of faux leather can be “sticky” and regular metal presser foot can sometimes go through a lot of friction with the PU surface. Based on my initial research, it seems that using a roller foot or Teflon foot would help to overcome this issue. However, I don’t have access to either and I decided to ease the tension of the fabric and the presser foot and the feet dog by: (1) reducing the pressure of the presser foot, and (2) lowering my feed dog.
Using the same line of thought, I think using a walking foot is potentially a solution if you are unable to do either of the above. Personally, I had also found the use of walking foot helpful for sewing with laminated cotton, which can have a similar “tacky” plastic top when sewing with a regular metal presser foot.
(6) Grade your seam allowance before topstitching
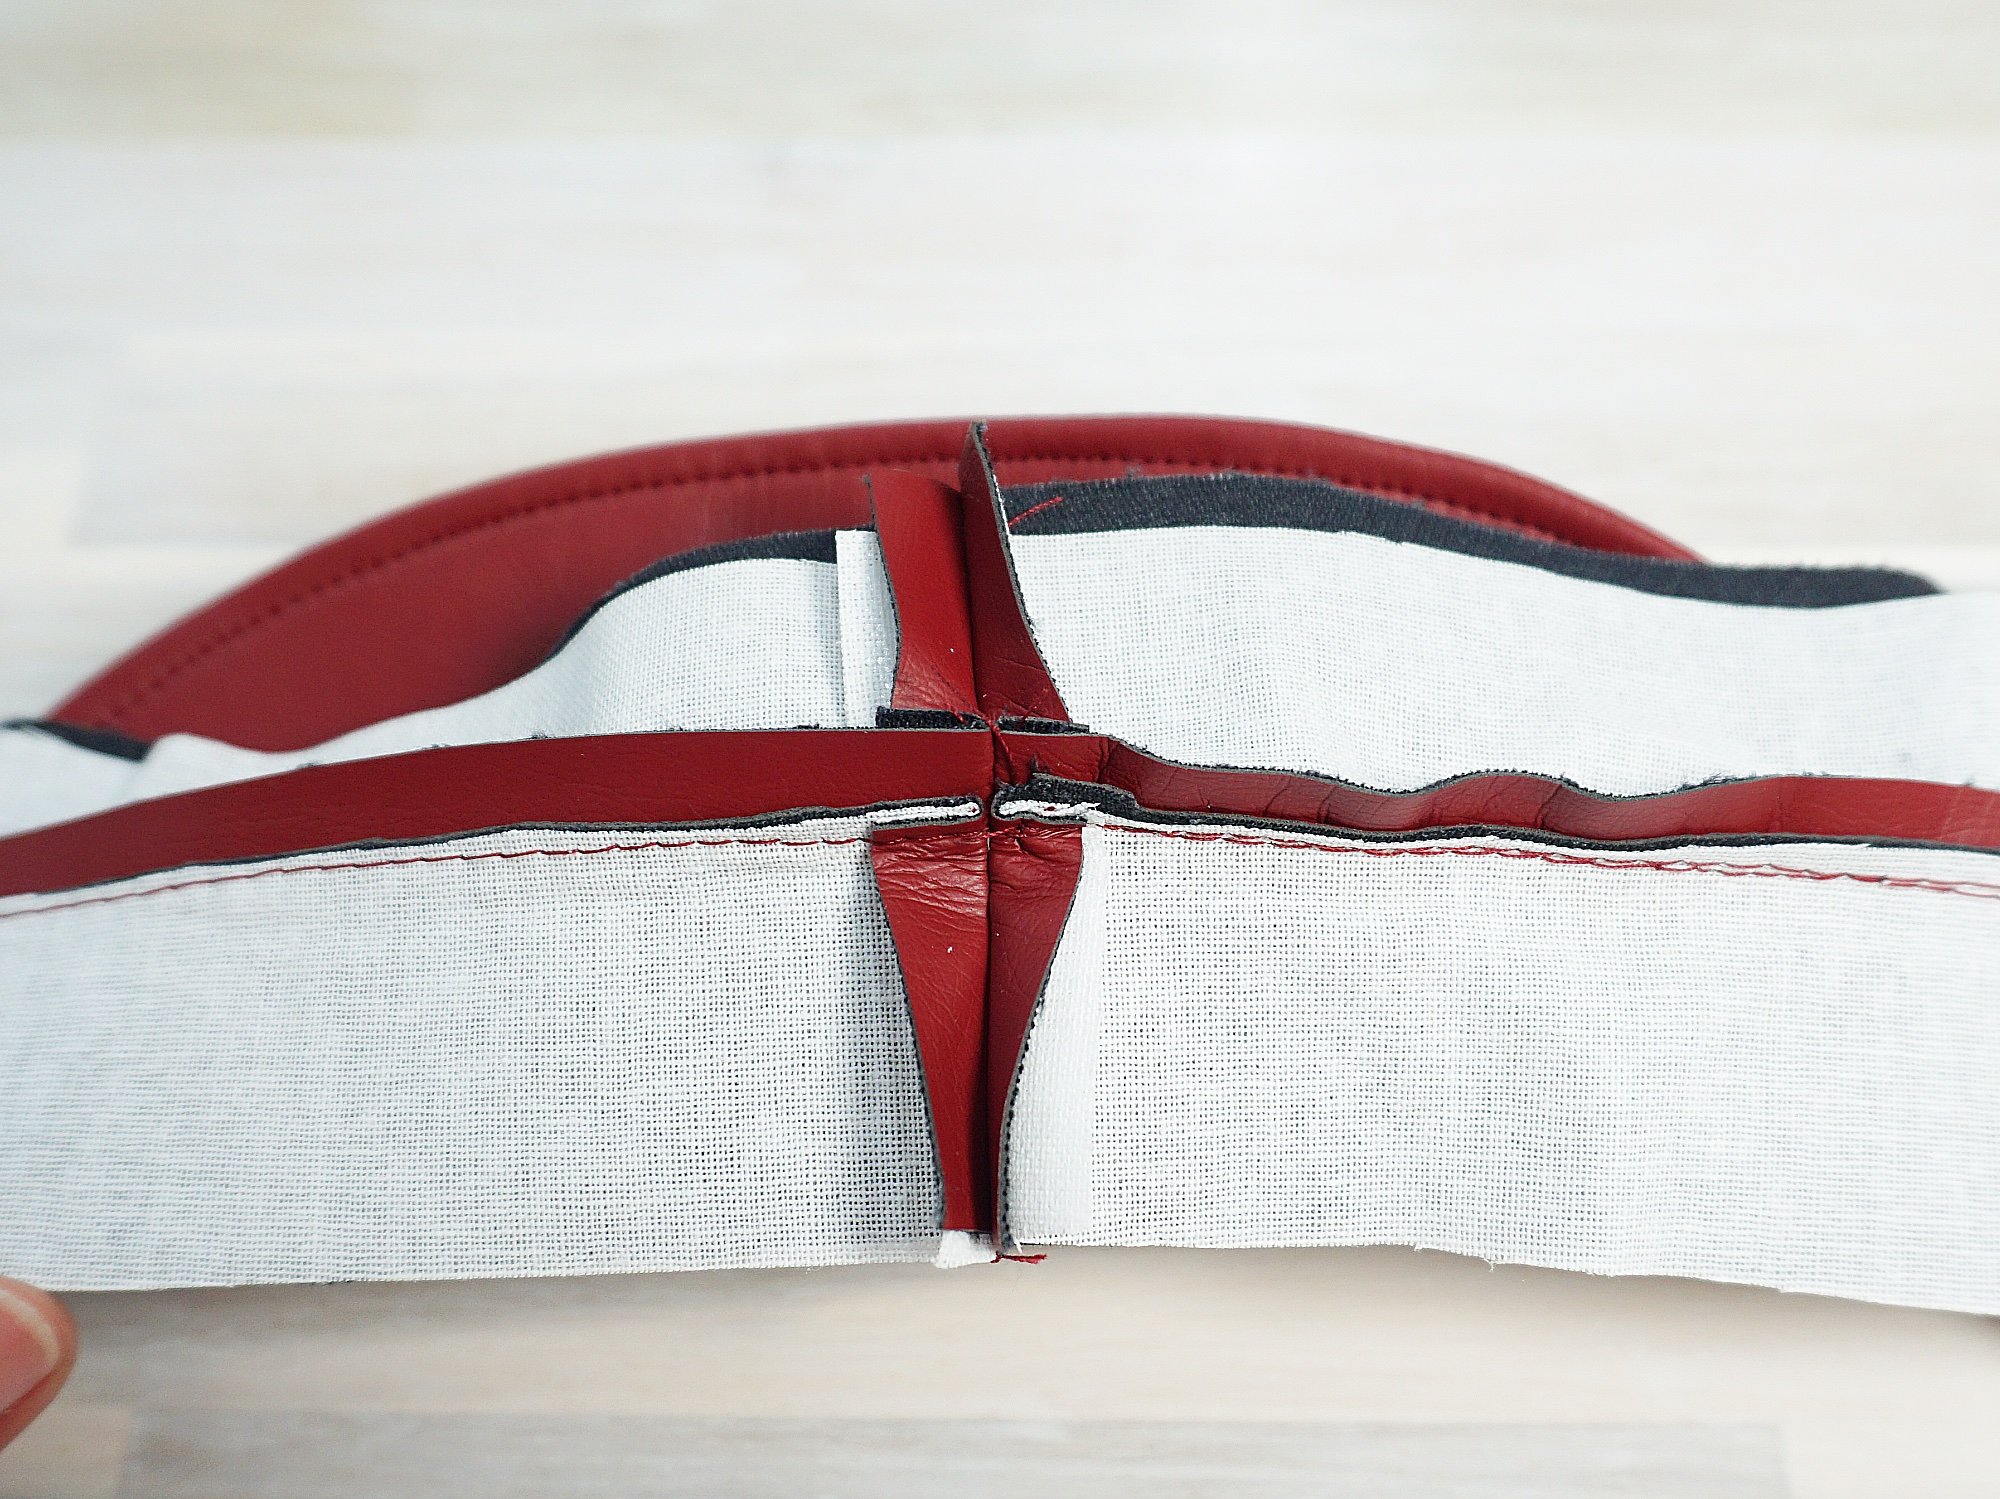
Grading the seam allowance before topstitching the bottom edge of the newsboy hat band
Topstitching along the bottom edge of the band
Faux leather has a thickness to it and seams can become bulky quickly. Because of the bulk that can accumulate with multiple layers of faux leather, it might be helpful to grade seams before topstitching.
When sewing my newsboy hat, I graded the seam allowance between the brim and the band before topstitching along the bottom of the band. Depending on the construction of your sewing project, you might also find using a hump jumper helpful at certain spots.

Notice the absence of (white) interfacing along the seam allowance of the curved edge of the brim
As needed, it might also be helpful to cut your interfacing without including the seam allowance. I cut the interfacing for the brim without including the seam allowance along the curved seam because I knew that would help remove the bulk and make topstitching along this curved seam a more pleasant and less risky experience.
(7) Consider adding more ease if you are sewing garments with faux leather

This is a key consideration that I haven’t seen a lot of articles mentioning - you need to consider adding more ease to your garments if you are making them out of faux leather! Faux leather has little to no give. Also, since it can also get bulky along the seams, garments can turn out a little more snug than when sewn in the same size with a standard woven fabric.
When testing my Orion Hat sewing pattern, I made a newsboy hat version in medium-weight corduroy and a beret version in medium-weight navy twill. I sewed these 2 hats in size 2 and they fitted me nicely - snug enough to stay on my forehead and loose enough for a bit of ease (i.e. I can stick a thumb between the band and my forehead easily). After sewing my newsboy hat in the maroon pleather and trying it on for the first time, my first thought was, “ooo it’s snug”.
It’s not snug to the point where it feels like my head is exploding underneath but it might not be everyone’s cup of tea. Luckily, the natural sebum on my usually greasy forehead also offers a bit of lubrication, haha.

Well but jokes aside, I think if I were to make the same hat again, I would consider sizing up. So, definitely make sure you add enough ease to your faux leather garments that you’re sewing! I imagine that the snug feeling around the belly will be a lot more unpleasant.
Are you ready to sew with faux leather?
I hope these 7 practical sewing tips for working with faux leather will be helpful in your next faux leather sewing project! Want to try sewing a pleather cap like this one?