

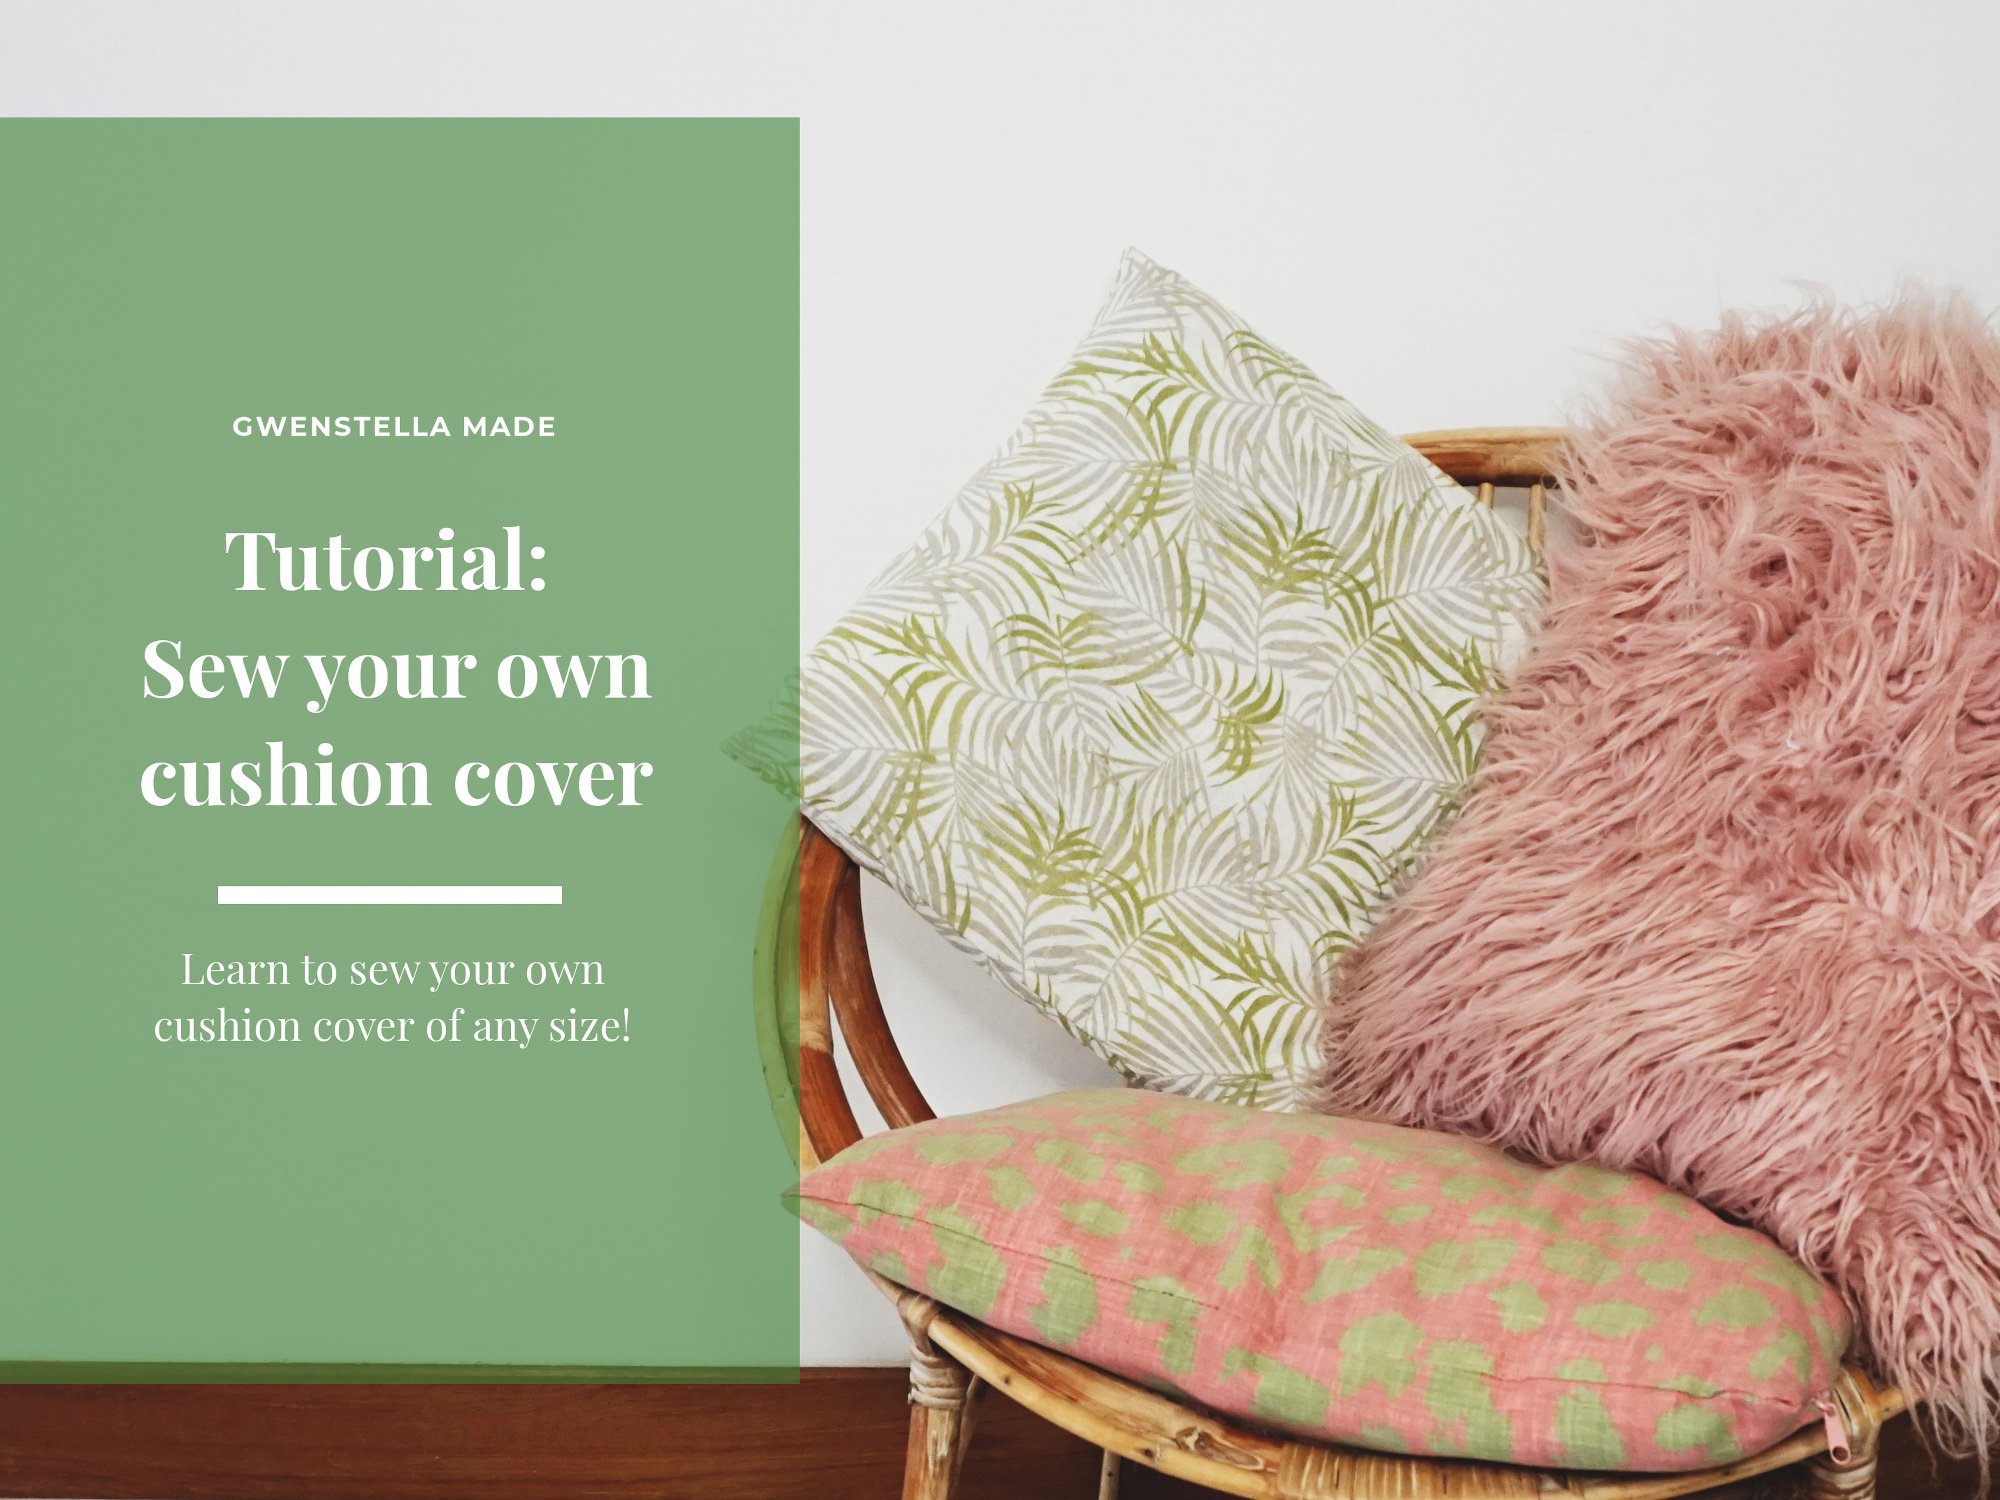
How To Sew A Cushion Cover (Any Size)

How is everyone doing? I am currently into my third week of working from home.
So far, I am enjoying sleeping in (since I don't have to spend 1 hour commuting to work), making foods for myself, and having lo-fi beats playing in the background as I work. However, I haven't found a sudden surge in energy to create, because the pandemic is a constant source of worry for me.
Regardless, I try my best to continue working on my projects at a steady pace, and to keep doing what gives me joy. I have been able to make time in between to sew some fabric masks for my friends and families and I have also just finished my third version of the Burnside Bibs.
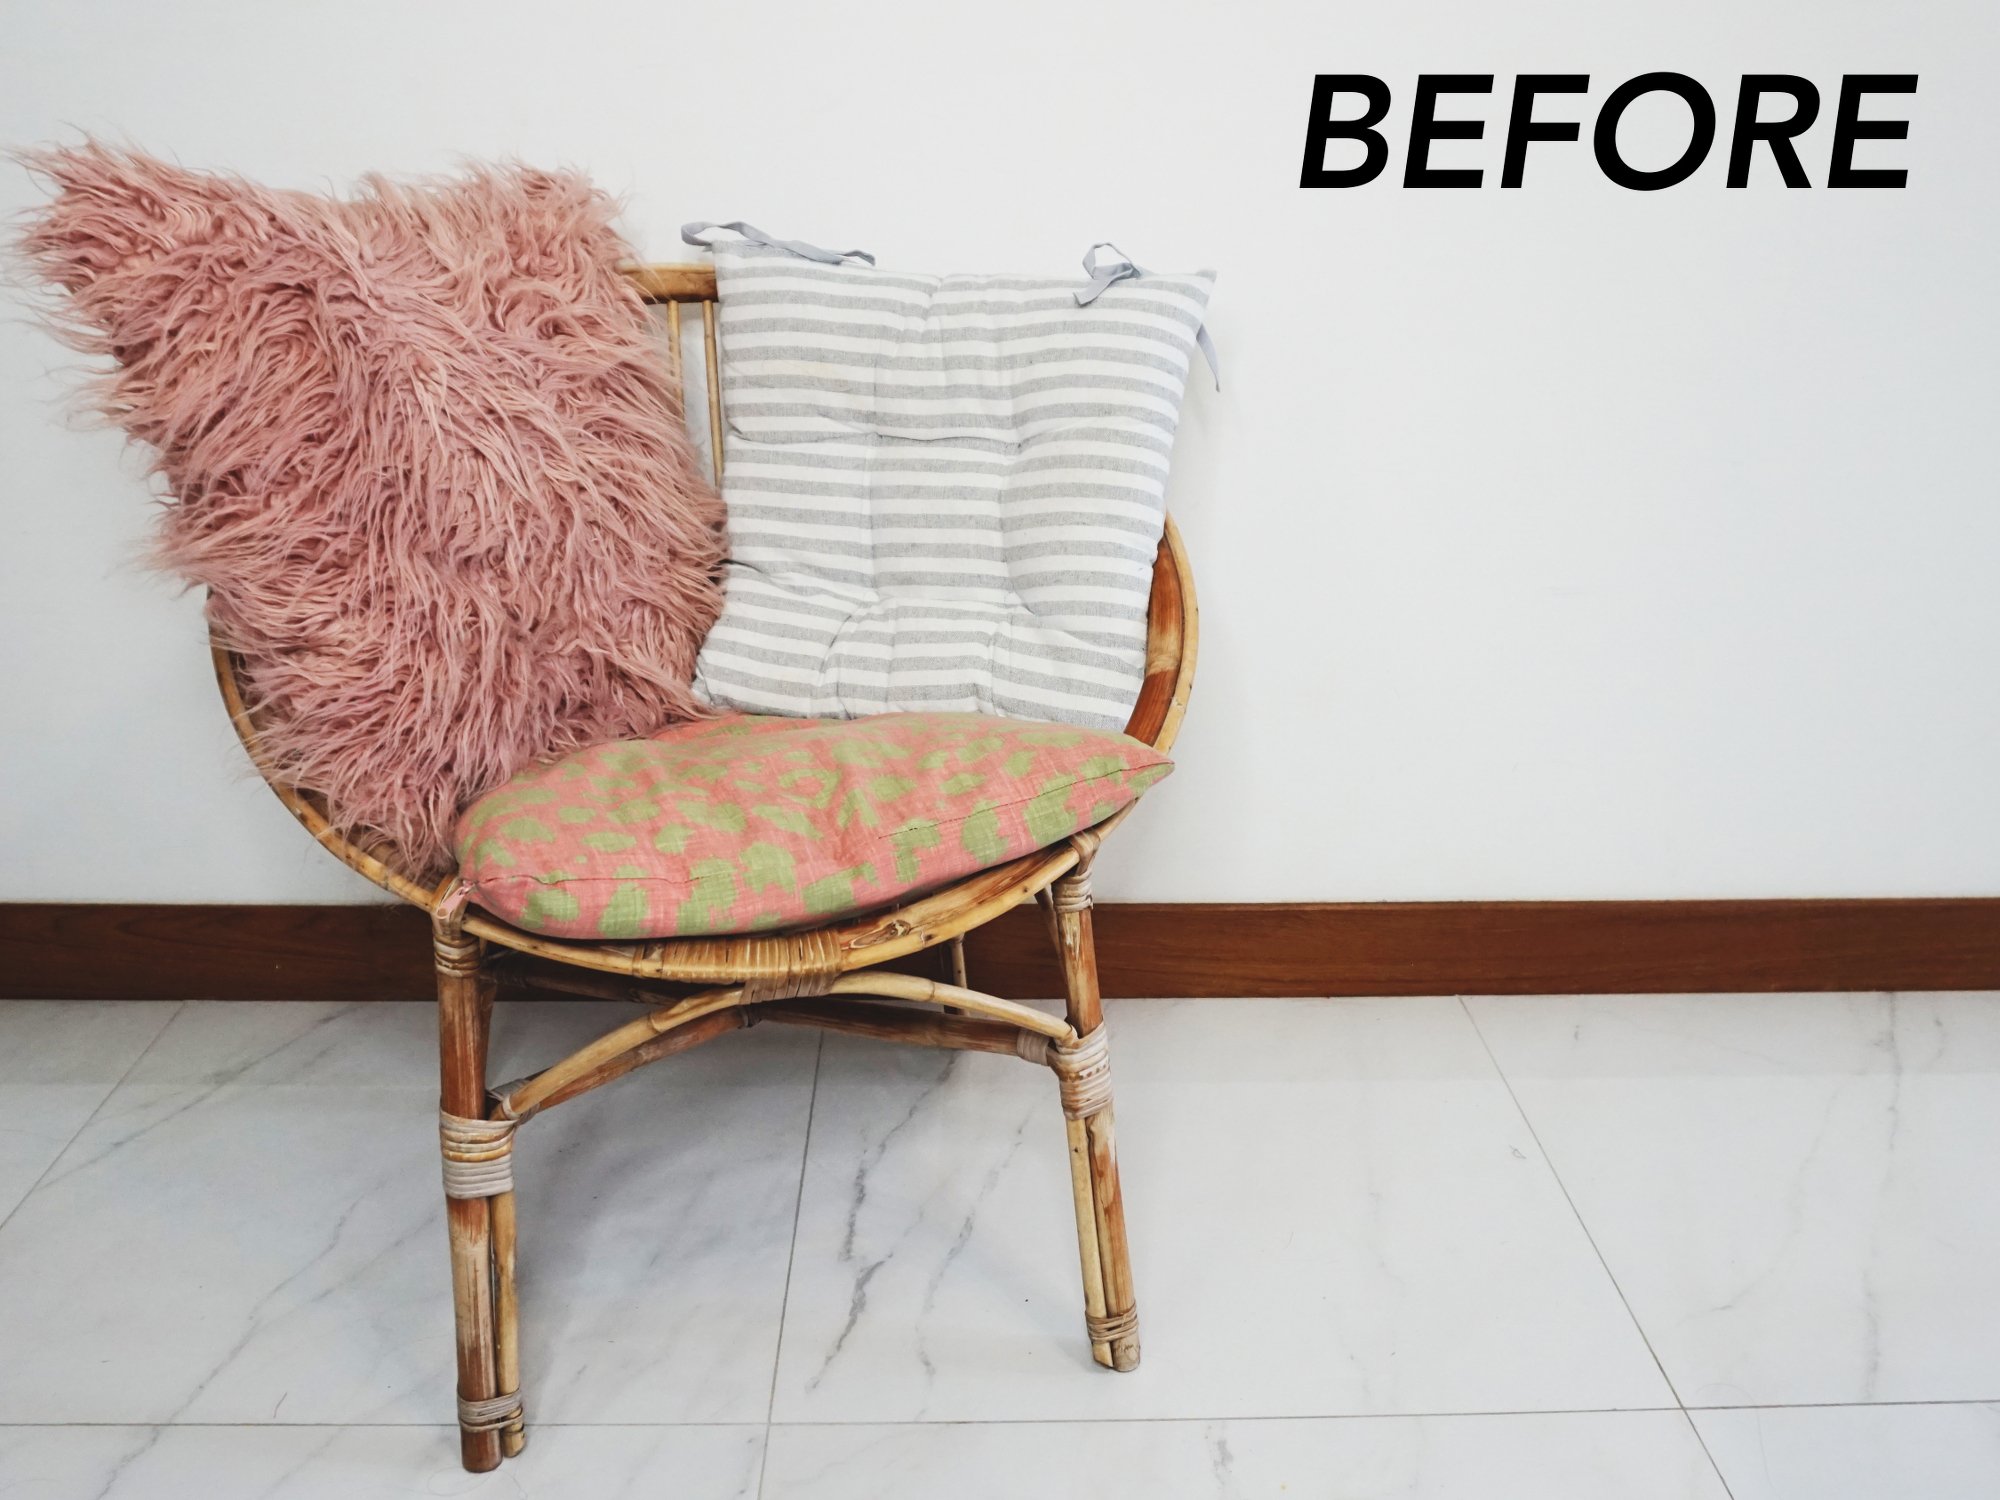
Now that I am spending more time at home, I also find myself spending more time organising my space. Having a neat and tidy home / work environment makes such a big difference! While sitting on my hard barstool and working on my laptop the other day, I also had the idea of using a seat cushion that I have had with me for a while. When I dug it out from the closet, I suddenly remembered why I haven't been using it in such a long time - it's in a shade of grey that doesn't go with anything else in my home!
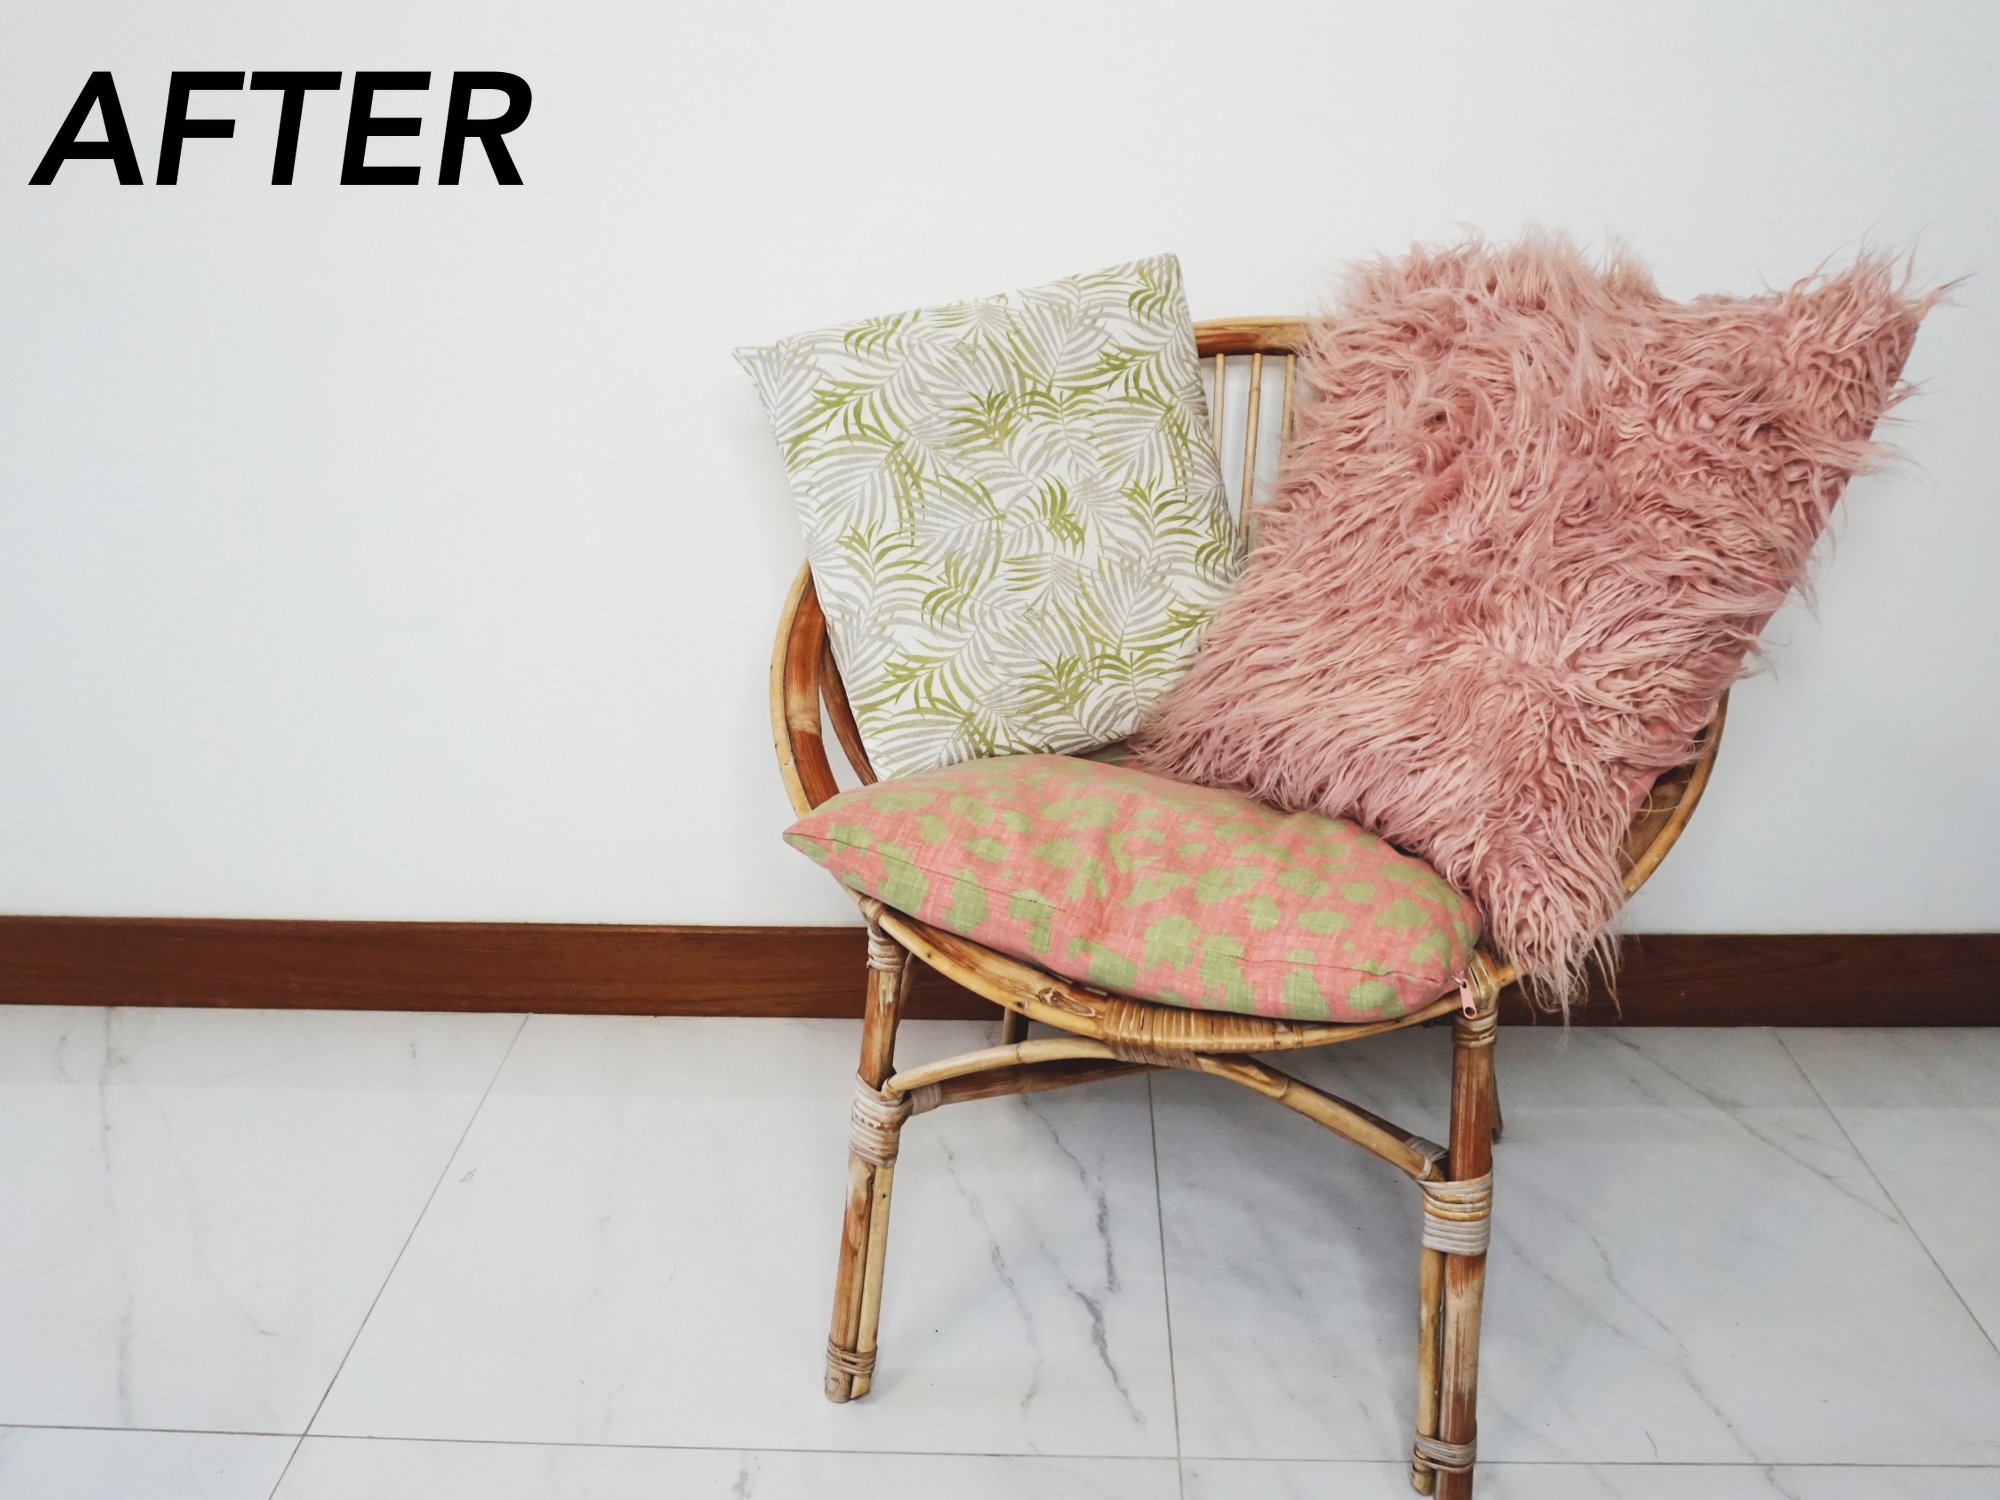
And then, I also suddenly remembered my forgotten idea of sewing a coordinating cover for the seat cushion. So, I whipped one up last weekend and I am so happy with the way it looks with the rest of my cushions now!
If you're looking into sprucing up your home too, here's how you can sew a cushion cover:
STEPS
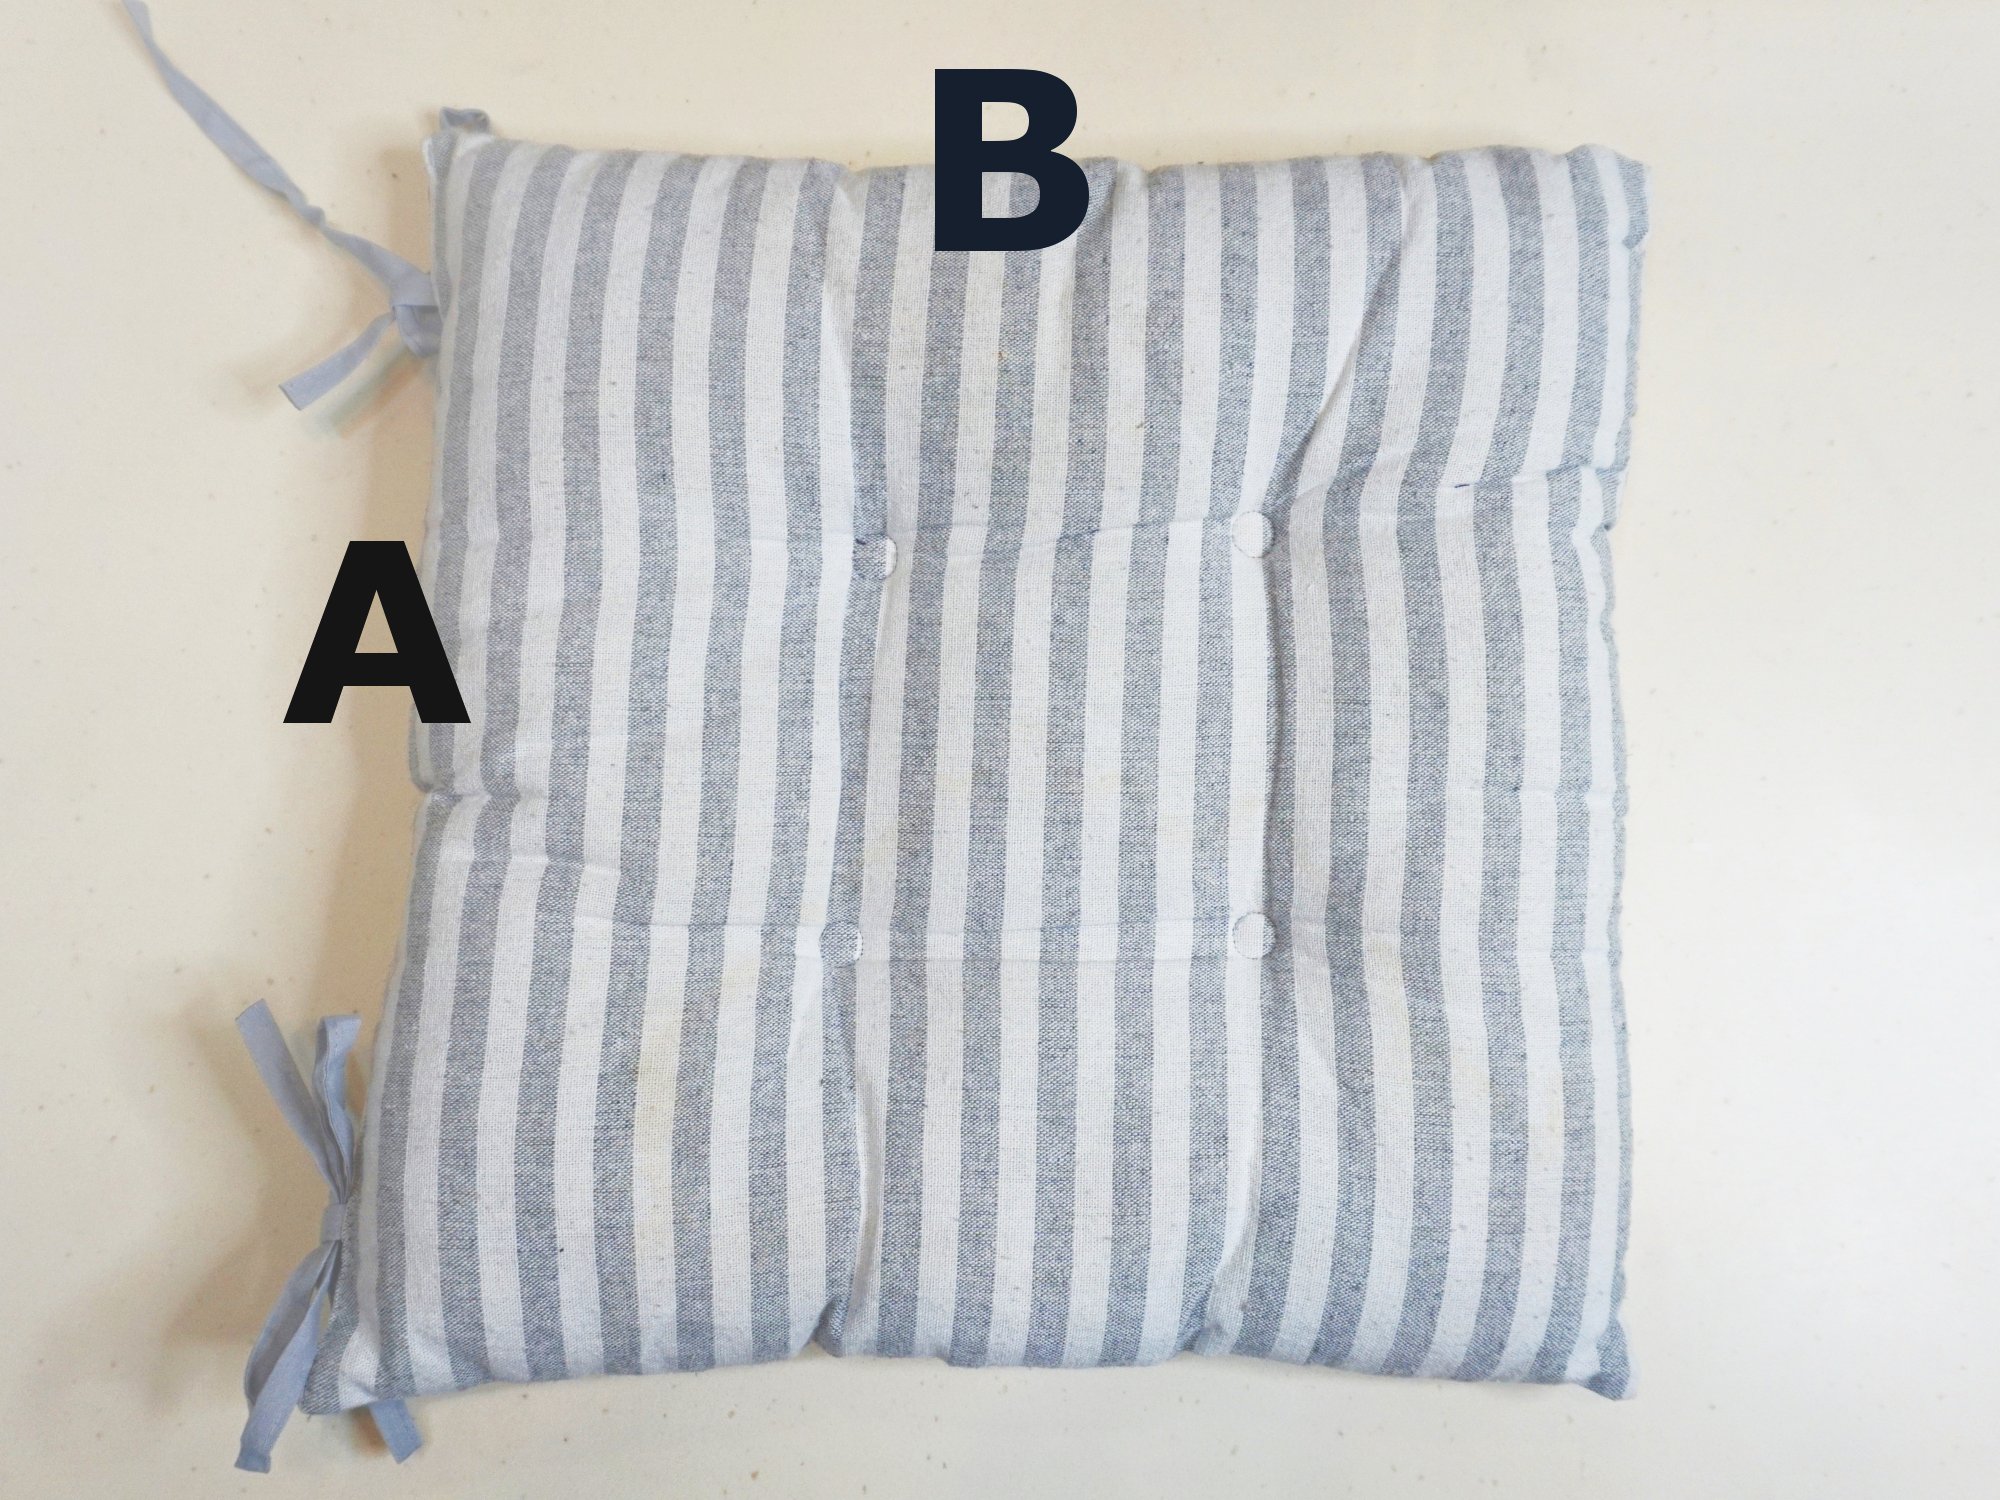
Step 1: Using a long ruler or a measuring tape, measure the length and breadth of the cushion. For accurate measurements, do this along the side seams rather than across the cushion. We will be cutting the fabric for making the cover using a couple of simple math formulas so make sure you refer to the photos for the symbols!
Breadth = A
Length = B
In this project, my measurements are as follows:
A = 15"
B = 15"
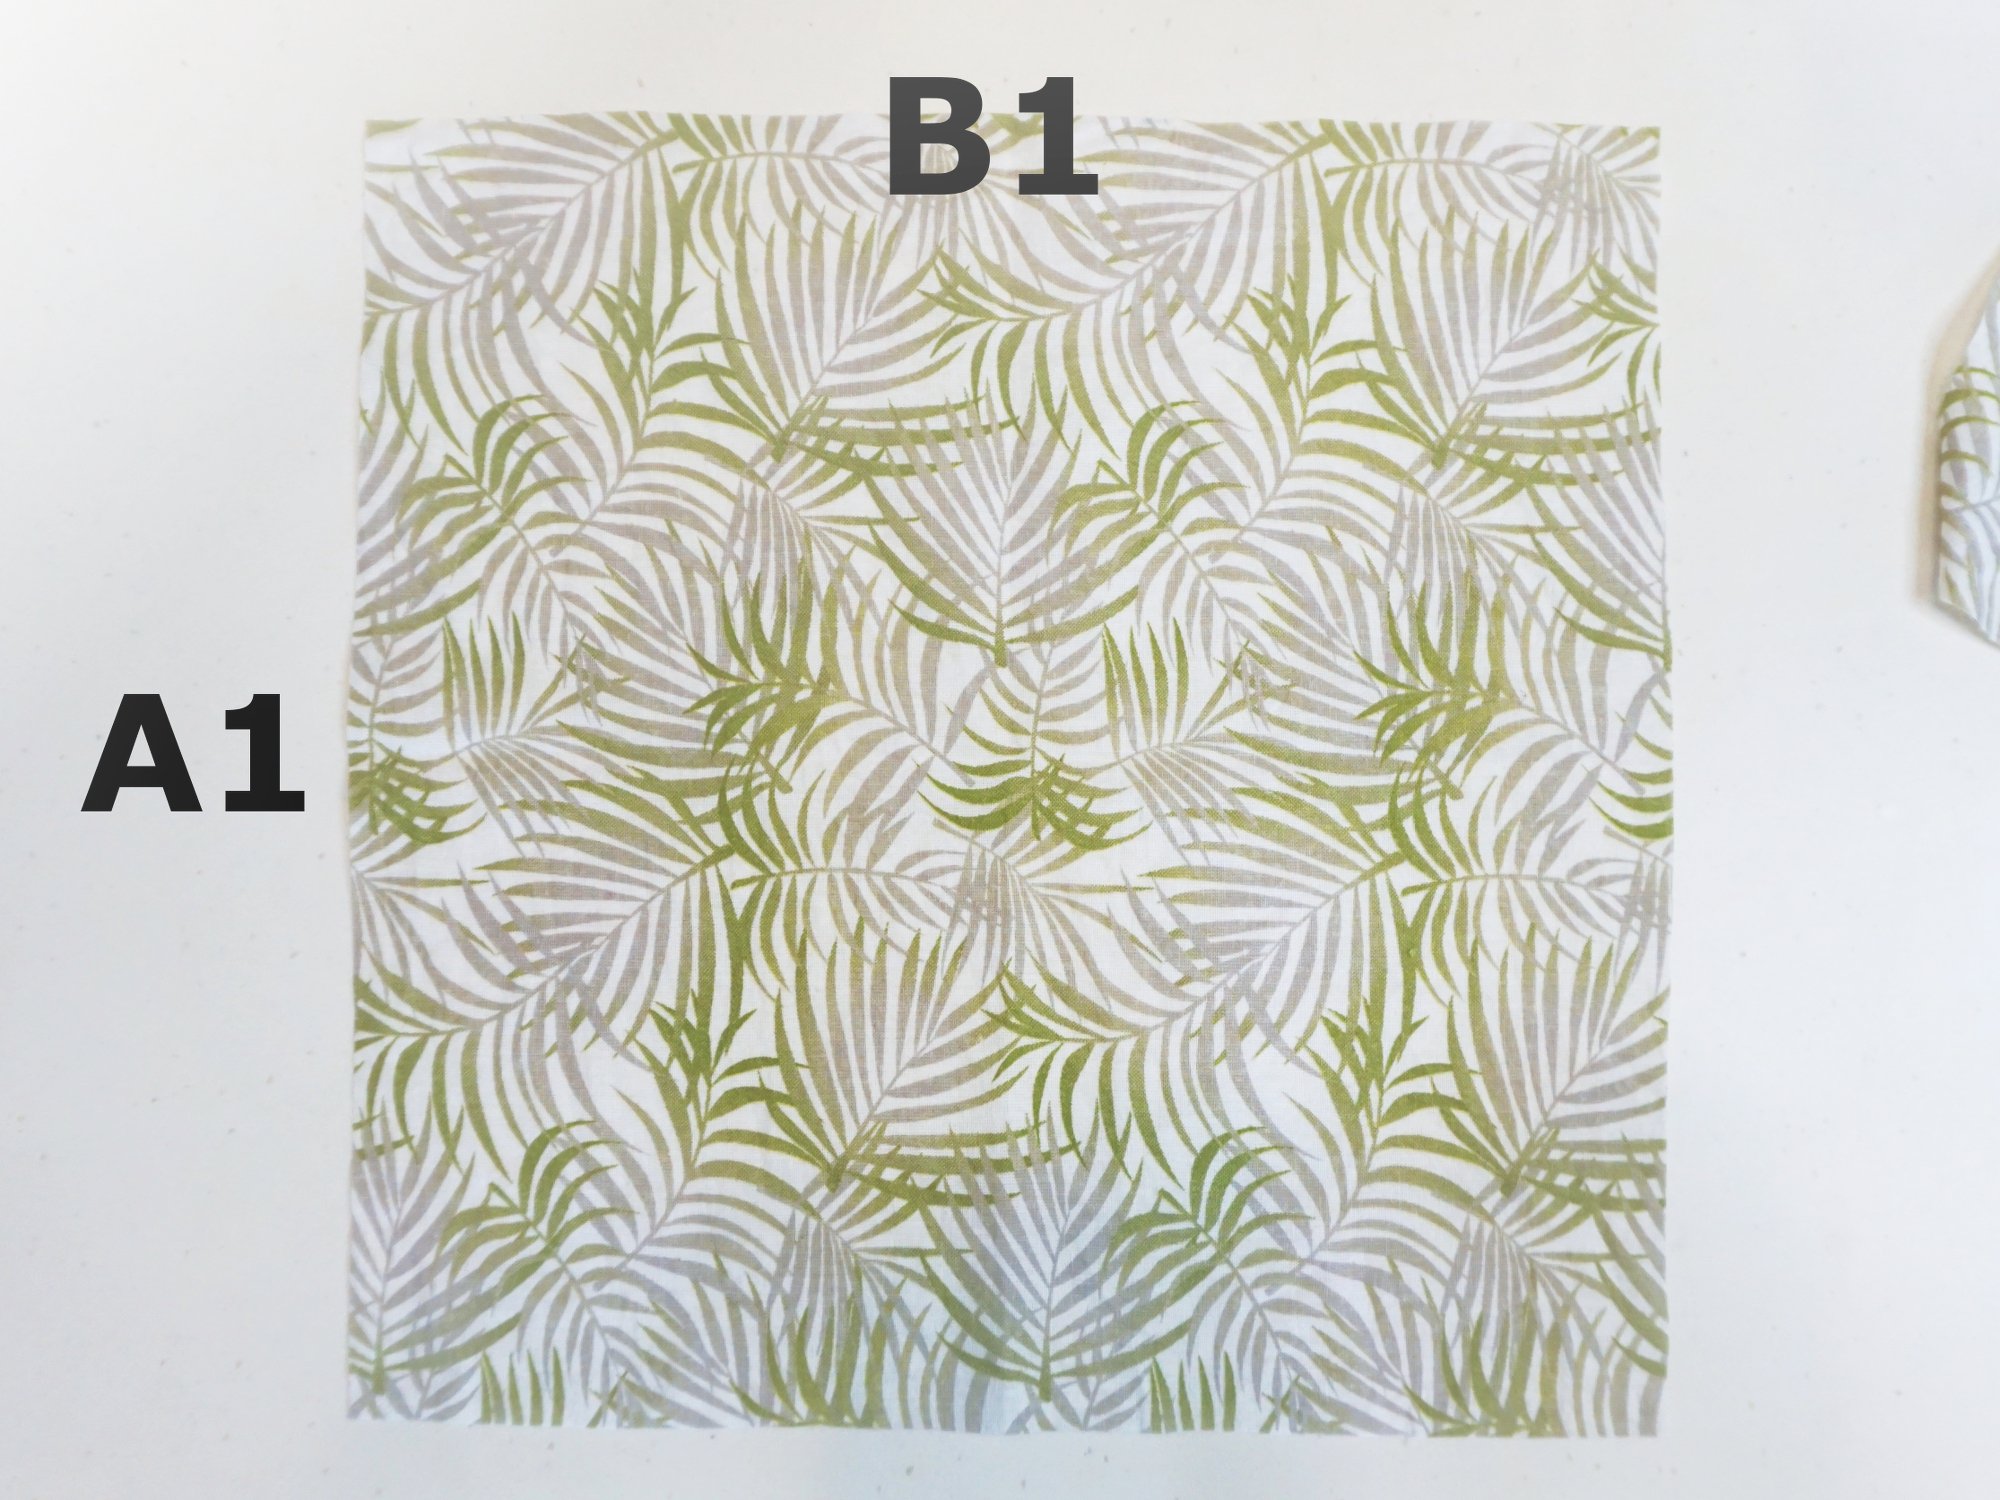
Step 2: Cut the front fabric for the cushion cover. This is made up of 1 fabric piece. Follow this formula:
A1 = (A - 1") + (2 x seam allowance)
B1 = (B - 1") + (2 x seam allowance)
We are taking away 1" so that the cushion cover sits snugly on the cushion. Because seam allowance is needed for both top / bottom and left / right of the fabric, we need to multiply the seam allowance by 2. You can use anything width between 1/4" to 5/8" for seam allowance. Choose a smaller width if you are confident of sewing with small widths and you want to save a bit of yardage ;)
I used 0.5" seam allowance for my project.
For clarity, my measurements for this piece of fabric are as follows:
A1 = (A - 1") + (2 x 0.5" seam allowance)
A1 = (15" - 1") + 1" seam allowance
A1 = 15"
***
B1 = (B - 1") + (2 x 0.5" seam allowance)
B1 = (15" - 1") + 1" seam allowance
B1 = 15"
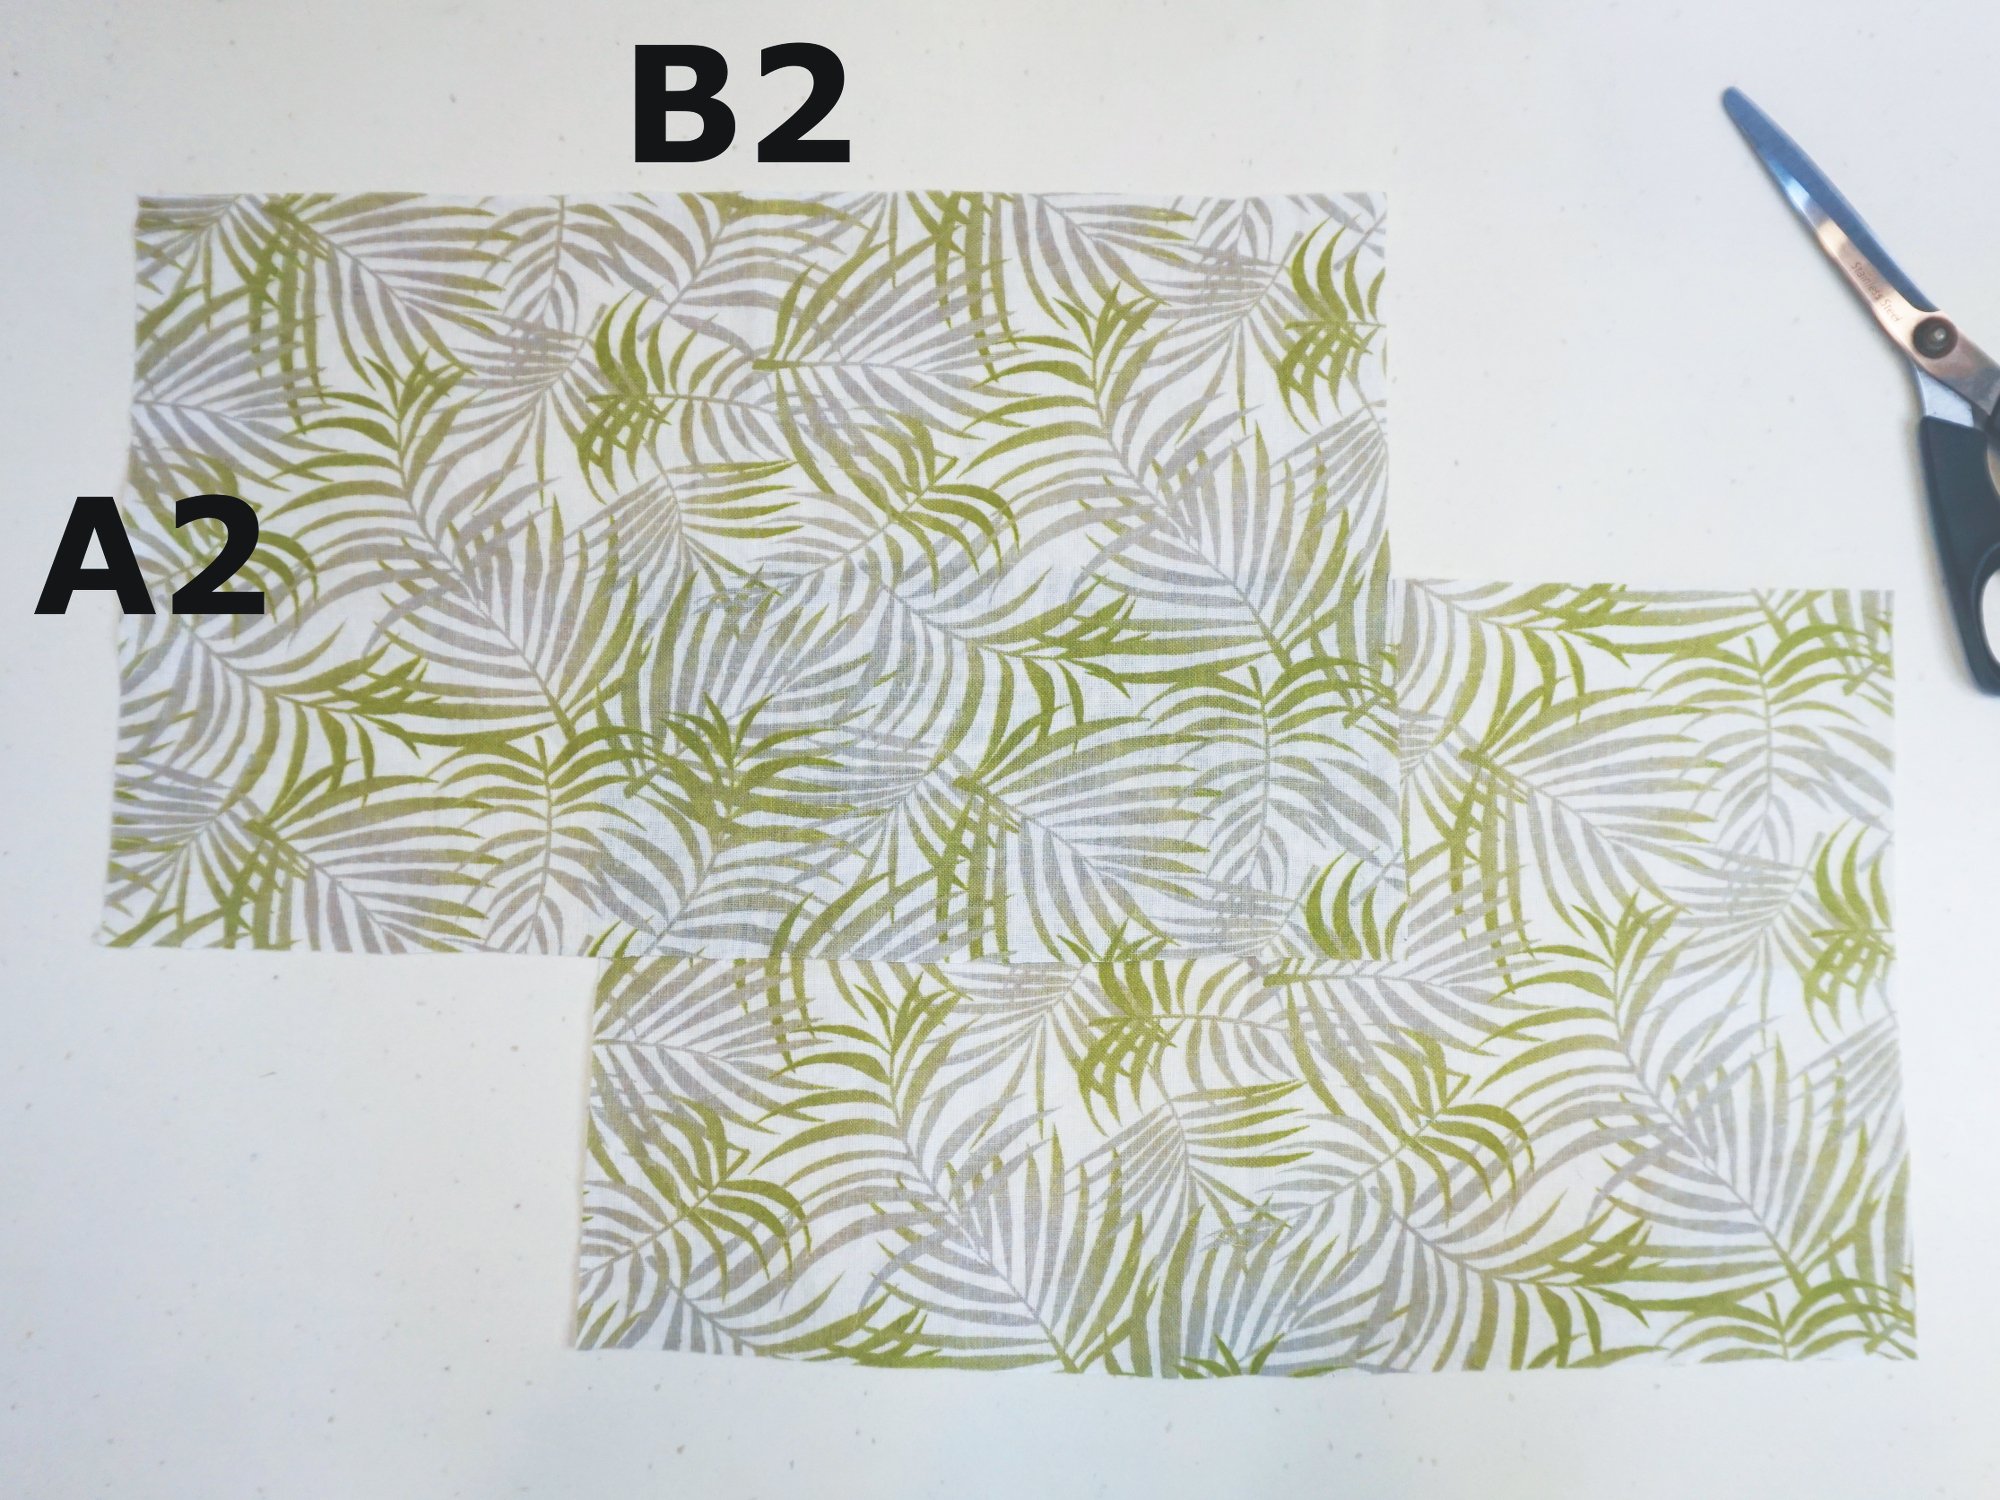
Step 3: Cut the back fabric for the cushion cover. This is made up of 2 fabric pieces. Follow this formula:
A2 = (A1 / 2) + overlap + (2 x seam allowance)
B2 = B1
For this cushion cover design, I have the opening located right in the middle of the finished cover, so you want to start by dividing the A1 in half. Also, as I was trying to save a bit of yardage, I used 0.5" seam allowance for the top of the cushion cover (as per A1) but only used 1/4" seam allowance for the overlapping section of the cushion cover. You may also choose to have a 2" overlap if your cushion is puffier, but anything beyond 3" is probably too much.
For clarity, my measurements for this piece of fabric are as follows:
A2 = (A1 / 2) + 1" overlap + 0.5" allowance on the top + 0.25" seam allowance for the section of the overlap
A2 = (15" / 2) + 1.75" = 7.5" + 1.75"
A2 = 9.25"
***
B2 = 15"
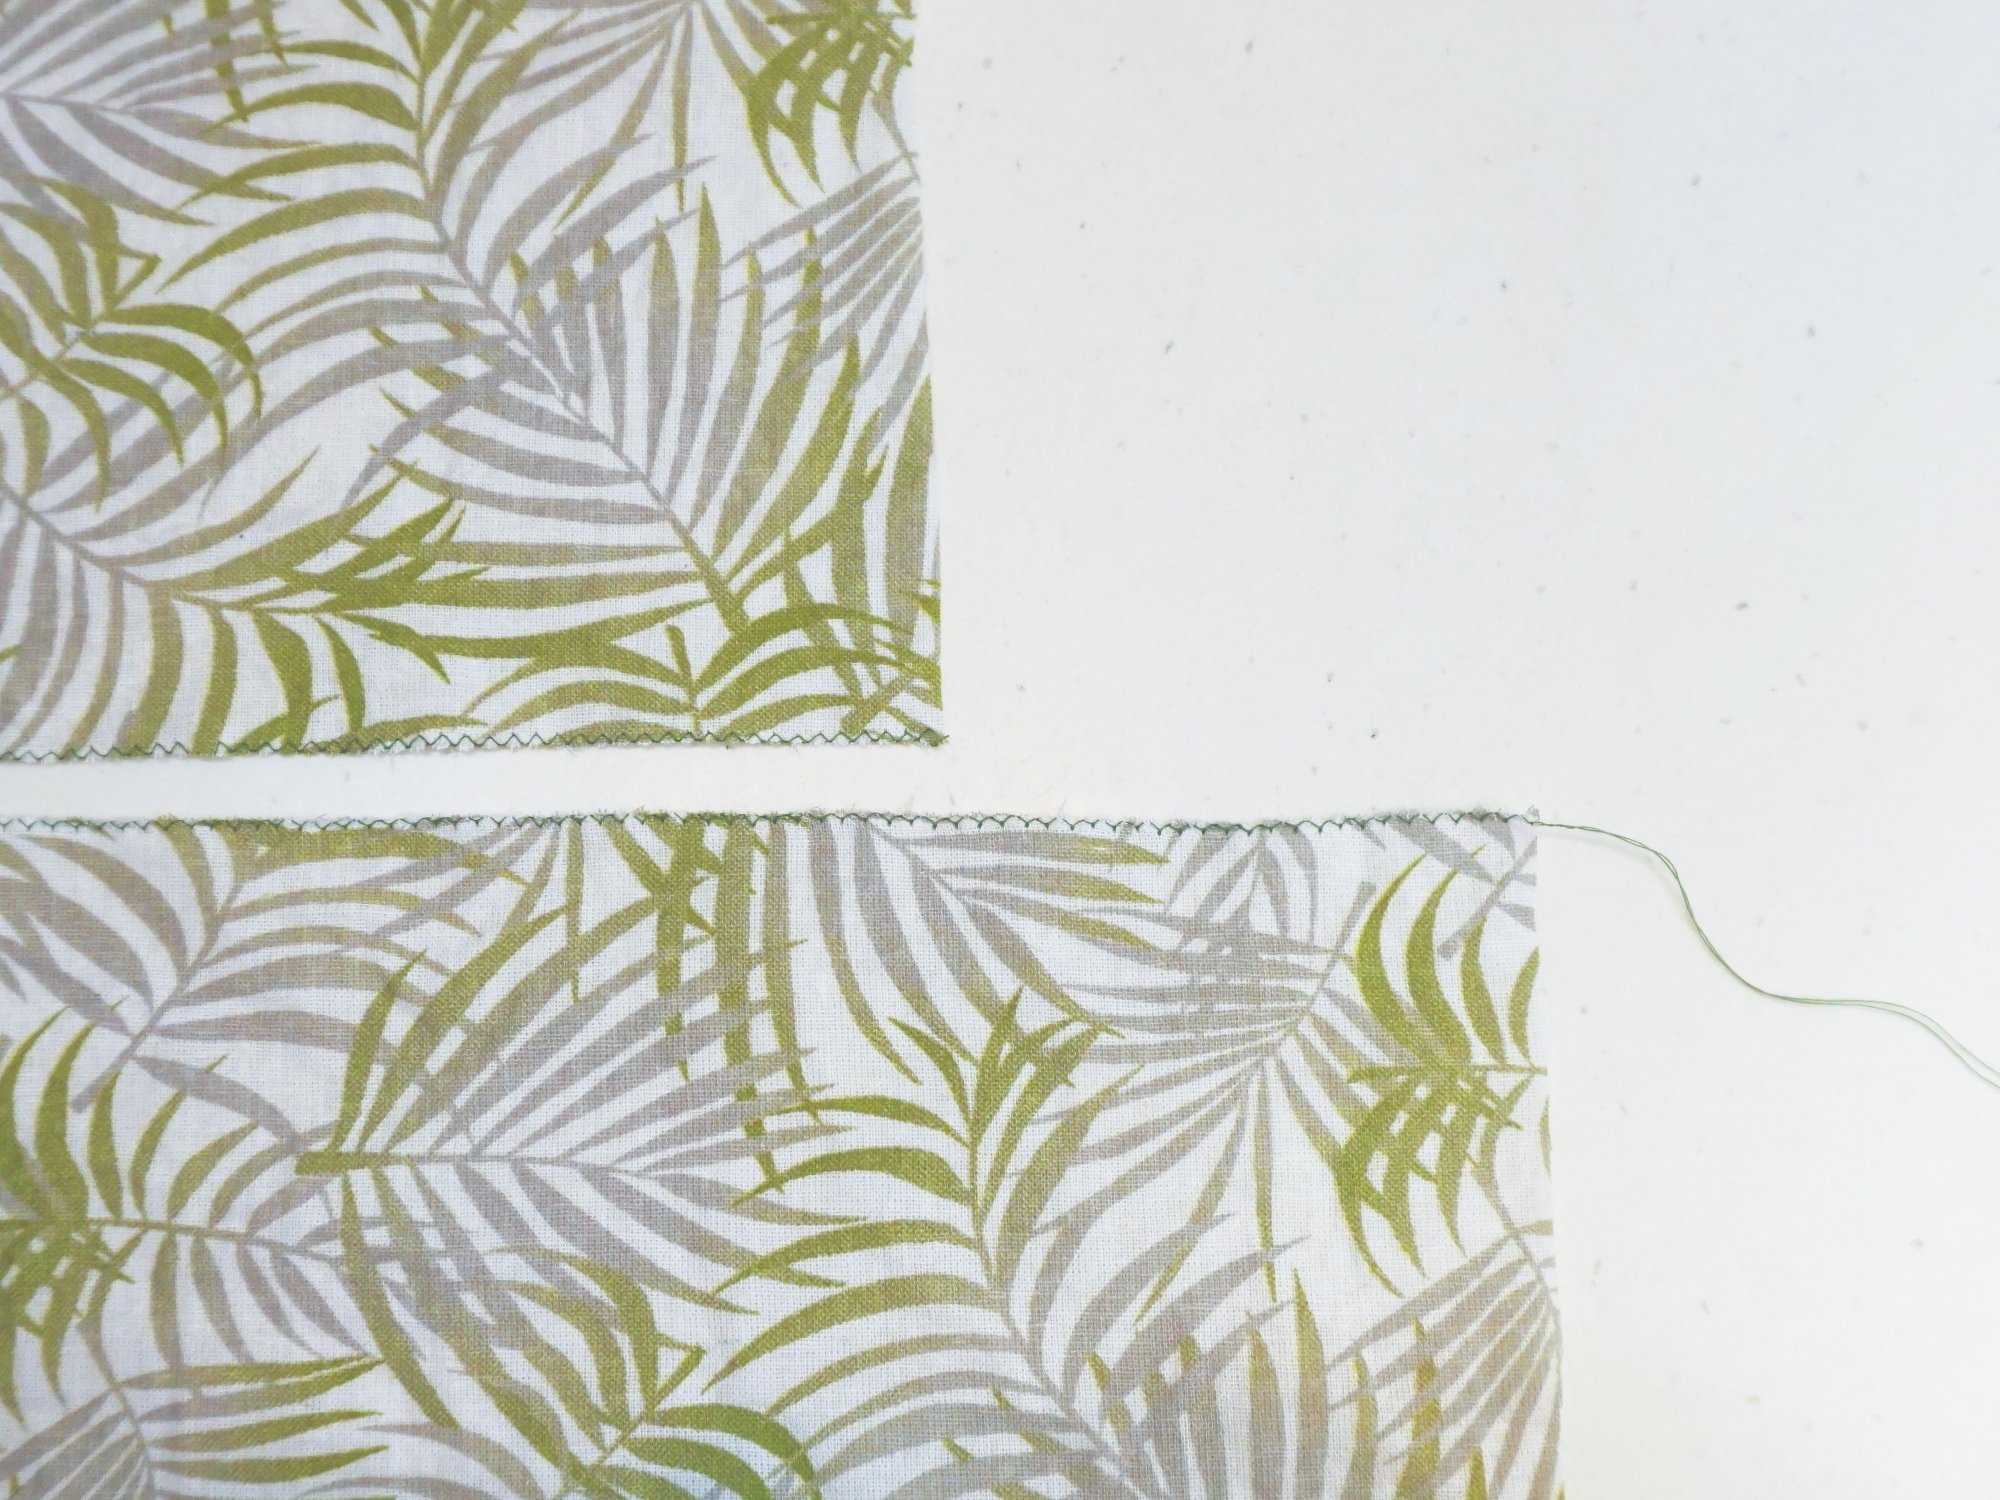
Step 4: Using your sewing machine, sew zig-zag stitches along 1 of the long edge of each of the back fabric piece.

Step 5: Fold and pin the seam allowance of the zig-zag edge down, then sew straight stitches along the edge. Sew approximately 1/8" from the folded edge. In this project, I am using 0.25" seam allowance for this edge.
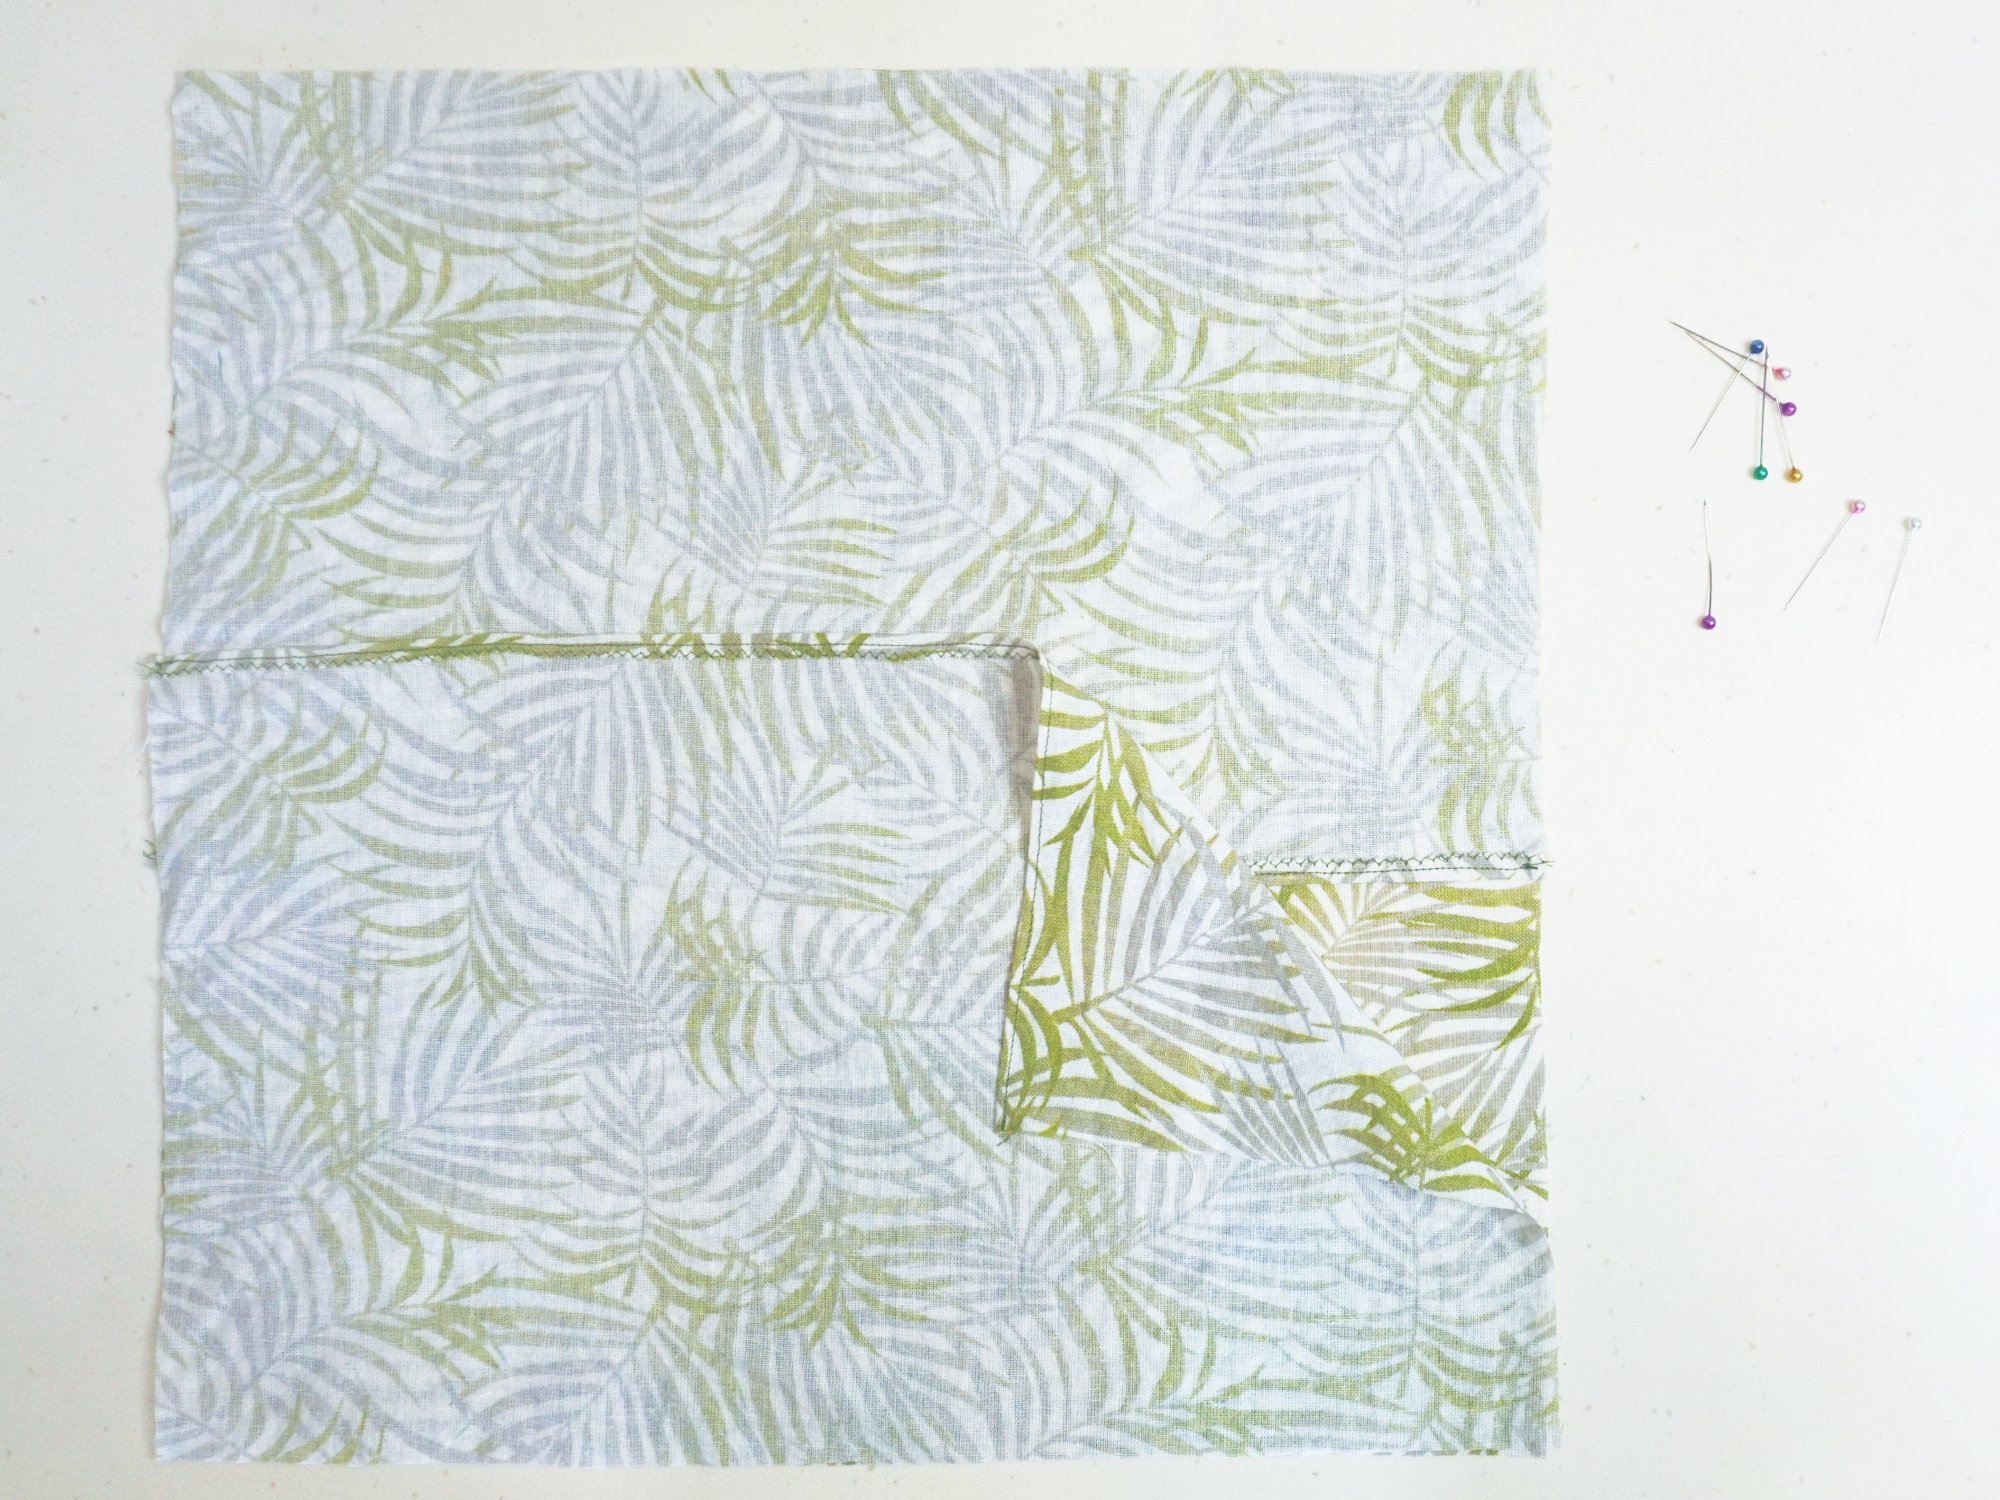
Step 6: With wrong sides together, pin the front and back pieces together. Make sure that the edges (B2) sewn in Step 5 are the edges that are overlapping one another.

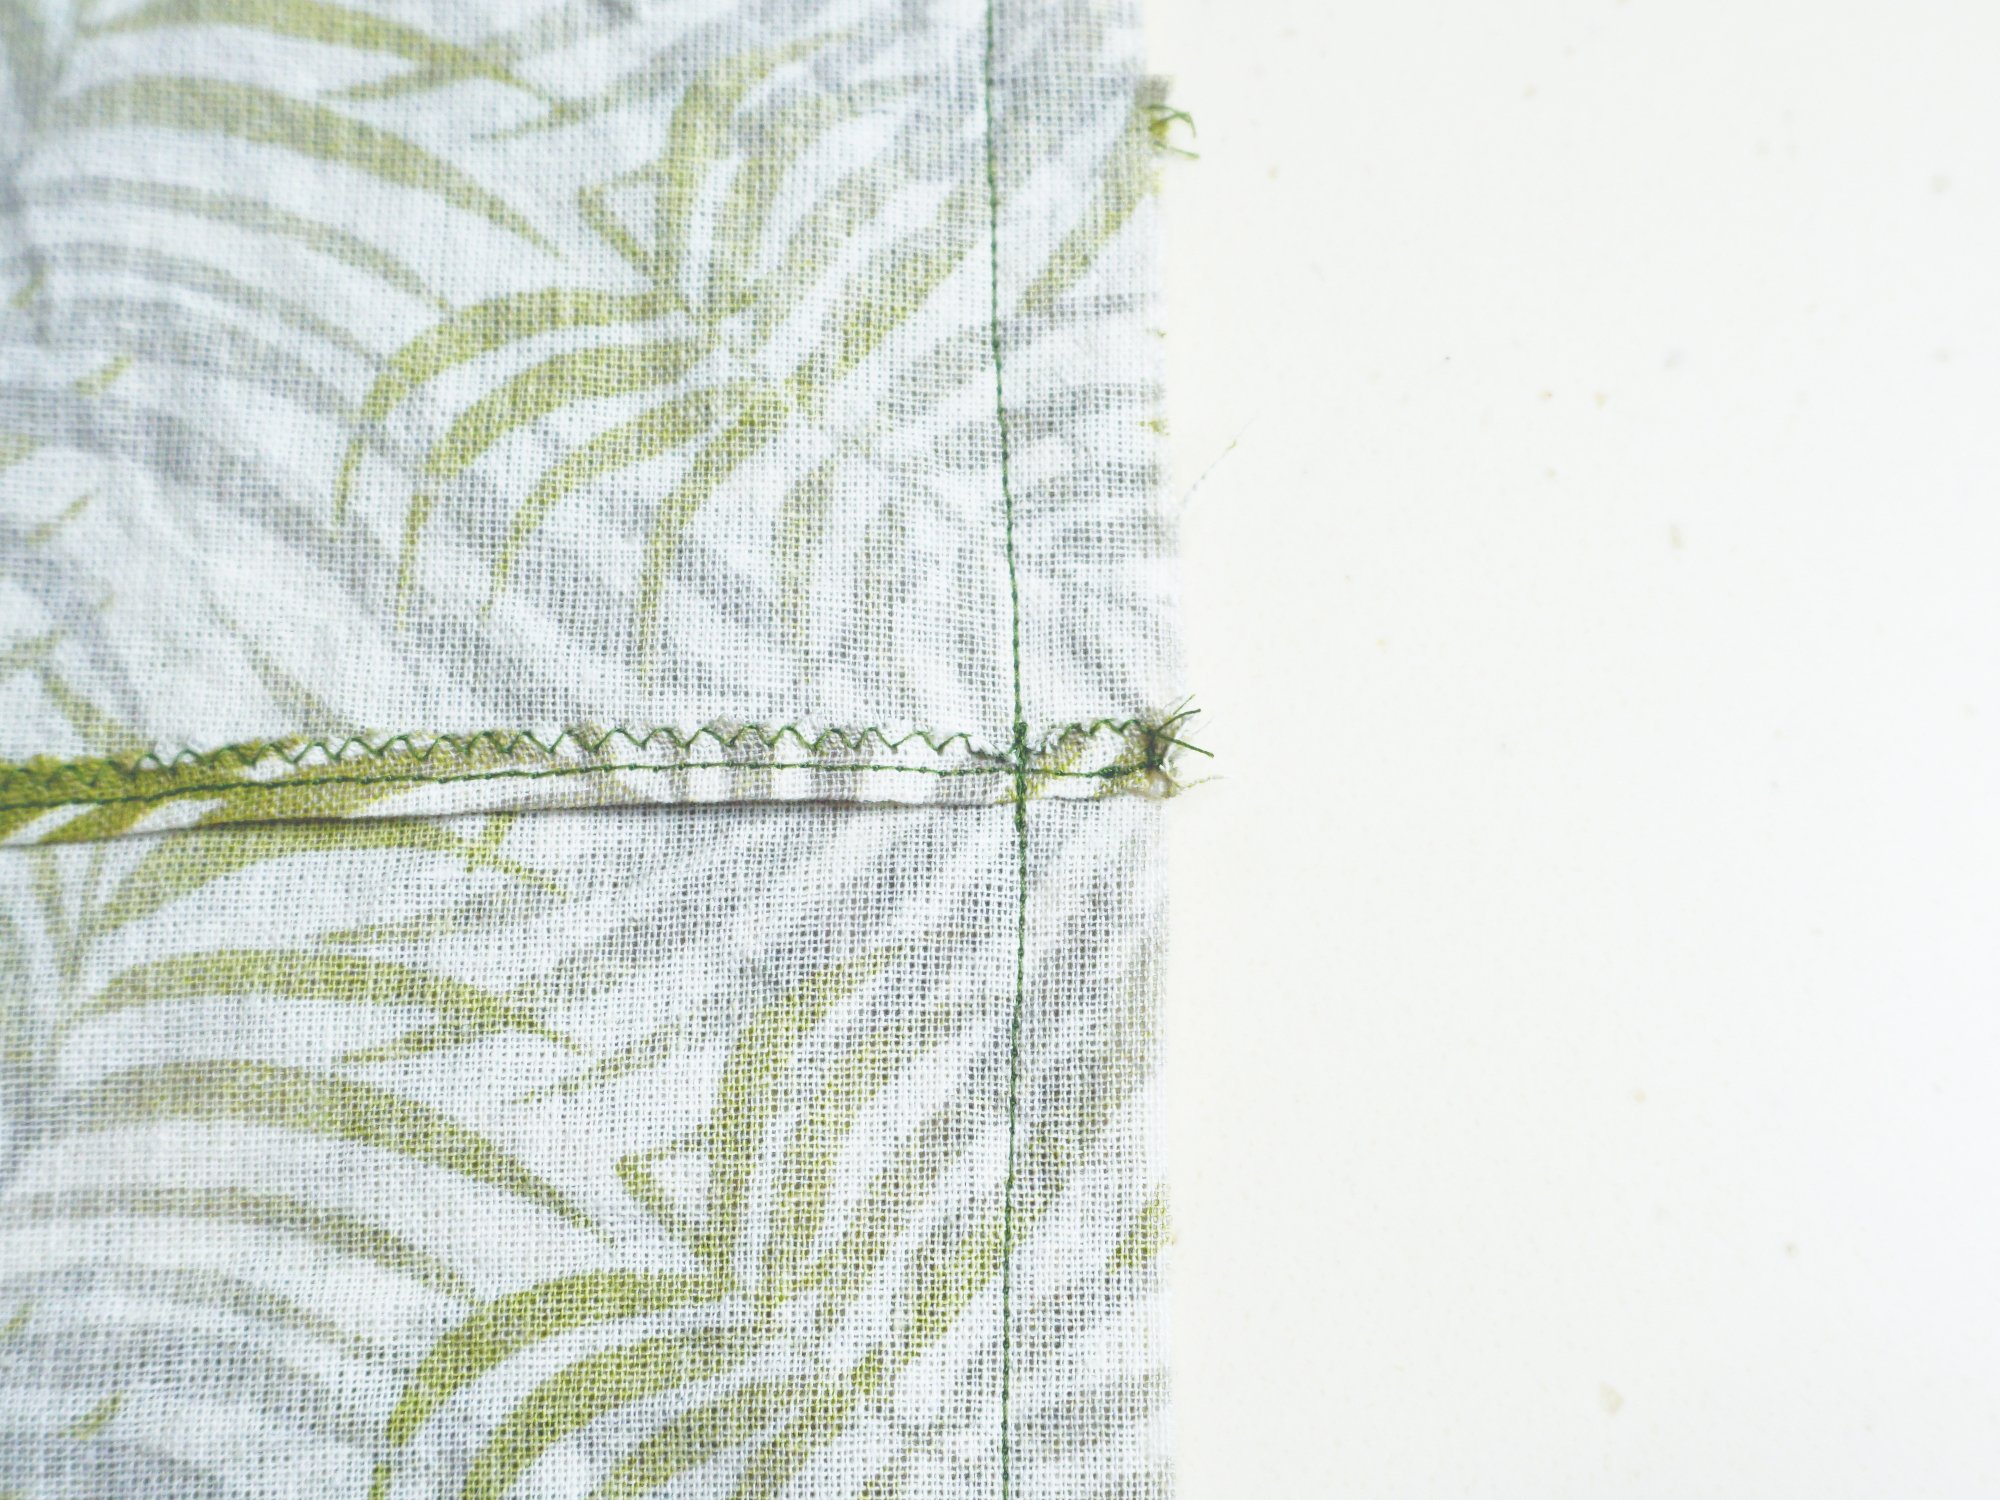
Step 7: Using straight stitches, sew around the edges of the cushion cover. I am using 0.5" seam allowance in this project. Reinforce the overlapped section by making a few backstitches. TIP: To make the pointed corners, try to make 1-2 diagonal stitches when turning at the corners (rather than making stitches with a 90 deg turn). See the next step for a close-up photo.
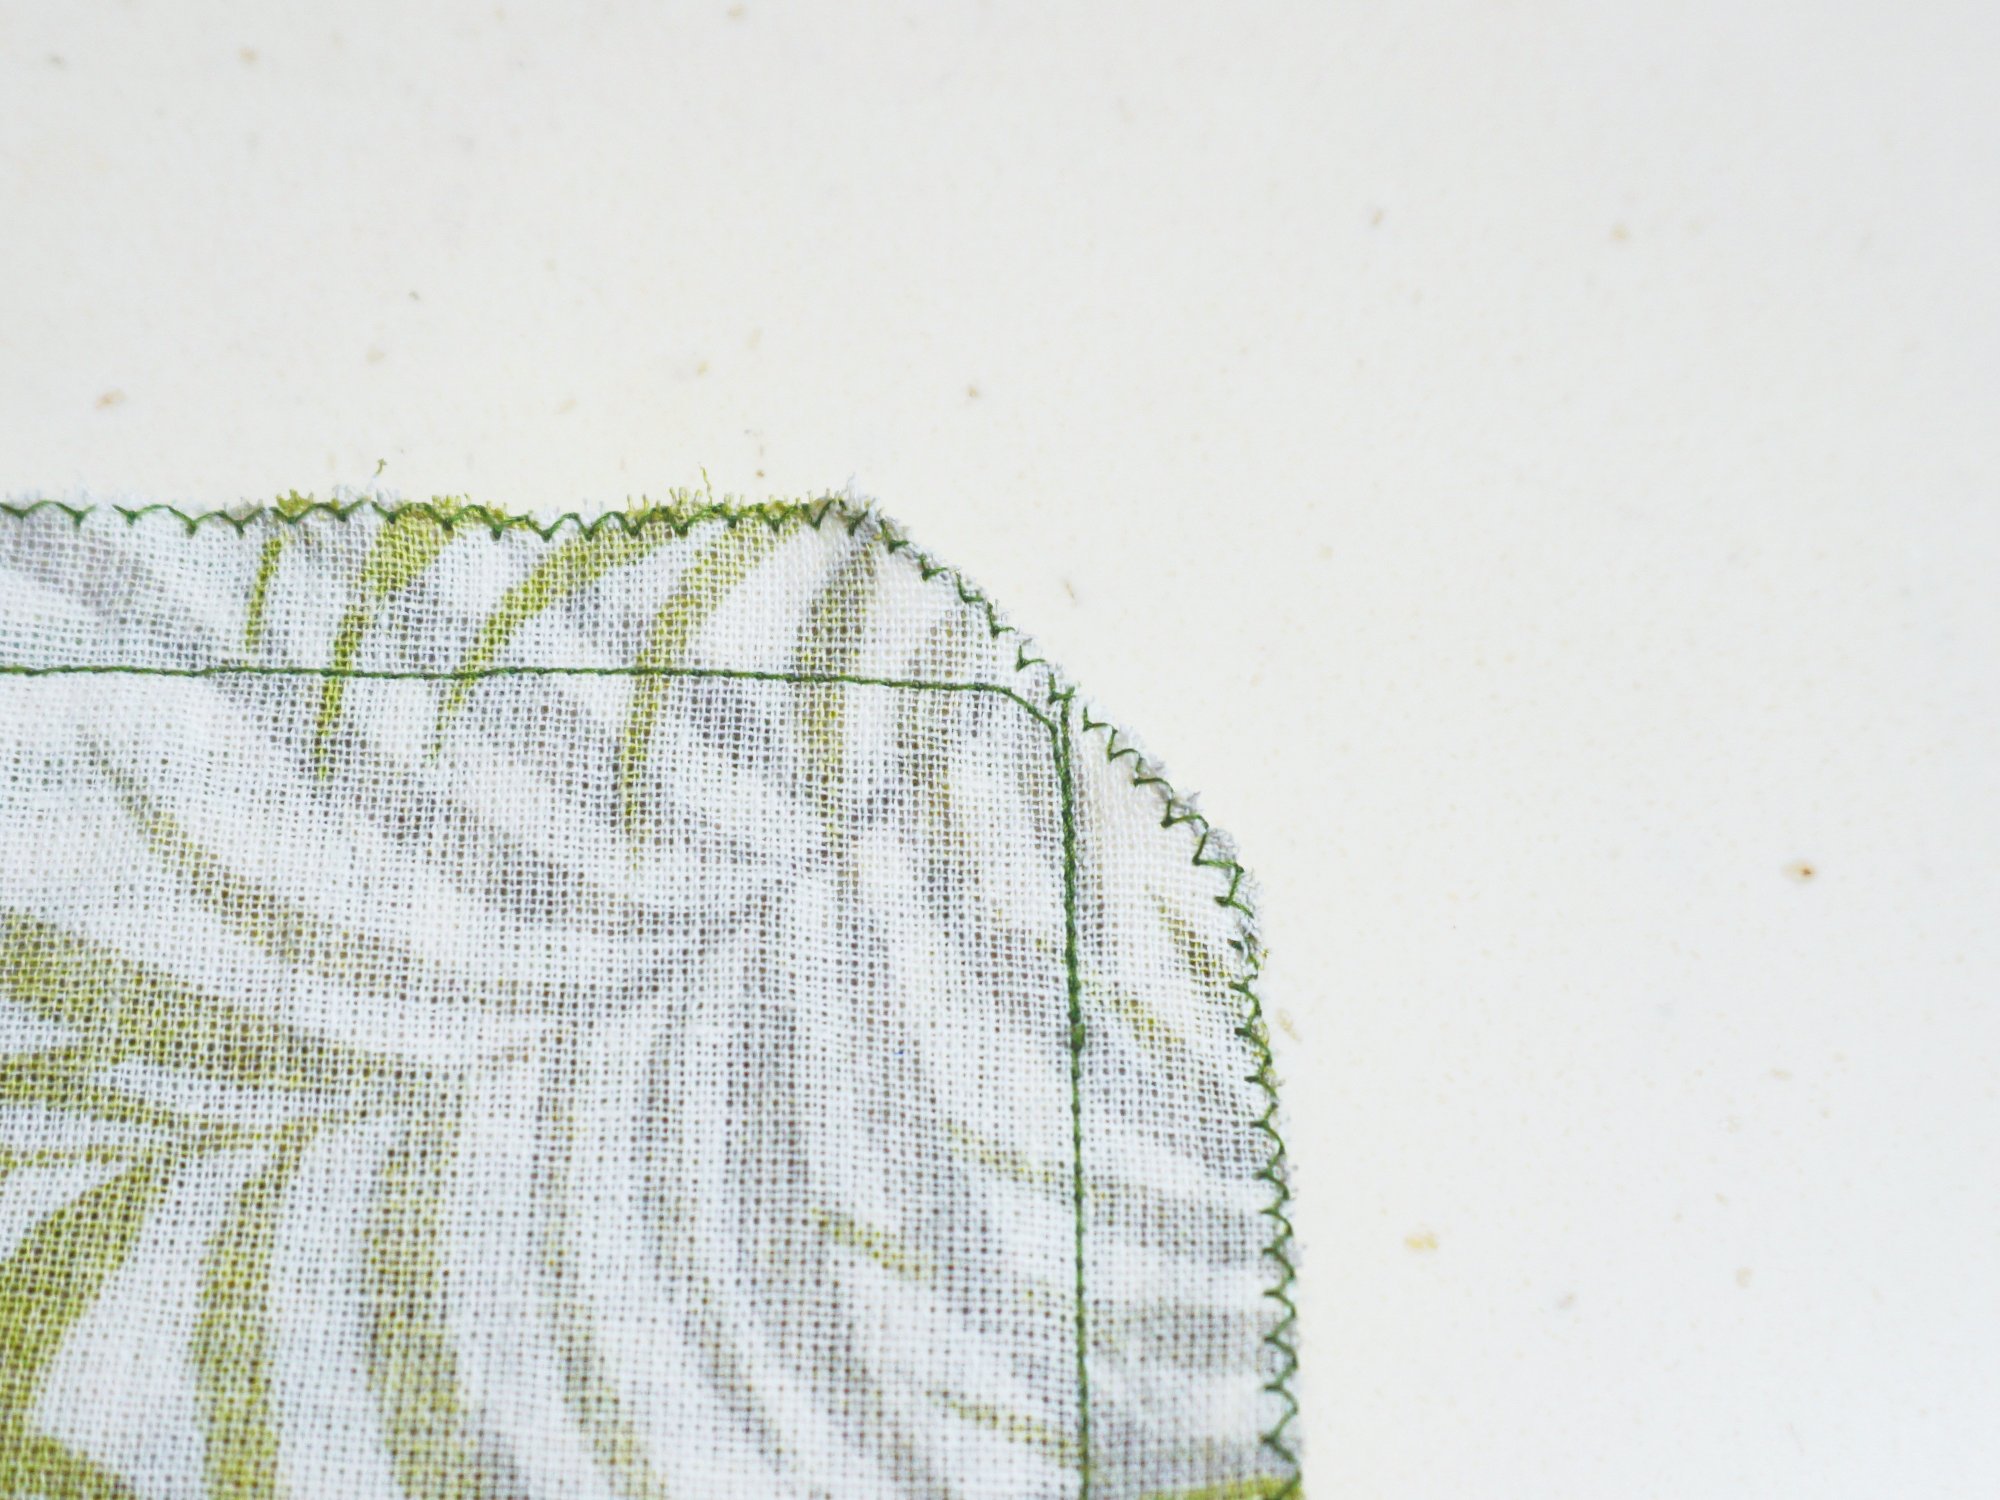
Step 8: Clip the corners. You may wish to trim the excessive seam allowance off as well if you find that the excess fabric from the seam allowance shows up on your cushion. Sew zig-zag stitches all around the raw edges to prevent the fabric from fraying.
And that's it! I hope the math formulas aren't too hard to follow. I decided to write the pattern down as a formula because I want to show everyone how easy it is to modify this project to fit all cushions of any size!
Have fun with trying to sew a cushion cover of your own! I am happy to answer any questions in the comments section :)
Gwen x