

Free Crochet Pattern for a Summer Raffia Bag

This summer raffia bag project started out more than 2 years ago and took much longer than I expected. But I am so excited to be finally sharing the finished look and the free pattern with everyone! In this blog post, you will find the free crochet pattern for summer raffia bag.
I had the idea of making a basic, round-bottomed bag for beach-going summer days originally. I didn't work on it using any pattern but what was in my own head. I casted on and began to work on it slowly. But as time went by, I began to realise that I was really struggling with the project. It was my first time working with raffia yarn and I needed some time to get used to the texture and how it moves on the crochet hook. I was also using the wrong hook size, which resulted in crinkly, tight stitches and a sore right hand. Little by little, I lost interest in the project and it got chucked away in my box of UFOs.
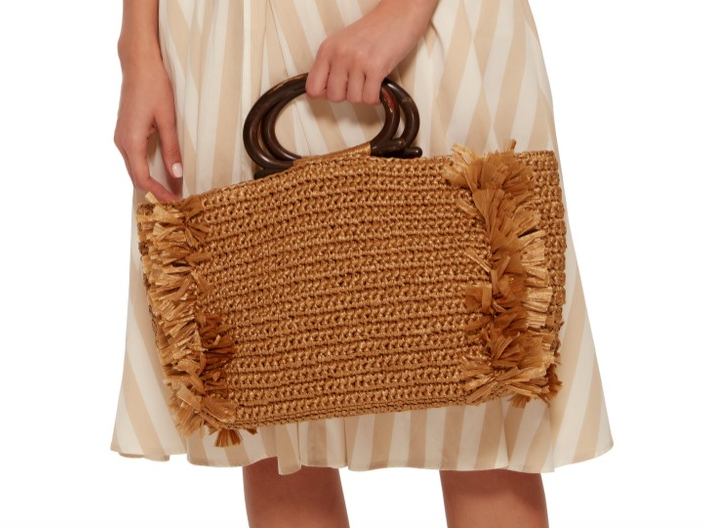
Fast forward to the end of 2019, I finally got inspired to pick up the project again. I decided that my original inspiration was no longer the design that I wanted. Instead, I came across the Corallina Fringed Raffia Tote and fell in love! And after working on it for many months..., I finally finished my summer raffia bag in May of 2020.

This summer raffia bag really took a lot longer than I initially anticipated. I ran out of yarn, ordered some more, then realised I bought the wrong colour, then ordered some more of the right colour. Other than having to wait for the yarn order, I also spent a lot of time handsewing the hard, interfaced lining to the bag. Honestly, the process of crocheting took a much shorter time than the process of sewing the bag lining in place. But hey, that's what I had to do for the bag to last a long long time.

So here it is! Before we get into the steps, I also want to say that I didn't start out thinking I would be sharing a free pattern for this summer raffia bag so this isn't a deep, step-by-step process. I'm not doing pattern-writing professionally (yet) so this is what I can offer for now. Now that I have laid that out, here's a how-to for you to make your own too >>>
YARN SUGGESTIONS
I used a no-brand raffia yarn I bought online to make this summer raffia bag. But if you want to look for something more specific, here are some suggestions:
PATTERN NOTES:
Finished dimensions: 8" ( W ) x 8.5" ( H ) x 10.5" ( L )
Yarn used: Raffia yarn, held double
Yardage: approx 800m
Hook: 5.00mm
Gauge: 15 sts x 15 rows = 4" x 4"
Other notions: magnetic buttons, a pair of handles, fabric and heavy-weight interfacing (if you want to make a lining for the bag
INSTRUCTIONS:
(Pattern is made flat and worked in rows)
[CAST ON]
Make foundation row of 40 chain stitches - then add an extra 1 sc before turning for the next row
[BAG FRONT - 32 rows in total]
Step 1: Make 40 sc
Step 2: Repeat Step 1 for 31 more rows
*Again, remember to add 1 sc before turning for the next row to make your edge straight*
[BAG BASE - 24 rows in total]
Step 3: To make the flat piece "fold" to create the base of the bag, insert hook into back stitch for this row. Make 40 sc.
Step 4: Switch back to inserting hook into both front and back of each stitch. Make 23 more rows.
[BAG BACK - 32 rows in total]
Step 5: To make the flat piece "fold", insert hook into back stitch for this row. Make 40 sc.
Step 6: Switch back to inserting hook into both front and back of each stitch. Make 31 more rows.
Step 7: Break yarn and fasten off
[BAG SIDES - 32 rows by 24 stitches for each side]
Step 8: Pick up and make 24 sc on short edge of the bag base. Do this by inserting your crochet hook into the back of all stitches to create the "fold"
Step 9: Switch back to inserting hook into both front and back of each stitch. Make 31 more rows, then break yarn and fasten off.
Step 10: Repeat for the other side of the bag

[JOIN EDGES]
Step 11: Using a tapestry needle and the raffia yarn (single strand this time will do), stitch the edges of the bag together to create a 3D bag. You may also wish to use yarn tail from fastening off in previous steps to do this. Weave ends in.


[SEW BAG LINING]
Note: You may wish to skip this section if you do not want a lining with a magnetic clasp
Step 12: Sew bag lining with magnetic closure into bag following the measured dimensions of the crocheted raffia bag
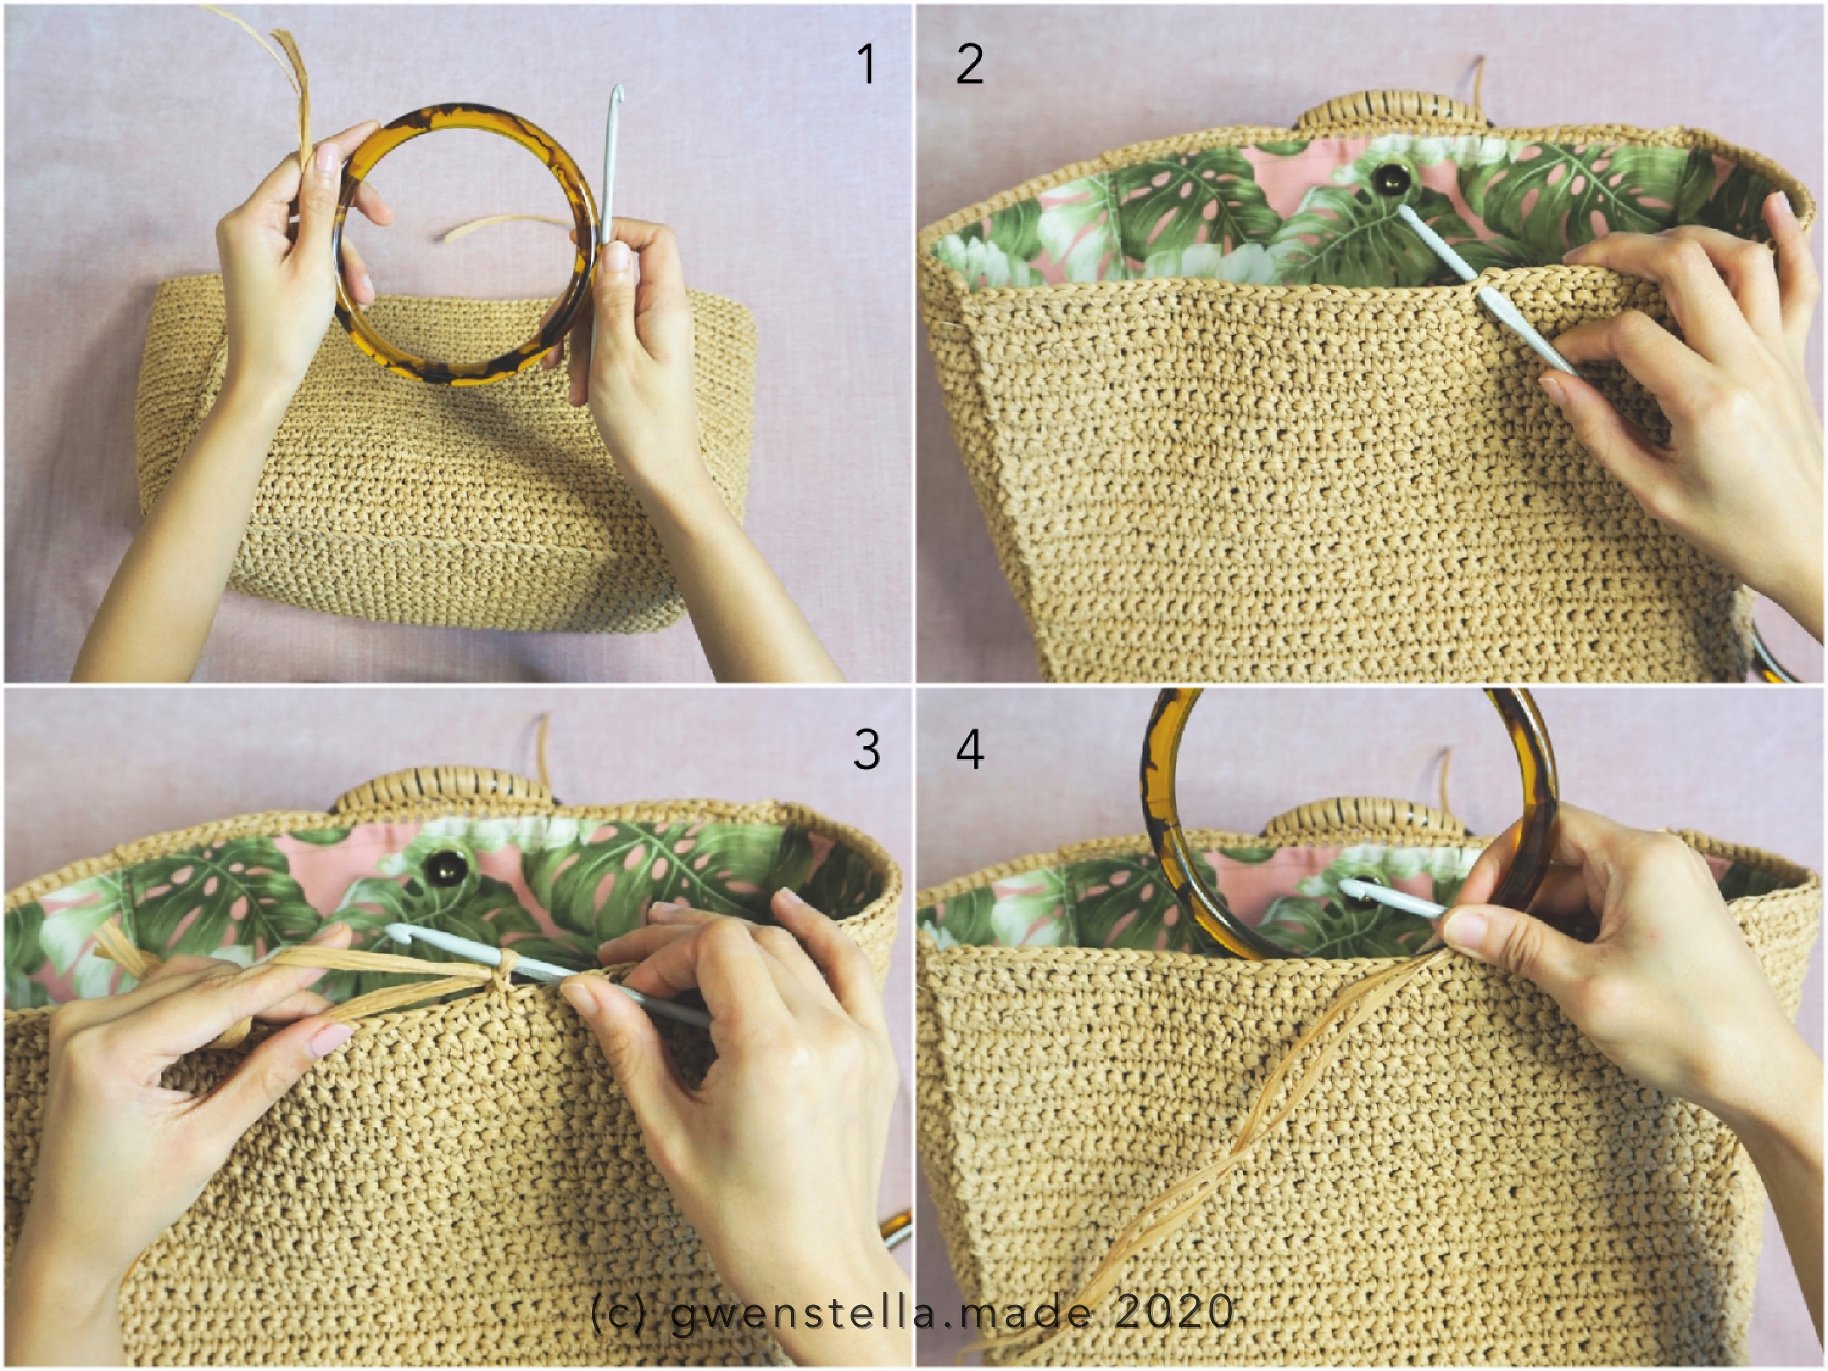

[ADD HANDLES]
Step 13: Using the same yarn and hook, crochet the handle onto the bag
- insert hook into the 14th stitch from the right of the bag
- make 1 sl st
- place the yarn in front of the bag and the handle behind the yarn
- make another sc by inserting the hook into the next stitch and wrapping the yarn over the handle
- continue to make 13 sc using the same method (i.e. 14th sis for the handle)
- make a sl st, break yarn and fasten off


[FRINGE]
Step 14: Tie short lengths of raffia along the edge of the bag to make the fringe
- Cut raffia yarn pieces of about 8.5cm long. You will need a lot, a lot of it!
- Using a tapestry needle, insert each 2 pieces into a stitch right next to the edge of the bag
- Make a simple tie
- Do this for 2 columns (i.e., up and down on each corner / edge of the bag, TWICE).
- Unravel the raffia a little to "fluff" up the fringe aka create volume
And that's it!


I hope you like this free pattern for my summer raffia bag - the SolarFlareBag! If you want to share this with everyone on Pinterest, please feel free to use the Pinterest image above.
Don't forget to use #SolarFlareBag and tag me on Instagram (@gwenstella.made) if you are making this bag! I'd love to see your version. x