

How to knit a pixie bonnet - any size, any yarn!
This is an odd week to finish my bonnet knitting project because we are back to summer here in Texas with temperature averaging around 70F / 21C. Regardless, I am starting 2023 working on my current autumn/winter capsule! In this post, I will explain how to knit a pixie bonnet for any size with any yarn.

Watch the process on knitting this pixie bonnet
Materials and tools needed:
Yarn
Knitting needle in the size recommended by the yarn; ideally circular needles for easier 3-needle bind off
Tapestry needle
Ruler or measuring tape

For my bonnet, I used the Rasta yarn by Malabrigo which I purchased during my trip to Maine last year. I bought 2 hanks just to be safe because I had no idea what I was going to make with it but I *just knew* it was going to be some sort of knitted headgear.
Since I bought the yarn BEFORE I decided on the project, I didn’t have a knitting pattern in mind. I also didn’t want to spend HOURS searching for the “perfect” pattern designed for this super bulky yarn. And so, I do what I do best in this sort of situation - make my own pattern.
How to knit a bonnet for any size with any yarn

Measure your head dimensions
Watch the video at 01:59 to learn how to measure your head for this pixie bonnet
For this bonnet design, we need the following head dimensions:
Length around the back of the head from one front of the ear to another
This measurement is key for determining how many stitches we need to cast on for knitting the main body of the bonnet.
Height from base of bonnet to top of the head
This measurement is actually not compulsory. Since the bonnet is knitting bottom-up from the bottom neck ribbing to the top of the bonnet, we can check the length as we go. When knitting my bonnet, I actually ended up with a length that is longer than I originally thought I wanted because I realised I wanted a bonnet with a looser fit.
Knit a swatch
A swatch is a little square piece of knitted material made using the yarn and the needle of your choice. Depending on your choice of yarn, the number of stitches to cast on and the number of rows you need to knit is different. However, the key is to make a square of about 3” x 3” so that you have a good average gauge of your knitting tension. If you make your swatch too small, you might not be getting a good average of your tension. If you make your swatch too big.. Well that’s just not how we want to spend our time, right? XD
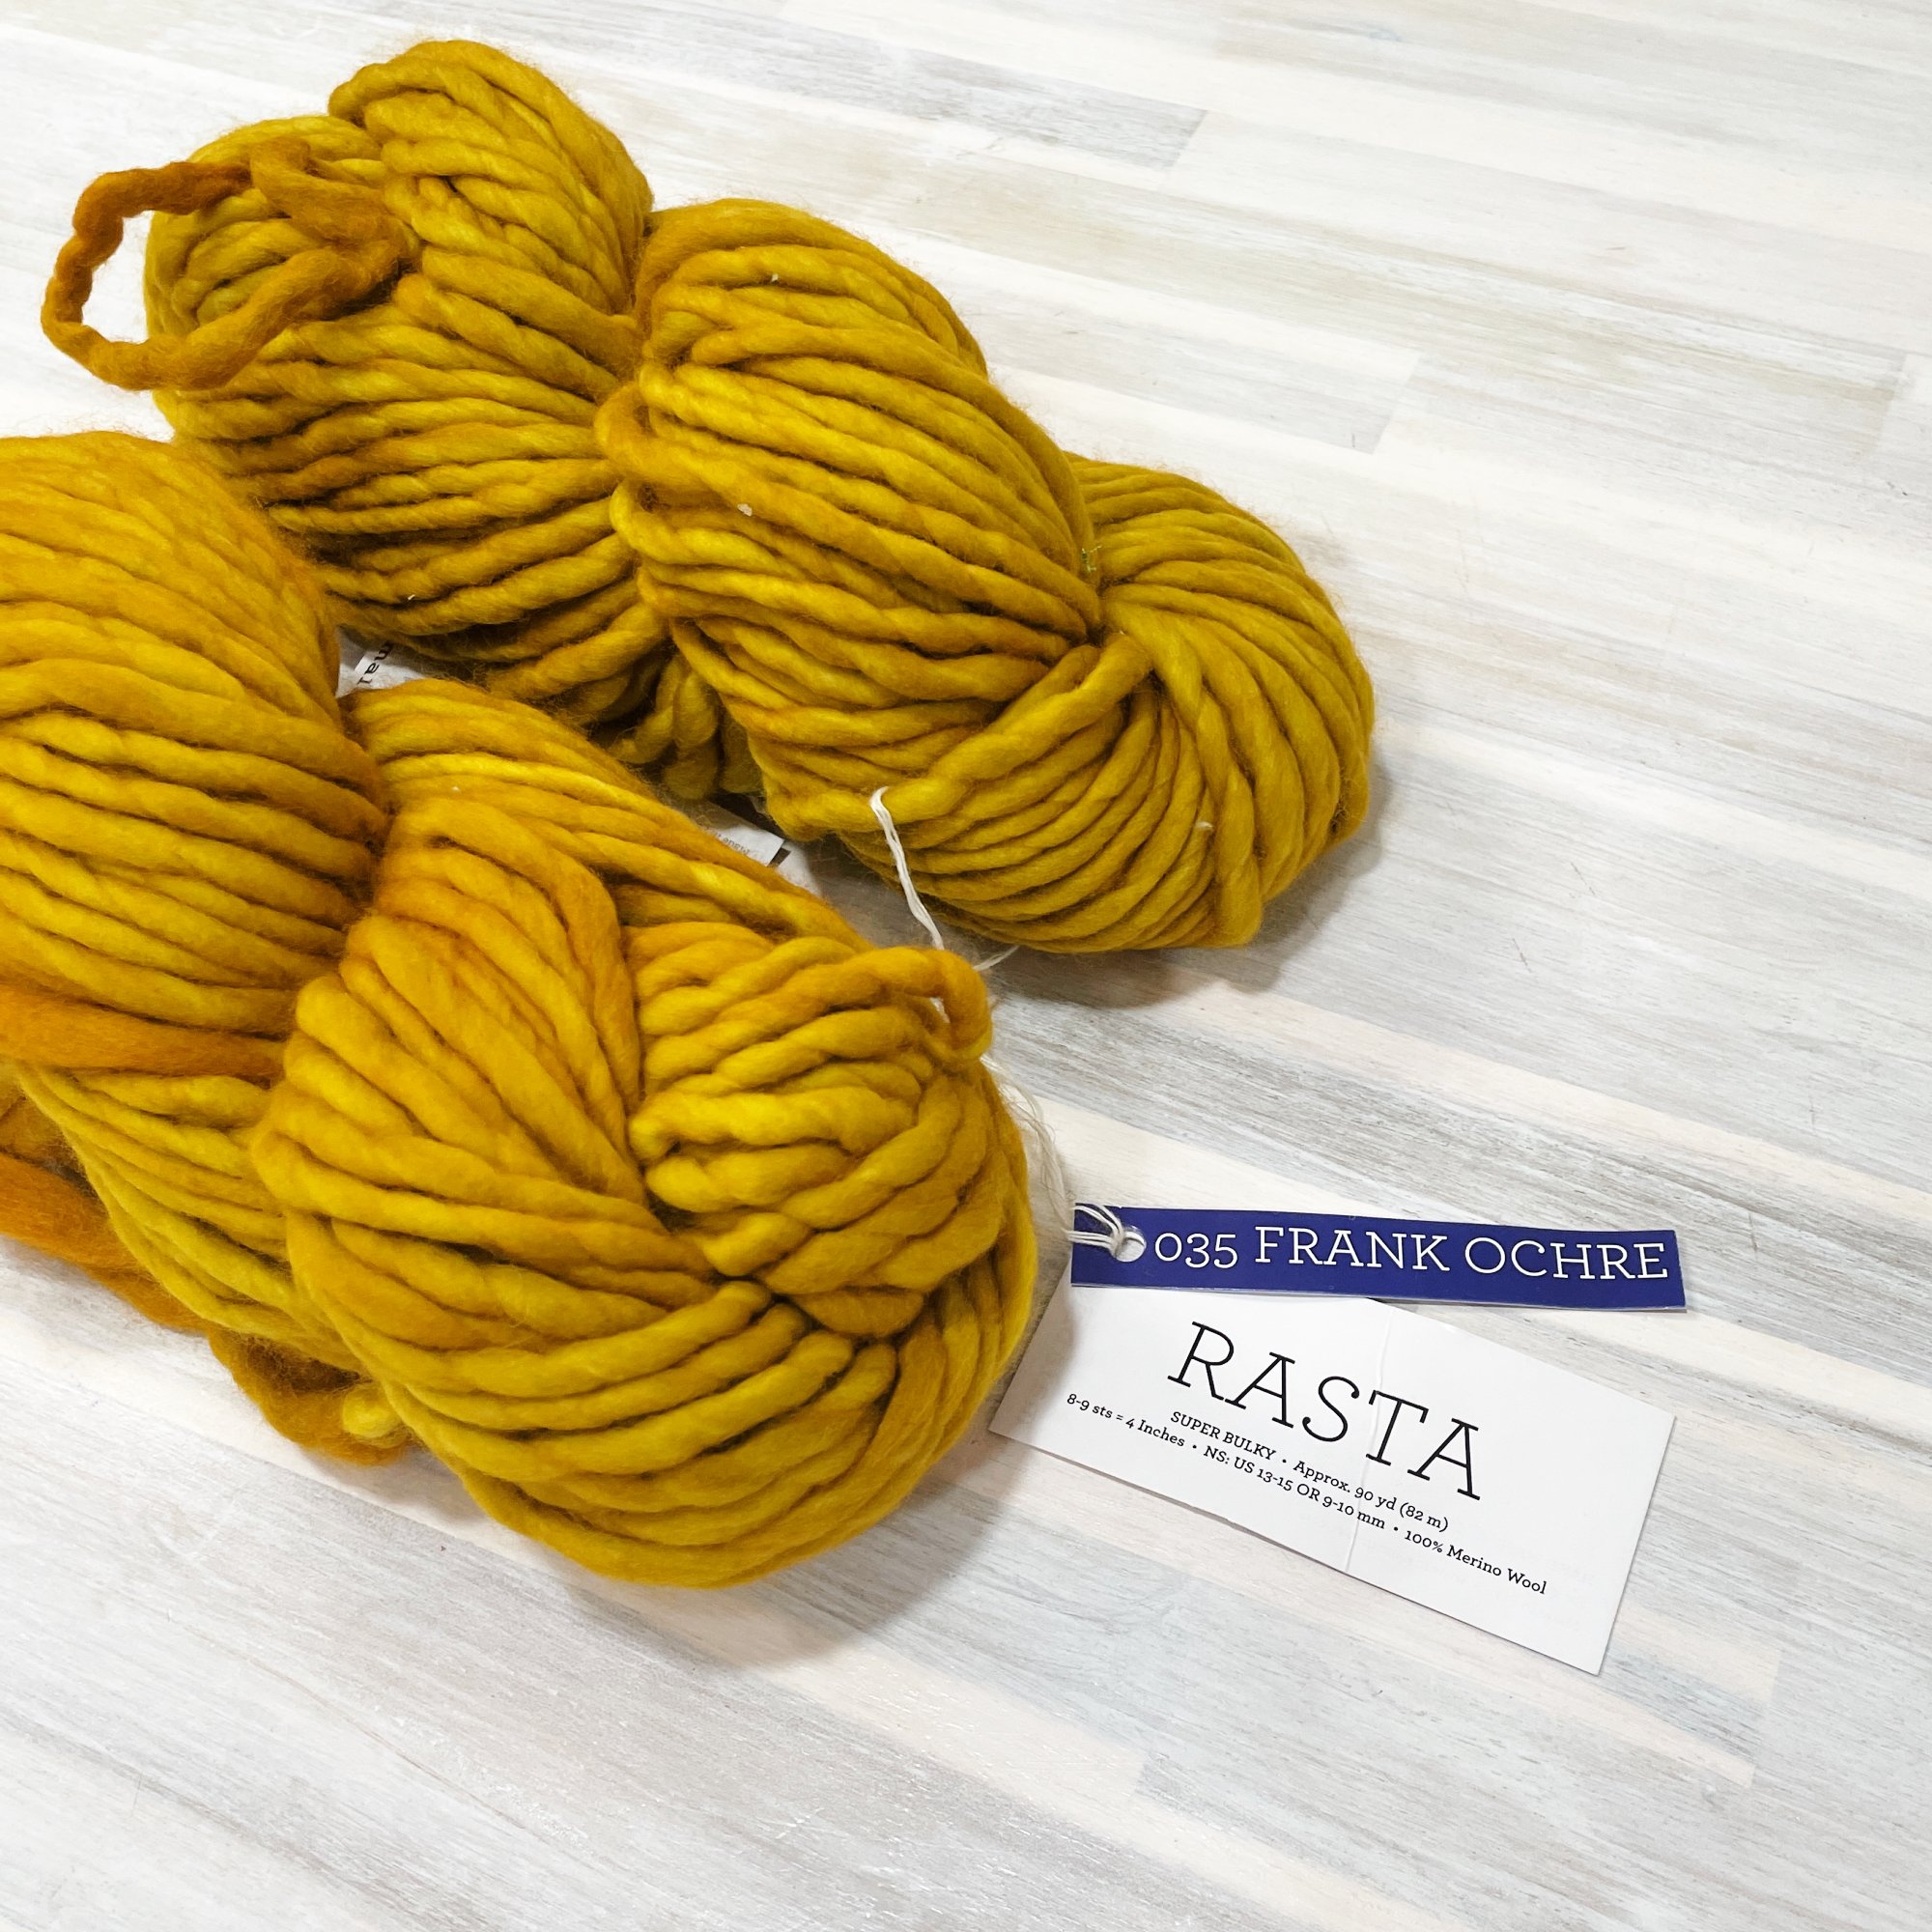
The Rasta yarn by Malabrigo recommends a knitting needle of 9 - 10mm (on the tag, but 9 - 15mm on the website). I decided to go with a needle size of 10mm. For my swatch, I casted on 12 stitches and knitted about 12 rows in stockinette stitch.

Tip: I always knit the first and last stitch regardless of whether it’s a knit or purl row so my swatch won’t curl on the sides too much.
Calculate gauge

This is where we do the math! With the swatch I knitted, I got:
7 stitches = 3”
So, to get 11.5” for it to wrap around my head:
(Length around head / swatch length) x swatch stitches =
(11.5” / 3”) x 7 stitches = 26.8333333
Depending on the values you got, you may or may not end up with a whole number. I rounded the number up to an ODD number because we are starting with a 1 x 1 ribbing and I like starting and ending my work with a knit stitch for every row (due to the same reason as my swatch).
And so…
No. of stitches I casted on = 27!
How to knit a bonnet - any yarn, any size

The knitting pattern will likely differ for me and you unless you are knitting with the same yarn, same needle size, and have a similar knitting tension as me. But here’s the general construction and tips to knitting:
Cast on ODD number of stitches
Begin by knitting 1 x 1 ribbing on smaller needles, remember to make a KNIT stitch at the start and end of EVERY row
Continue knitting in 1 x 1 ribbing until desired length, ending with a purl row (i.e. next row will be a knit row)
Switch to actual needle size and begin working in stockinette stitch (i.e. purl on wrong side, knit on right side). Remember to make a KNIT stitch at the start and end of EVERY row regardless of whether it’s a purl or knit row!
Keep working in rows until desired length. Place the bonnet against your head and look in a mirror!
End with a purl row (i.e. wrong side)
Fold the piece right sides together and bind off top with 3-needle bind off. This step is why I recommend using a circular needle - you won’t be able to fold your work right sides together with a straight needle!
Pick up an ODD number of stitches around the face opening of the bonnet with smaller needles, starting from the right bottom tip. Knit in 1 x 1 ribbing with a knit stitch at the start and end of every row as before
Continue knitting until desired length, bind off
How I knitted my Pixie Bonnet

With the construction method above, here’s how my knitting pattern looks like:
Abbreviations:
WS: wrong side
RS: right side
st: stitch(es)
rem: remaining
Cast on with 9mm needles
Row 1 (RS): k1, (k1, p1)* repeat until 1 st rem, k1
Row 2 (WS): Same as Row 1
Repeat Row 1 until ribbing measures 1.5” long from cast on edge, ending with Row 2
Switch to 10mm needles
Row 3 (RS): knit
Row 4 (WS): k1, purl until 1 st rem, k1
Repeat Rows 3 + 4 for stockinette stitch pattern until bonnet measures 12” from cast on edge
Fold work in half, RS together and bind off top with 3-needle bind off
Pick up 83 stitches around opening, starting from the right bottom tip. The next row is a WS row
Knit 1 x 1 ribbing along bonnet opening with the same pattern as Row 1 + 2
Bind off
Making the closure
For my bonnet design, I originally considered just handsewing a hook and eye closure under my chin to hold the bonnet closed. But… I knew I needed something a little more. I ended up crocheting a foundation chain of about 20” and then adding felt pom poms on the ends.

2 ways to wear:
As a hood

2 ways to wear:
As a bonnet
Modifications to the pixie bonnet knitting pattern
Here are some ideas I have for modifications:
A snug fit around the face

zara.com
If you want the 1 x 1 ribbing to cinch around your face more, then consider picking up fewer stitches around the face opening. For my bonnet, I picked up one stitch in every hole (but skipped 1 just to make the final number an odd number). For a snug ribbing around the face, consider skipping every 5th hole? 3rd hole? It’s hard for me to say because this depends on (1) how snug you want the bonnet to be and (2) the yarn weight you have. Experimentation is key!
A cute and dramatic addition

Why yes, that’s a bonnet on a baby and I would knit that for myself
I’m always here for dramatic designs! For 1001% cuteness overload, try knitting a ruffle edge or crocheting a scalloped edge around the bonnet instead of the 1 x 1 ribbing.
A 2-in-1 scarf and bonnet combo

1938 knitting pattern
Want your neck to be warmer? How about casting on on the edge of the ribbing and knitting a longgggg strap to make a scarf attached to the bonnet?
Share your pixie bonnet with me!

I hope this tutorial and knitting guide is helpful! If you do make a pixie bonnet with the help of this pattern, please tag me because I’d LOVE to see your creative work! x