How To Add A Filter Pocket To The Hybrid Face Mask

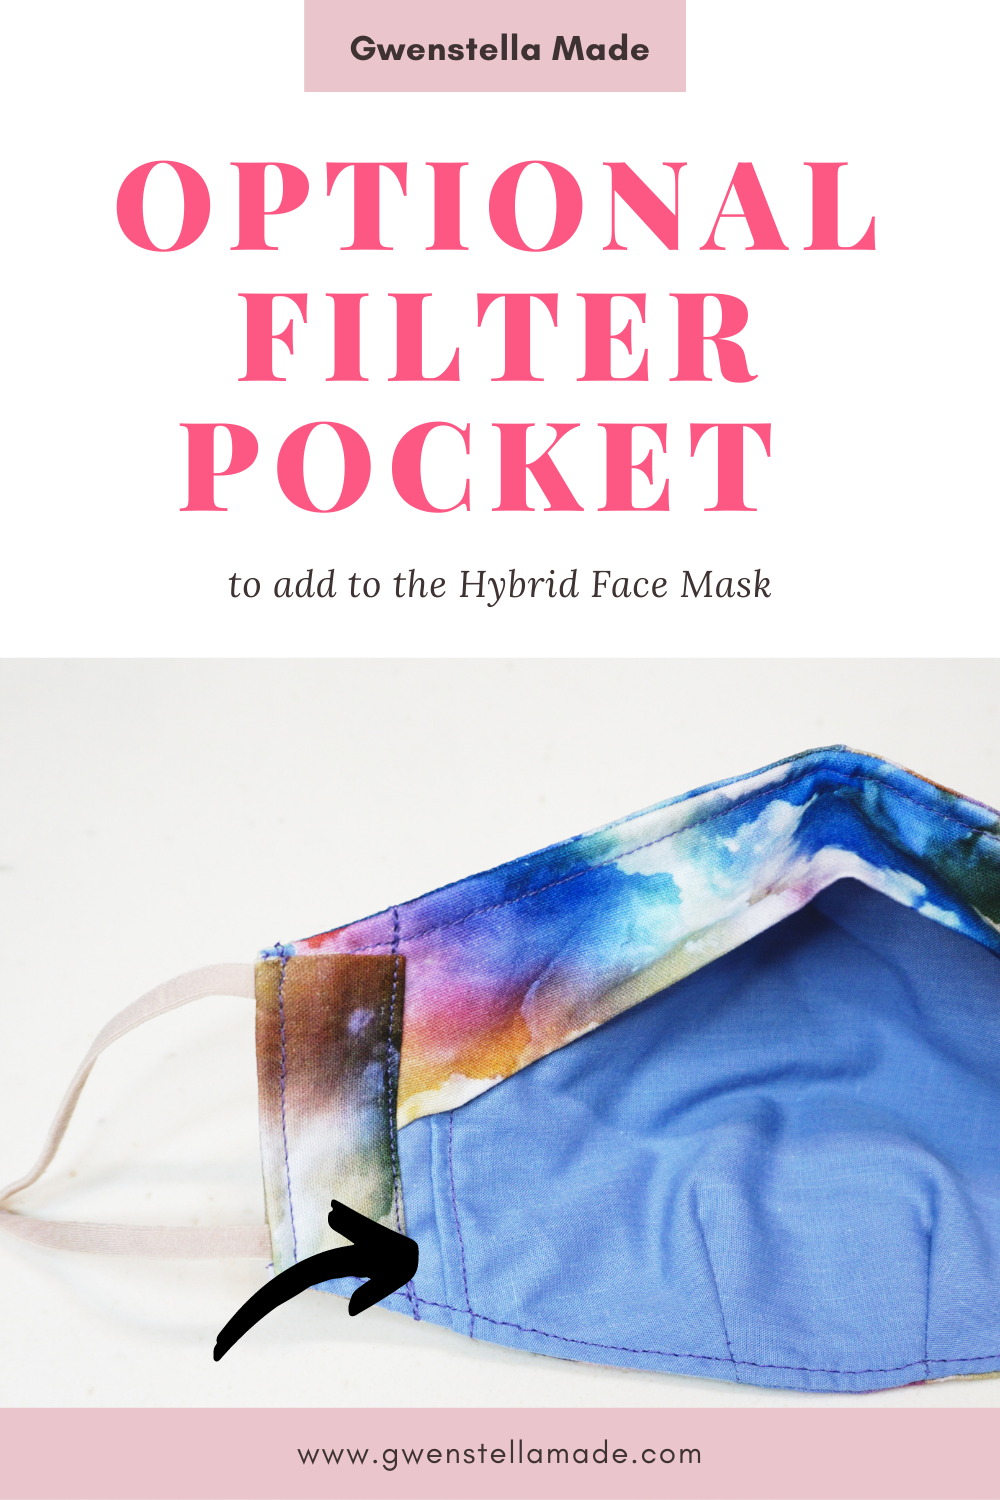
Image of the interior of the Hybrid Face Mask with an arrow pointing to the edge of the filter pocket. The words "Add a Filter Pocket to the Hybrid Face Mask" are placed along the bottom of the picture.
In my original DIY Cloth Mask 101 blog post, I talked about how studies have recommended using 2-3 layers of fabric in making homemade fabric masks for adequate protection. I also covered the use of filters in masks. So, it's no surprise to me that some of you have been asking me about the possibility of adding a filter pocket for this pattern. Of course, the answer is 'YES!' and it's actually really simple. Here's how to add a filter pocket to the Hybrid Face Mask pattern.
How to Add a Filter Pocket
Materials
You don't really need an additional pattern for this filter pocket hack. Either a copy of the printed pattern or a self-drafted version will do!
Abbreviations
RS = right side
WS = wrong side
Steps
Before you continue reading, I highly encourage you to read through the original tutorial because I will be referencing some terms and steps outlined in the original post. The 2 main steps to adding the filter pocket are 1) cutting a piece from the original pattern with the sides shortened and 2) knowing how to layer the pieces in the correct sequence. I will be going through these 2 key steps below.
In this version of the mask, I have used the main / lining pieces with the extended sides. In the original tutorial, this version omits the use of a separate rectangular piece of fabric to be sewn onto the mask to create an elastic casing. The extended sides allow an elastic casing to be created simply with a double-fold method.
However, in this specific version of the mask I made for a friend, I have also used a casing rectangle. I wanted to use a fancy mask elastic that only works when sewn into a mask. So, I ended up sewing this elastic into the mask by sandwiching the elastic between the mask body and the casing rectangle.
Cutting the Filter Pocket Piece
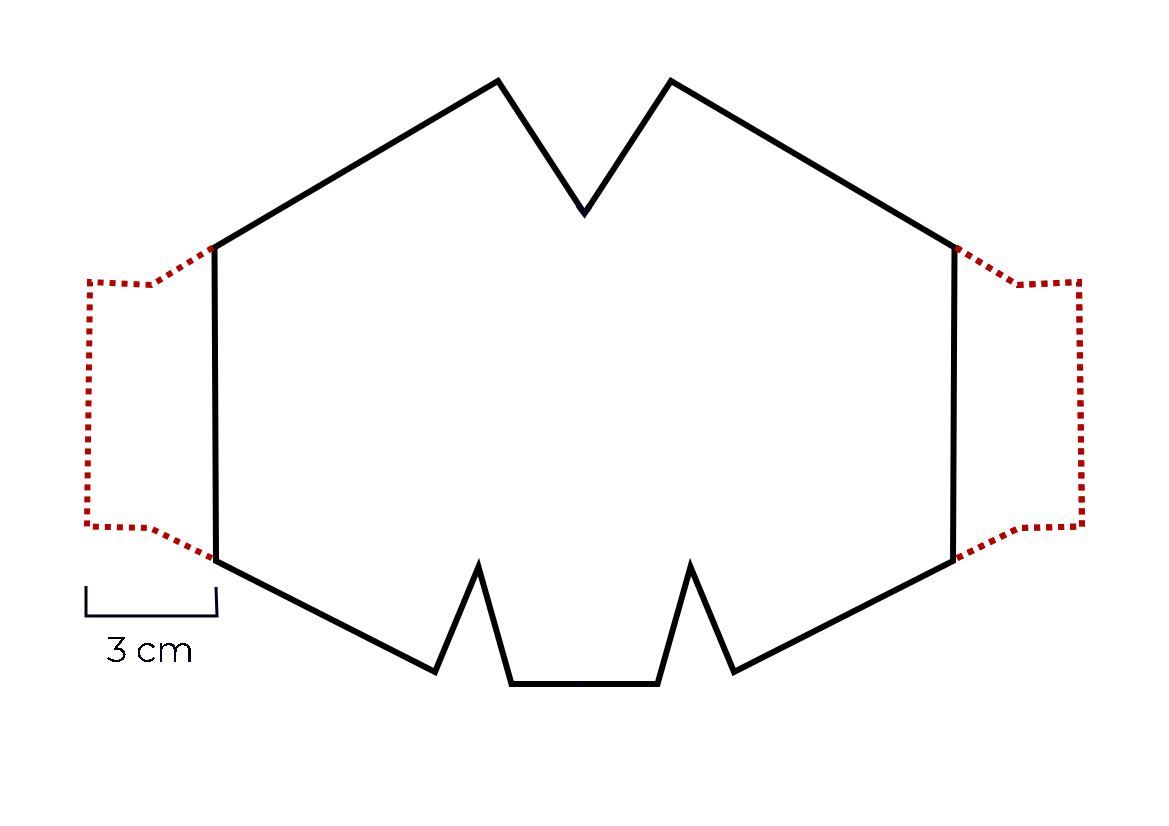
Image demonstrating the outline of the filter pocket based on the original Hybrid Face Mask Pattern. Dotted red outline shows the 3 cm taken off the sides of the original pattern. The final filter piece is outlined in black.
Figure 1
(image is not to scale)
Taking the original pattern, shorten the sides by 3 cm on each side. You may mark this shortened pattern by drawing a vertical line on the pattern or simply folding the paper to create a crease. (See black outline in Figure 1 above)
Cut the filter pocket piece using the shortened pattern. The cut fabric piece will look like the piece labelled [4] in Figure 2 below.
Cut the rest of the pieces required for the making the original Hybrid Face Mask (i.e. main body, lining, nose flap)
If you wish to save on some fabric, you can omit cutting the lining piece (labelled [2] in Figure 2). You will end up with 2 layers of fabric before inserting your additional filter into the mask.
If you like the idea of having a 3-layered cloth mask (even without the additional filter), cut all 4 pieces shown in Figure 2 below.
Note: The mask in this tutorial has 3 layers of fabric (i.e. all pieces [1], [2], [3], [4] are used

Image shows the different layers needed to add a filter pocket to the Hybrid Face Mask
Figure 2
[1] main body
[2] lining
[3] nose flap
[4] filter pocket
Sewing the Layers
Step 1
Follow Steps 1 - 3 of the original tutorial
Step 2
Sew the seam for the raw side edges of the filter piece. Start by folding 1/8" WS together and then fold another 1/8" towards the wrong side. This creates a double-fold hem.
Using straight stitches on the sewing machine, sew the hem in place.

Step 3
Stack the fabric pieces on a flat surface in this order:
1. main body piece [1], RS facing up
2. nose flap [3]
3. filter piece [4], WS facing up
4. lining [2], WS facing up

Image shows how the different fabric pieces are stacked before pinning and sewing together. Each layer is labelled with a black line and a number.
[1] main body
[2] lining
[3] nose flap
[4] filter pocket
Step 4
Pin all layers together and continue sewing from Step 5 of the original tutorial. When sewing the elastic casing (either using the double-fold method or with the casing rectangle option), ensure that the elastic casing cover OVER the nose flap. In addition to that, now you also need to make sure that the elastic casing does not go over the opening of the filter pocket.
And.. that's it!

Photo with the interior of the mask exposed to show the filter pocket after sewing everything together
In this version, I sandwiched the elastic between the body and the casing rectangle before sewing the casing + elastic in place.

Photo showing the final mask with right side up. Mask is made with a fabric with a dreamy print featuring clouds and overlay of rainbow colours.
For anyone who is curious, this is the mask I made for my friend with some "fancy" soft elastic + silicone toggle for adjusting the length of the elastic. Isn't this fabric dreamy!?
Materials to Use as Filters
As I outlined in my DIY Cloth Mask 101 report, it seems like layers of kitchen towels and spunbound polypropylene (i.e. the material used to make reusable grocery or conference bags) are materials that can be used as an extra filters. Here in Singapore, I have also seen people having layers of kitchen towels sticking out of their fabric masks.
To be honest, I don't usually add an extra filter. So, I'm really curious as to what everyone are using as an extra filter. Do you cut a scrap piece of spunbound polypropylene and stick it in the pocket? Or do you put a fresh layer of kitchen towel in it?
I have also heard of the use of carbon filters and HEPA filters, but I'm not sure how I feel about them. In general, I am open to using homemade filters (e.g., kitchen towel, cut up grocery bag) but I am a little cautious of "specialised filters" like HEPA.
Let me know your choice of material(s) in the comments below!
Use the #GSMHybridFaceMask hashtag!
Don't forget to use the hashtag #GSMHybridFaceMask when you post your masks on social medias so everyone can see this pattern looks on different faces! I have really enjoyed looking through all your versions and I also really appreciate all the feedback on this pattern so far.
YOU are the reason why I do what I do! Stay safe and keep well x