How to sew a capsule wardrobe: My 5 steps in the design process
Spring is just around the corner and it’s time to wrap up my A/W capsule wardrobe sewing adventure of 2021! Today, I am sharing the 5 key steps in my design process for my A/W capsule wardrobe and sharing some of my favourite looks from this handmade collection!
In my original post announcing my autumn/winter sewing plans, I briefly explained what a capsule wardrobe is, why I like creating them and how I build them. In this post, I will be revisiting some of the information I shared earlier and explaining my design process for this specific autumn/winter capsule wardrobe in more detail.
My goals for creating capsule wardrobes
My biggest, overarching goal for creating a capsule wardrobe is mindful making. I hate the idea of making something that doesn’t fit in my wardrobe. So, planning what I sew and make around a capsule wardrobe helps me to make sure that whatever new things I create will be loved and worn for as long as possible.
Even when I am not making something with the specific goal of adding it to a capsule wardrobe project, I usually ask myself, “does this pair with at least 2 other things in my current wardrobe?”
Having a capsule wardrobe also reduces the chances of me facing decision fatigue on a daily basis. Hands up if you have had days when you seemingly have “nothing to wear” despite having a full closet! Brains are weird sometimes. By focusing on a default go-to collection of clothes, I save my daily decision-making quota for more important things in my life.
That said, I don’t always stick to just the clothes in my capsule wardrobe. So far, I have only built my capsule wardrobe for a limited function. My current autumn/winter capsule is built specifically for everyday wear and casual outings. In the past, I had capsules specifically just for work (i.e., work-appropriate clothes only) or for a 1-week vacation (i.e., packing light with things I can stuff in a single suitcase).
So, if I decided to have a lazy day lounging at home, I’d be wearing pyjamas pants and a pullover, none of which exists in this current capsule. If I had a formal evening dinner, I’d be wearing a fancy dress that isn’t included in this collection of clothes.
At the end of the day, it’s about making the wardrobe work for you and not the other way around. In the last few months, I stuck to my default capsule wardrobe for most days. However, there were also days when I got inspired to wear something outside of the current capsule and I just ran with it.
My design process for my A/W capsule wardrobe
If you are interested in making your own capsule wardrobe, then this is probably the most interesting section of the blog post for you! In this section, I outline my key steps in creating my autumn/winter capsule wardrobe. Here’s the 5 key steps in my design process for my autumn/winter capsule wardrobe:
1.Curating a moodboard
Before deciding on fabric choices, designs, and colours, I started with a moodboard. I began by creating a board on Pinterest in the middle of summer while I was still mulling over my autumn/winter sewing plans.
I like using Pinterest to collect styles and images that inspire me. The grid format makes it easy for me to review everything I have collected at a single glance. Once you start pinning certain types of images, the algorithm also works well in recommending similar images to you.
When I started collecting pins on Pinterest, I already knew that I wanted to go for a 70’s inspired look with autumnal colours, so that’s what I started with. Once I had a sizeable amount of images in my Pinterest board, I moved on to creating a moodboard on Canva.
The moodboard on Canva is a refined version of the inspiration board on Pinterest. This moodboard helps me to have a clearer idea of the colours and lines that I want to use in my capsule wardrobe.
To create a moodboard, I selected images from my Pinterest board that resonated with me the most. In my experience, the activity of collating the images really helps my brain to process and refine my ideas for a capsule wardrobe.
Once I decided on a colour palette for my capsule wardrobe (step 4), I also added it to this moodboard to formalise my ideas.
2.Building the foundation
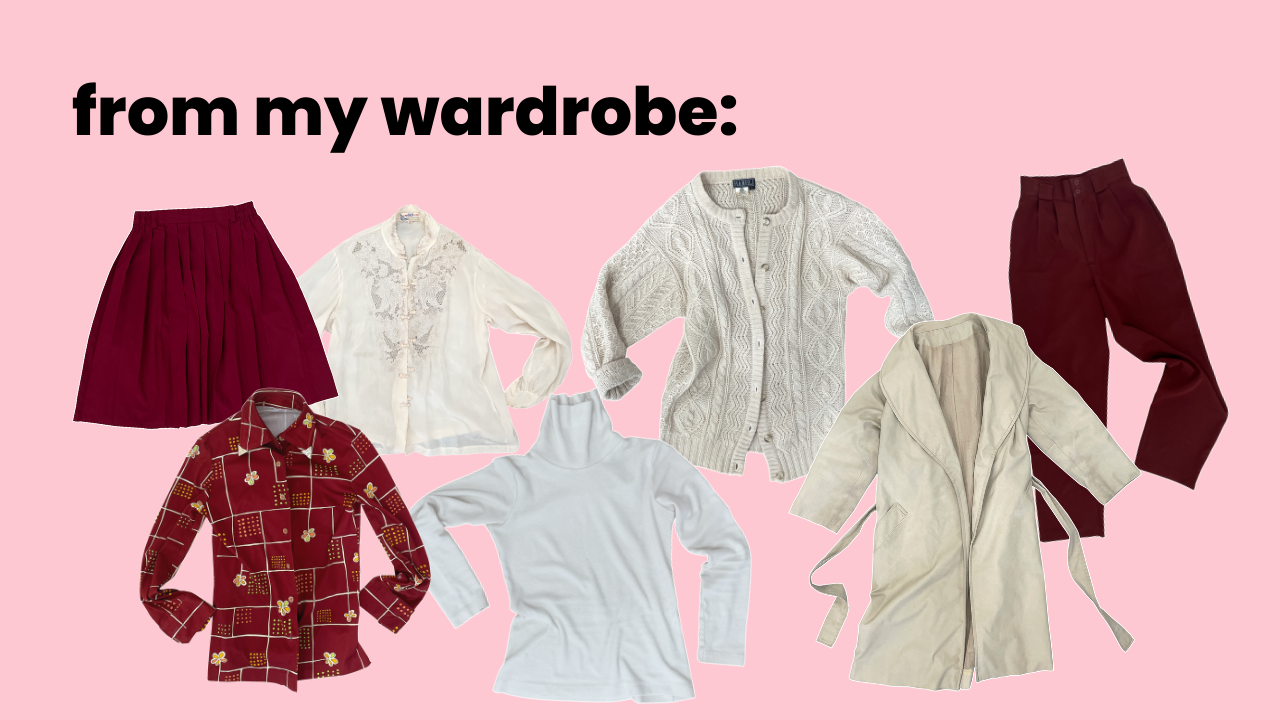
Since my overarching goal for creating a capsule wardrobe is to be intentional in my DIY endeavours, I started my capsule wardrobe by selecting pieces I have in my current wardrobe. These pieces are either handmade, vintage, or RTW. For my current capsule wardrobe, my foundation pieces are vintage and RTW pieces. Turns out, I hadn’t made anything specific for autumn/winter at all before this!
Note for first-time reader: I lived in Singapore most of my life where it’s summer all year round and only just moved to Texas a year ago!
Here are the foundation pieces I started with:
A pair of tailored pants (BOTTOM)
A pleated skirt (BOTTOM)
An off-white turtleneck sweater (TOP)
A cream silk blouse (TOP)
A vintage shirt (TOP)
A thrifted cable cardigan (OUTERWEAR)
A vintage Saks Fifth trench coat (OUTERWEAR)
You might have noticed a pattern: all foundation pieces are either a similar colour or a neutral colour.
3.Working out the (minimum) number and types of garments to make
With a vision and some key foundation pieces in mind, I moved on to planning what to make to add to my autumn/winter capsule wardrobe. Since I only got started when autumn came, I decided to make this a manageable project for me. I already had 2 bottoms and 3 tops as my foundation, so I decided to have the following for my final collection: 4 tops, 4 bottoms, and 2 dresses.
This gives me a total of 17 looks.
4 tops x 4 bottoms = 16 looks + 2 dresses = 18 looks
That means, I will have to make 2 bottoms, 1 top, and 2 dresses. Side note: I also started this capsule sewing project around the time I decided to post more consistently on my Youtube. I had a goal of posting once a week, which meant one project a week, which meant I would finish my 4 sewing projects within a month.
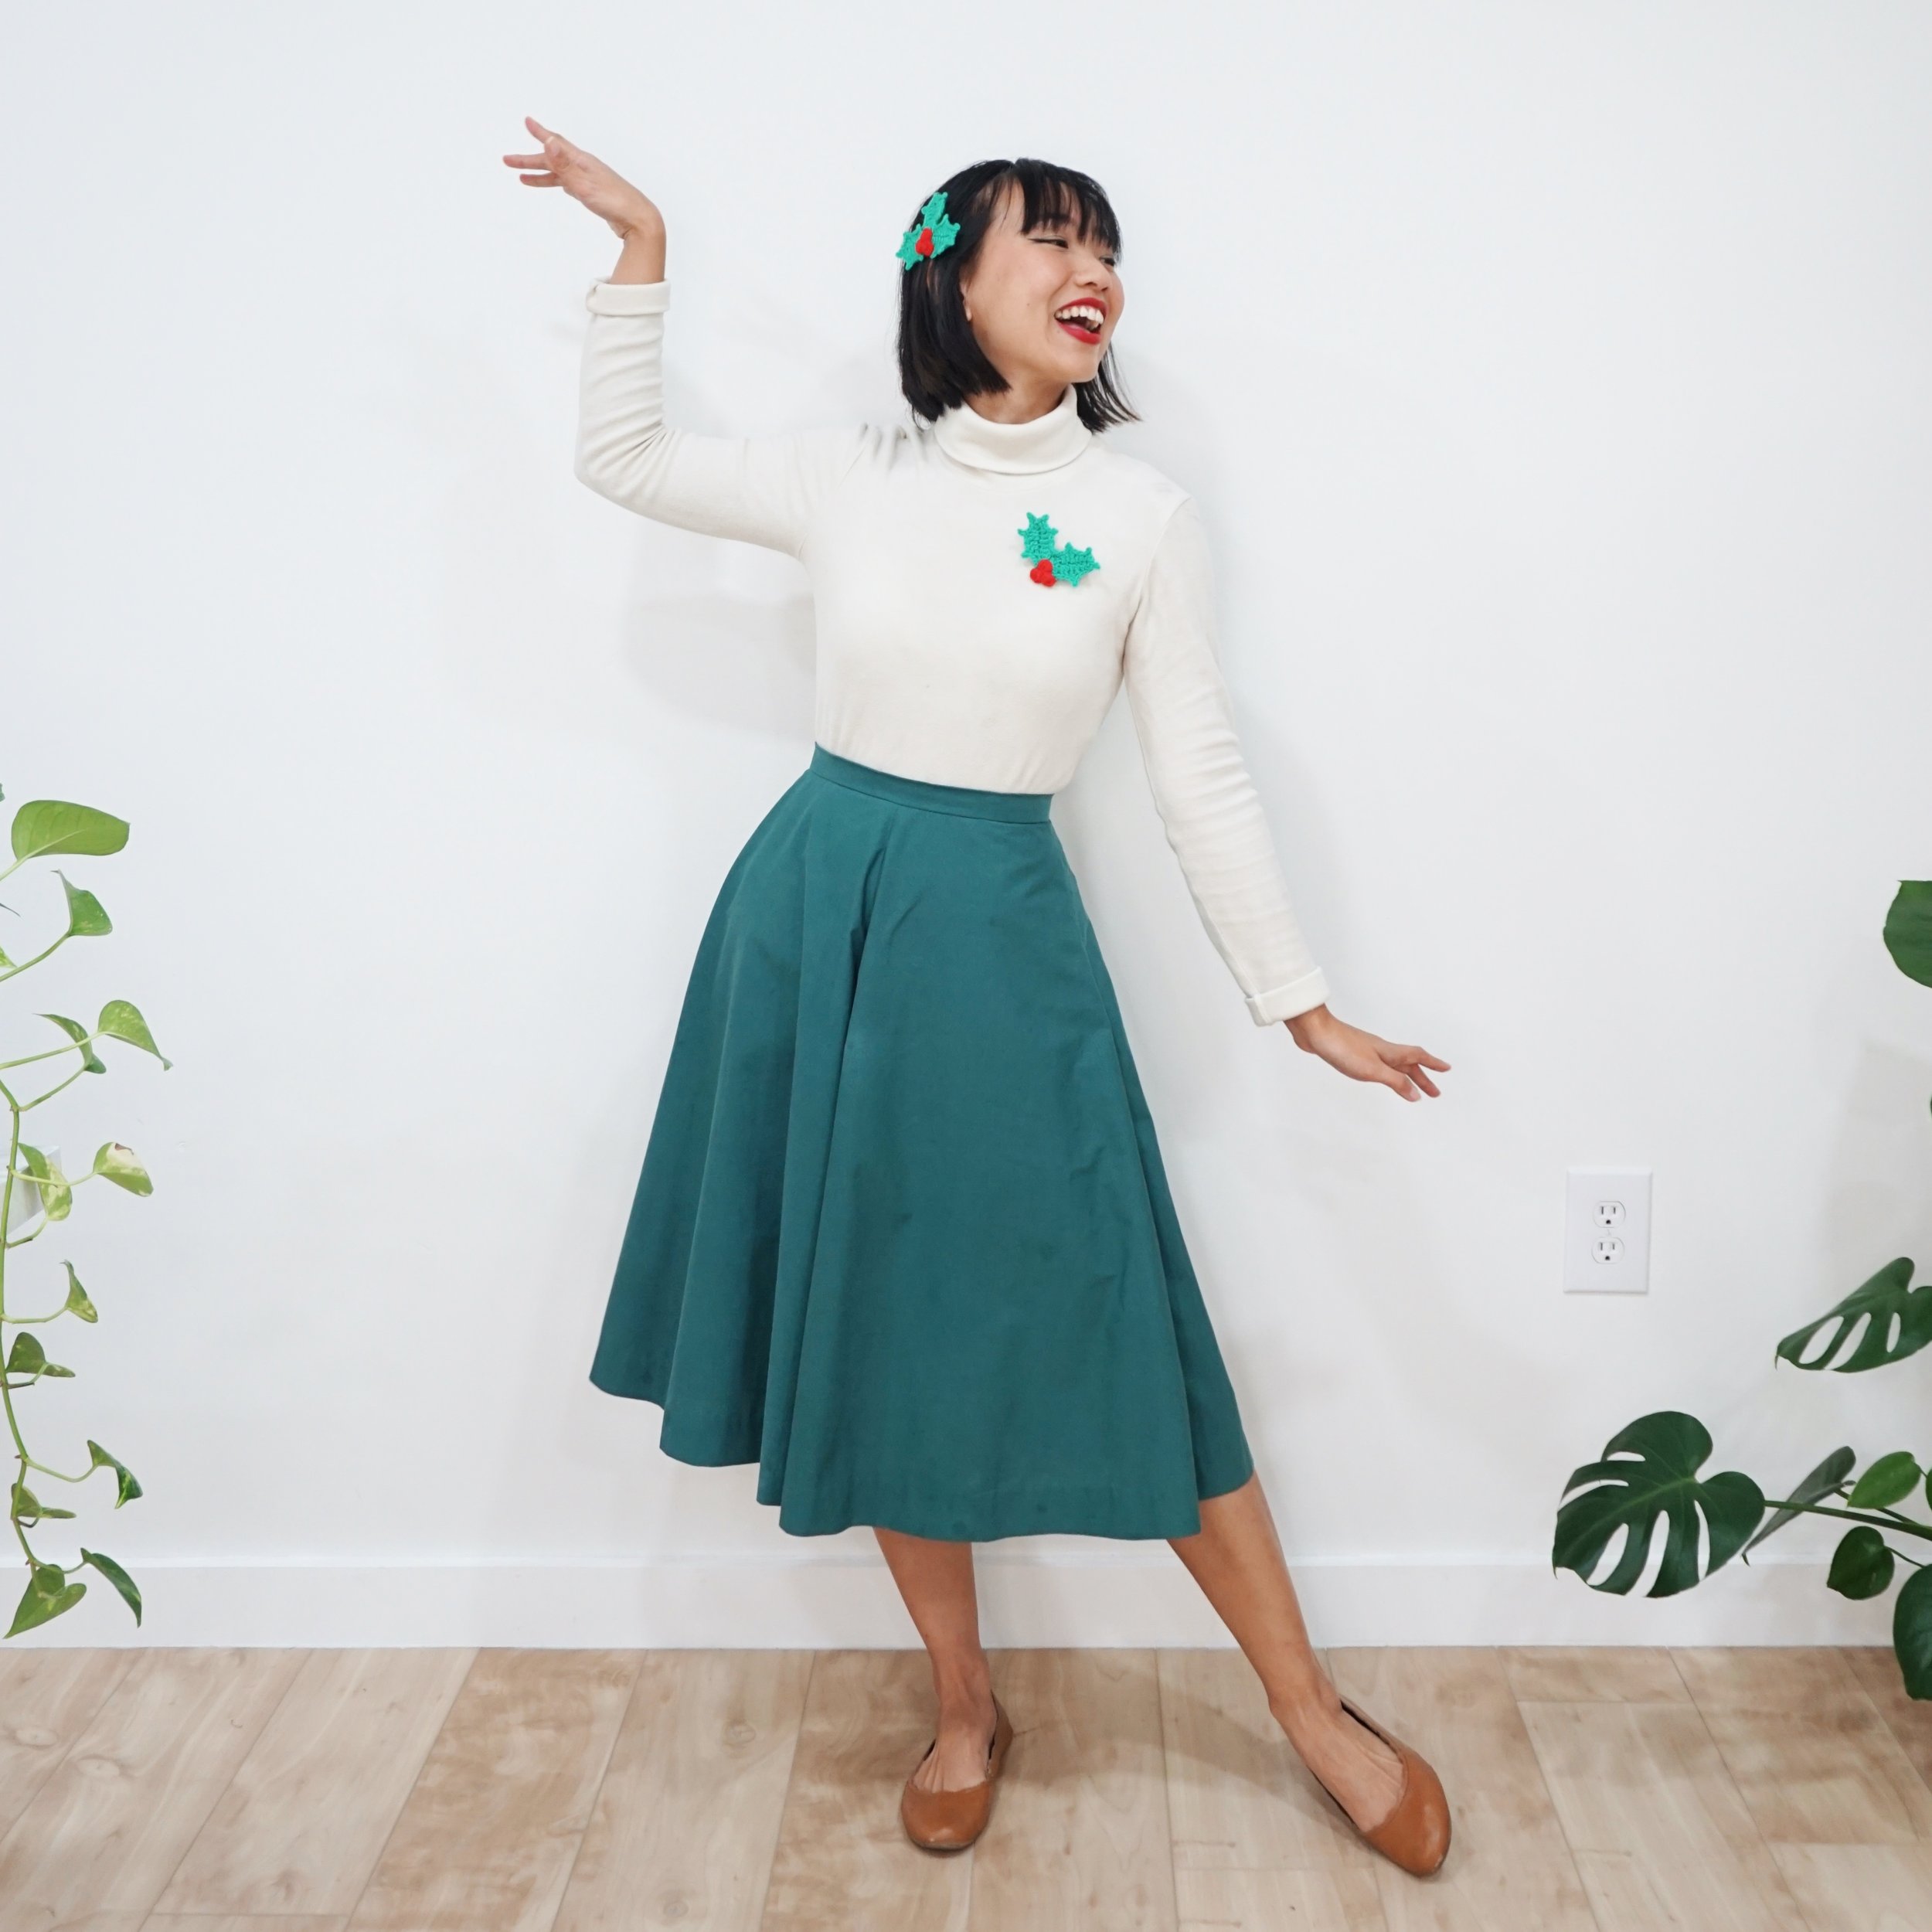
A mini green capsule wardrobe within the larger A/W capsule
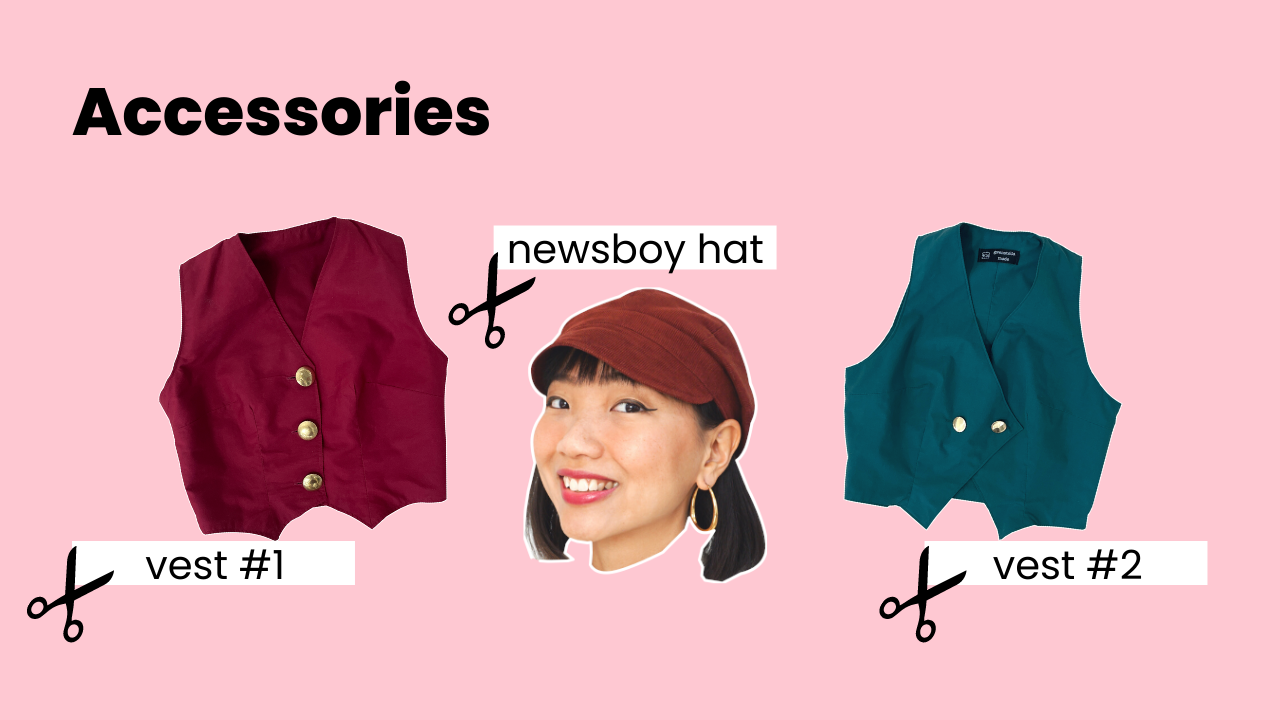
As I progressed, I decided to also add 2 outerwear pieces (this Saks Fifth coat that I rescued and a thrifted knitted cardigan from my wardrobe) and a handful of accessory pieces (i.e. the green vest, the maroon vest, and my Orion newsboy style hat). These outerwear pieces and accessory pieces allowed me to play with layering, which, in my opinion, is the best thing about Autumn/Winter styling. With these, I ended up with way more than 18 looks from the simple formula above >>> round-up blog post showing almost all the looks coming next week!
4.Developing a colour palette
screenshot from Coolors.co
As you have seen from Step 2, this burgundy colour is one of the main colours for this autumn/winter capsule wardrobe by virtue of its presence in my foundation. As fate would have it, I found a bedsheet in a complementary dark pine green AND a bedsheet in the same deep red around the time I started making serious plans for my autumn/winter sewing projects. And so, I ended up with a complementary colour scheme for this capsule wardrobe.
To help me visualise my colour scheme better, I also used coolors.co to create a colour palette. Since the key complementary colours of burgundy and dark pine green are pretty striking on their own, I added some neutral colours to the mix. I also decided to keep my tops to only neutral colours so they could be mixed and matched with the red and green easily.
Once I finalised my chosen colour palette, I added to my moodboard to finalise all my ideas before moving on to the final step.
5.Planning designs and lines
Now, this is the most exciting part of the planning process! At this stage, I was just one step away from sewing - which is basically the entire point of this, right?
When it came to design choice and pattern selection, I knew that I didn’t have to search for additional patterns to sew my capsule wardrobe because I have a pretty decent collection of sewing patterns. I was also lucky enough to attend an estate sale and scored a number of lovely fabrics that fell in nicely with my moodboard design around the time I was finalising my sewing plans.
Vintage sewing patterns Simplicity 7864 and Simplicity 6308, and my chosen fabrics for the A/W capsule
To begin, I picked out a couple of sewing patterns from my stash that matched the style and vision of my finalised moodboard. I picked out my vintage Simplicity 7864 and my vintage Simplicity 6308.
Spoiler alert: The Simplicity 6308 didn’t work out to be my size so I just drafted my own pattern
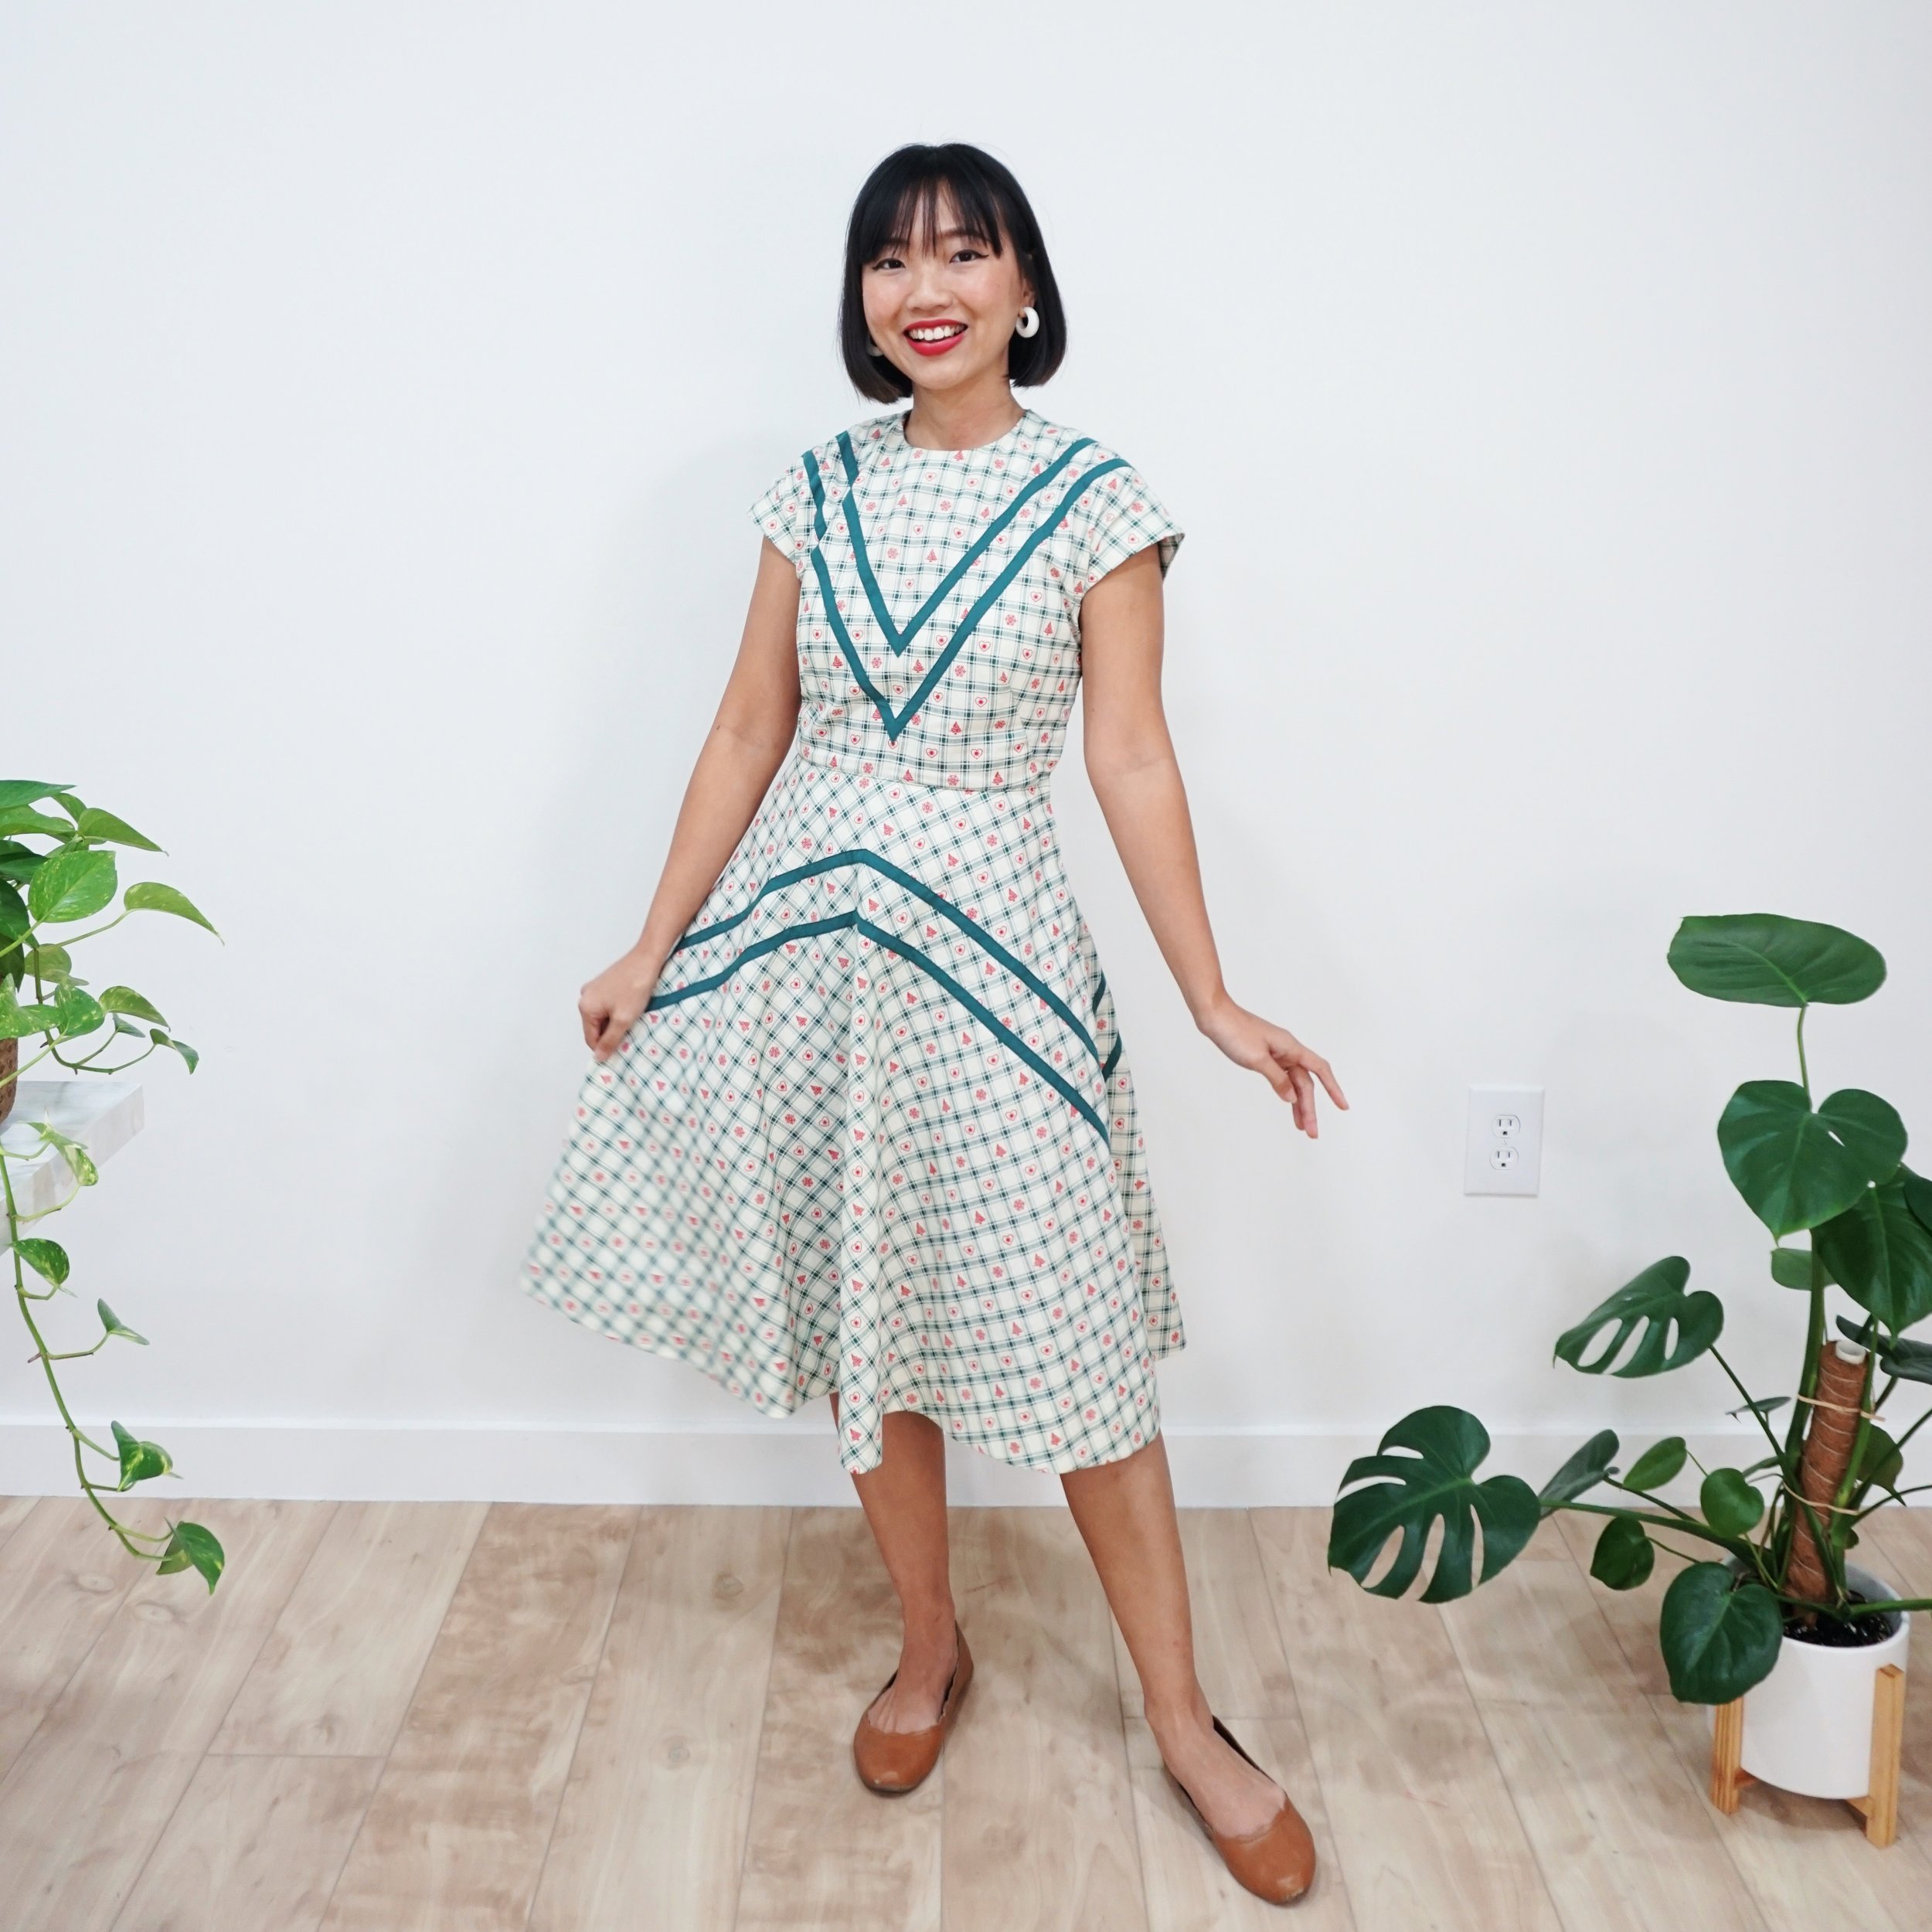
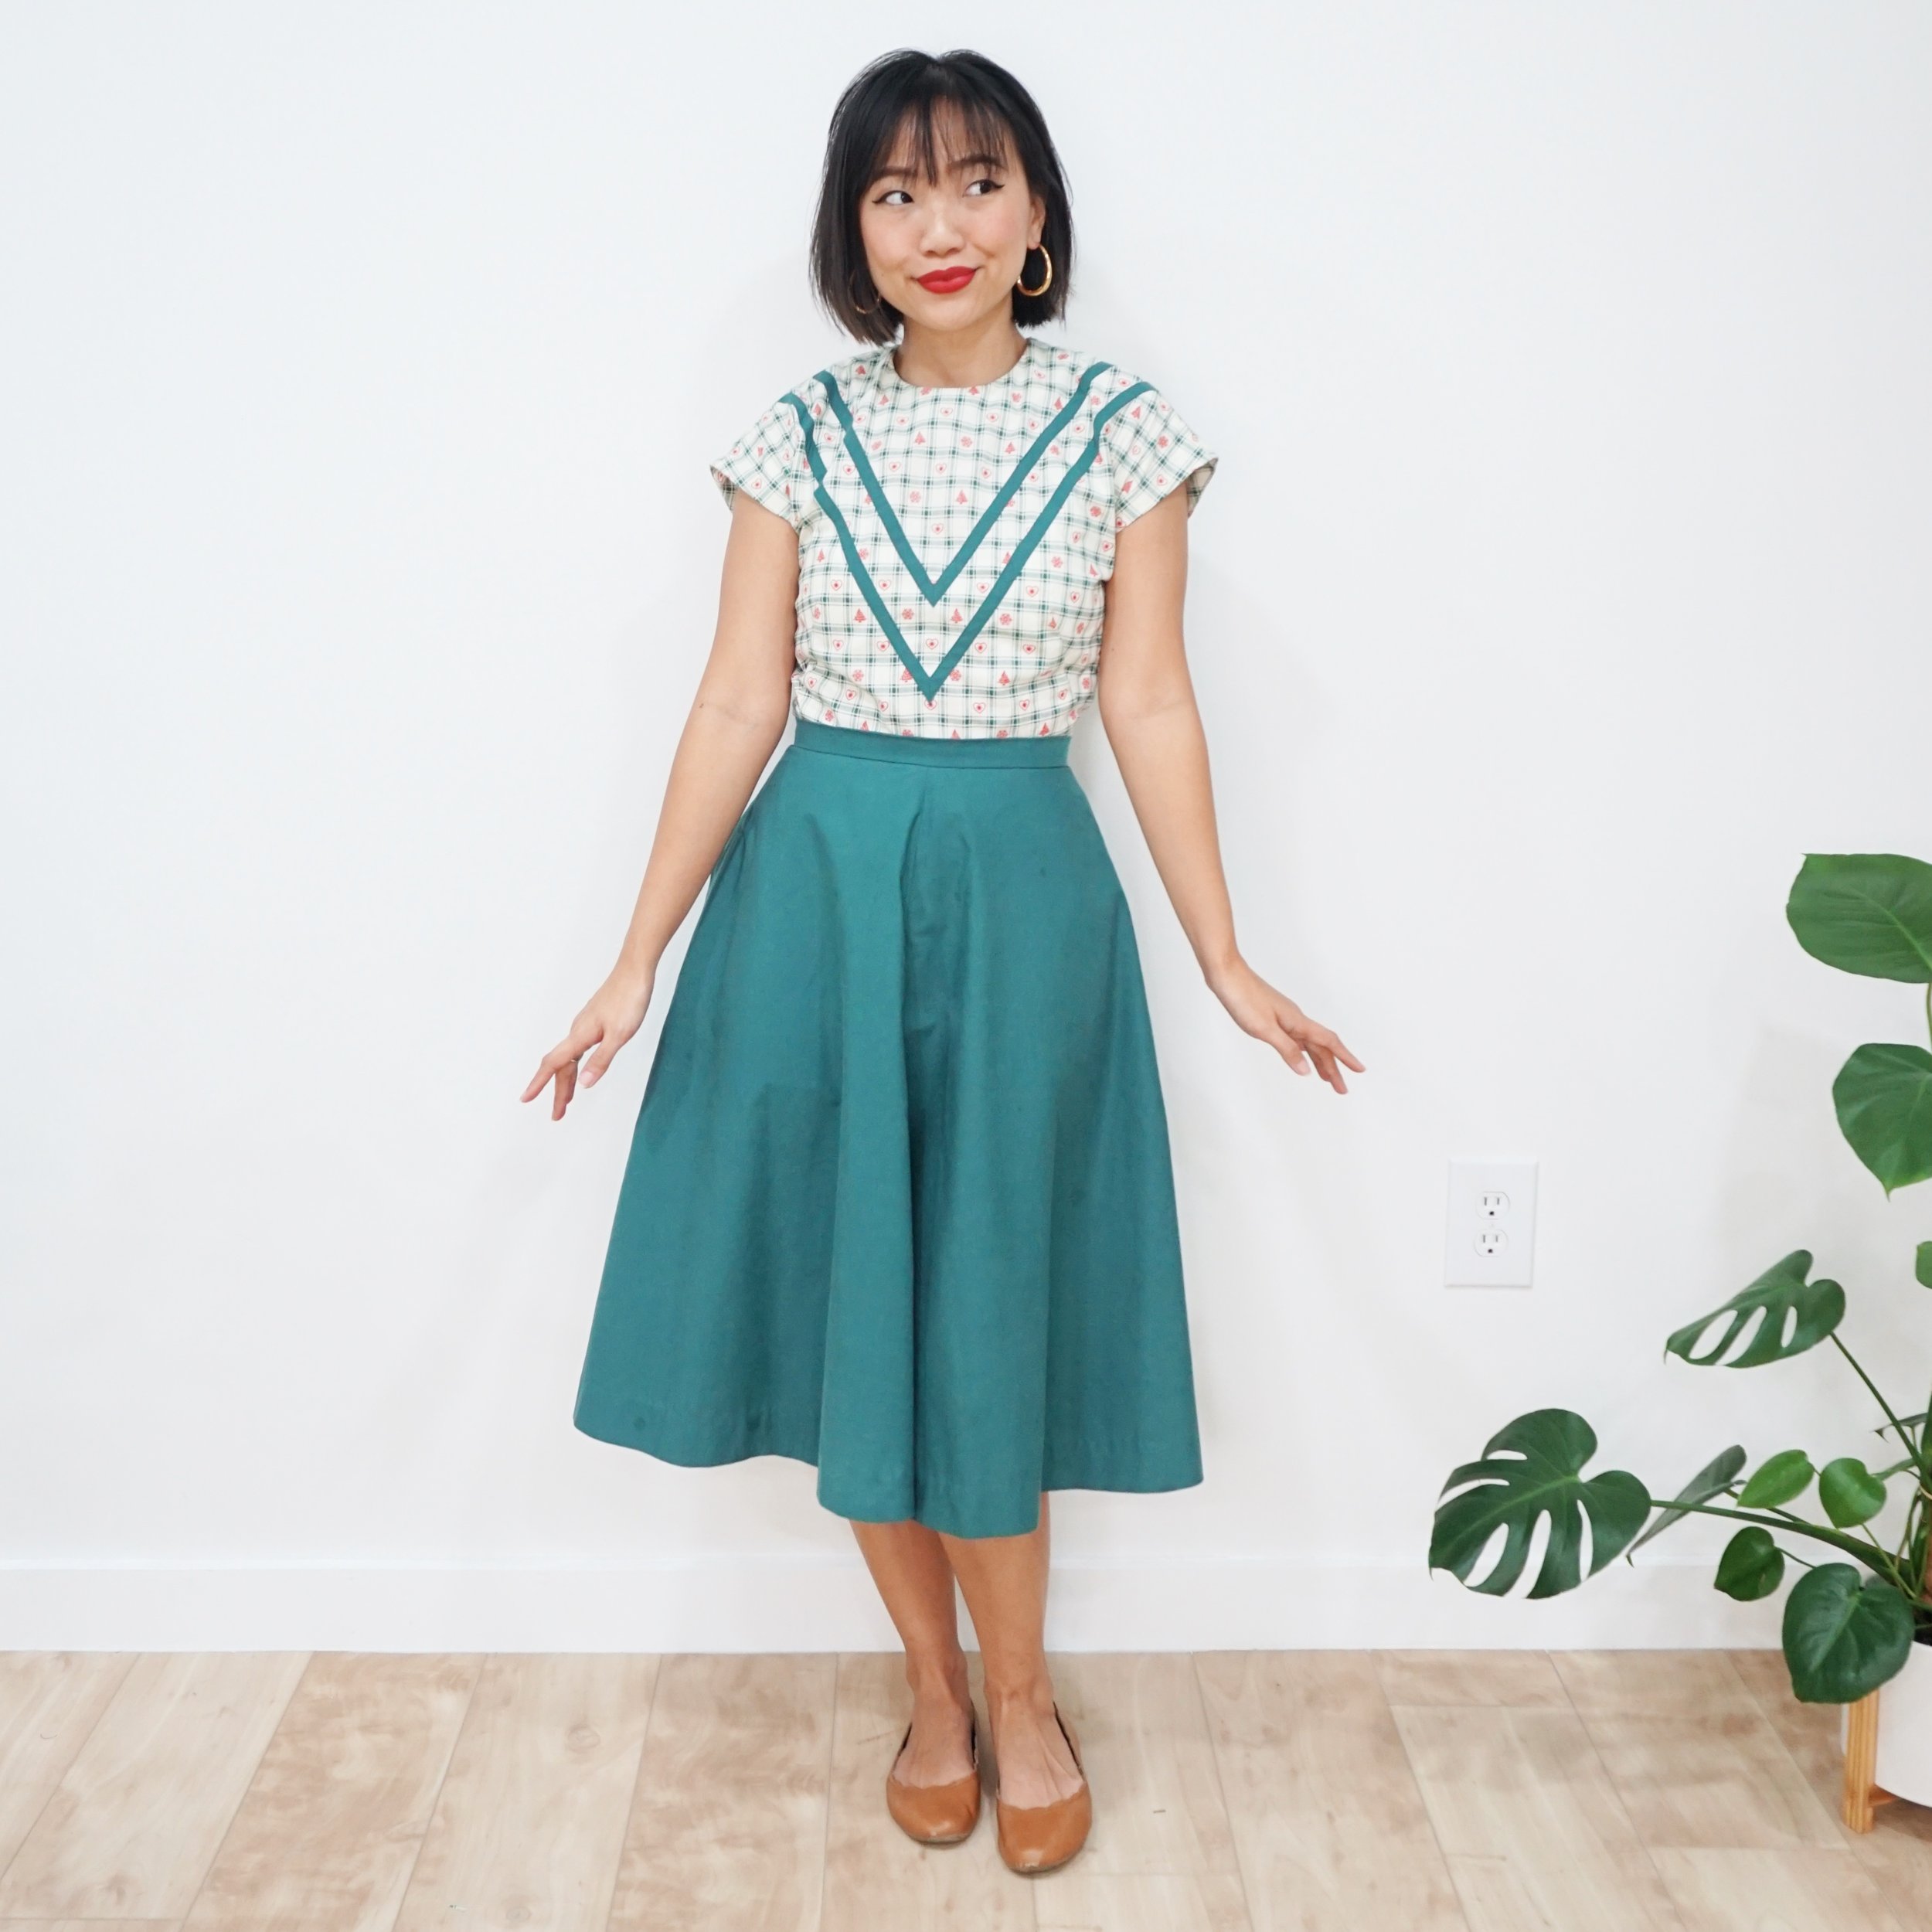
The rest of the sewing projects came as inspiration hit me, but everything was made with my finalised moodboard in mind. At the time of writing my original blog post, I thought I was only going to make 1 a-line dress, 1 holiday dress, and 1 flared skirt.
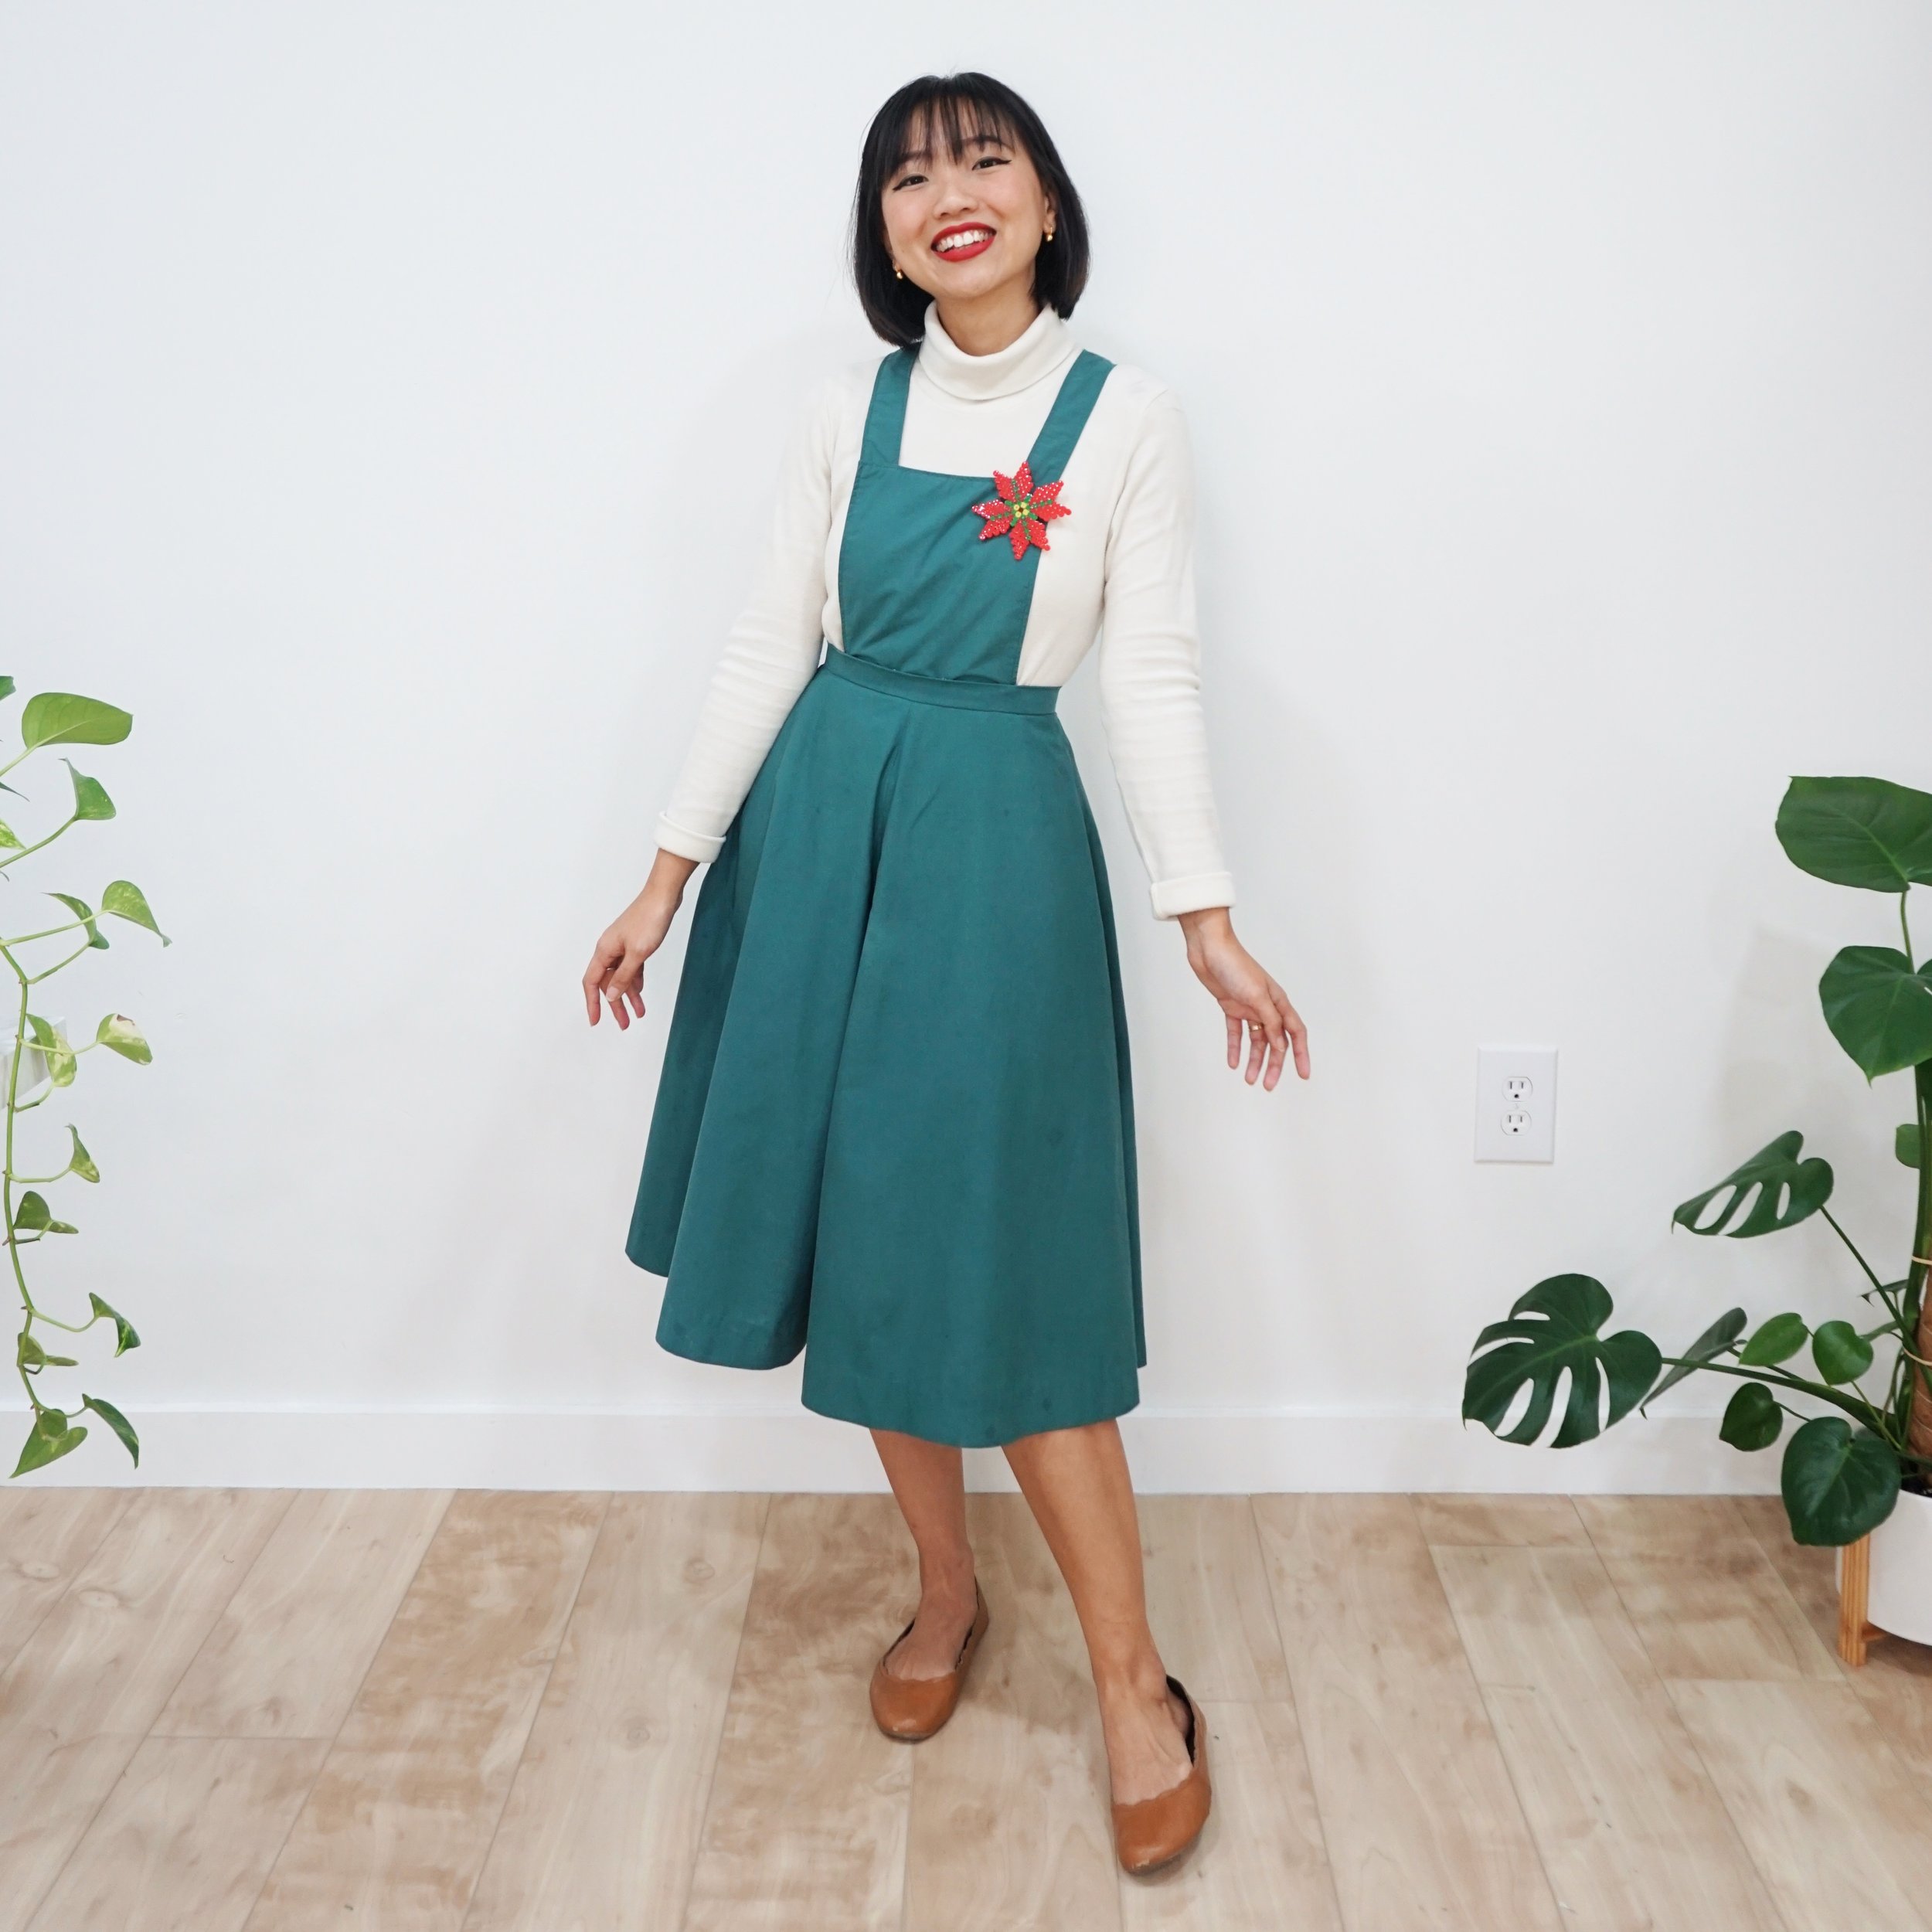
After making my floral blouse, I got inspired to make a pinafore dress using the same thrifted green bedsheet. As the days got colder, I also got my motivation to make a couple of vests to go with the rest of my collection.
Other than using my finalised moodboard as a guide, I also stuck to some design guide when planning additional sewing projects for this capsule wardrobe. For example, when designing my pinafore dress, I decided to use sharp angles for my bib because I knew I wanted it to go with my blouse which has a lot of “softness” to it with the rounded collars and the puffy sleeves.
I also stuck to the idea of having a V-neckline, which is something you can see in my corduroy dress, my floral blouse, my vests, and the holiday dress which doesn’t have the V-neckline but a V design accent. In my opinion, adhering to a specific design guide and line helps me to create harmony within the entire collection.
And that’s how my autumn/winter capsule wardrobe came to be!
My final capsule wardrobe pieces
Scissors = I made it!
Links to blog posts and/or videos:
Floral blouse (drafting notes and sewing tutorial): blog, video process
Half circle skirt (how to draft and sew tutorial): blog, video tutorial
Pinafore dress (no-pattern sewing tutorial): blog, video tutorial
Corduroy dress (sewing process): blog, video process
Vogue 8811 (sewing process): video
Vest #1 (drafting notes and sewing tutorial): blog, video tutorial
Newsboy hat: shop, blog, video tutorial
Vintage trench coat (mending vlog): here


