

DIY Babydoll PJ Tops
In my latest video, I shared my 3 different DIY babydoll pjs tops. Here’s my drafting notes for making the sewing pattern these babydoll style pj tops!
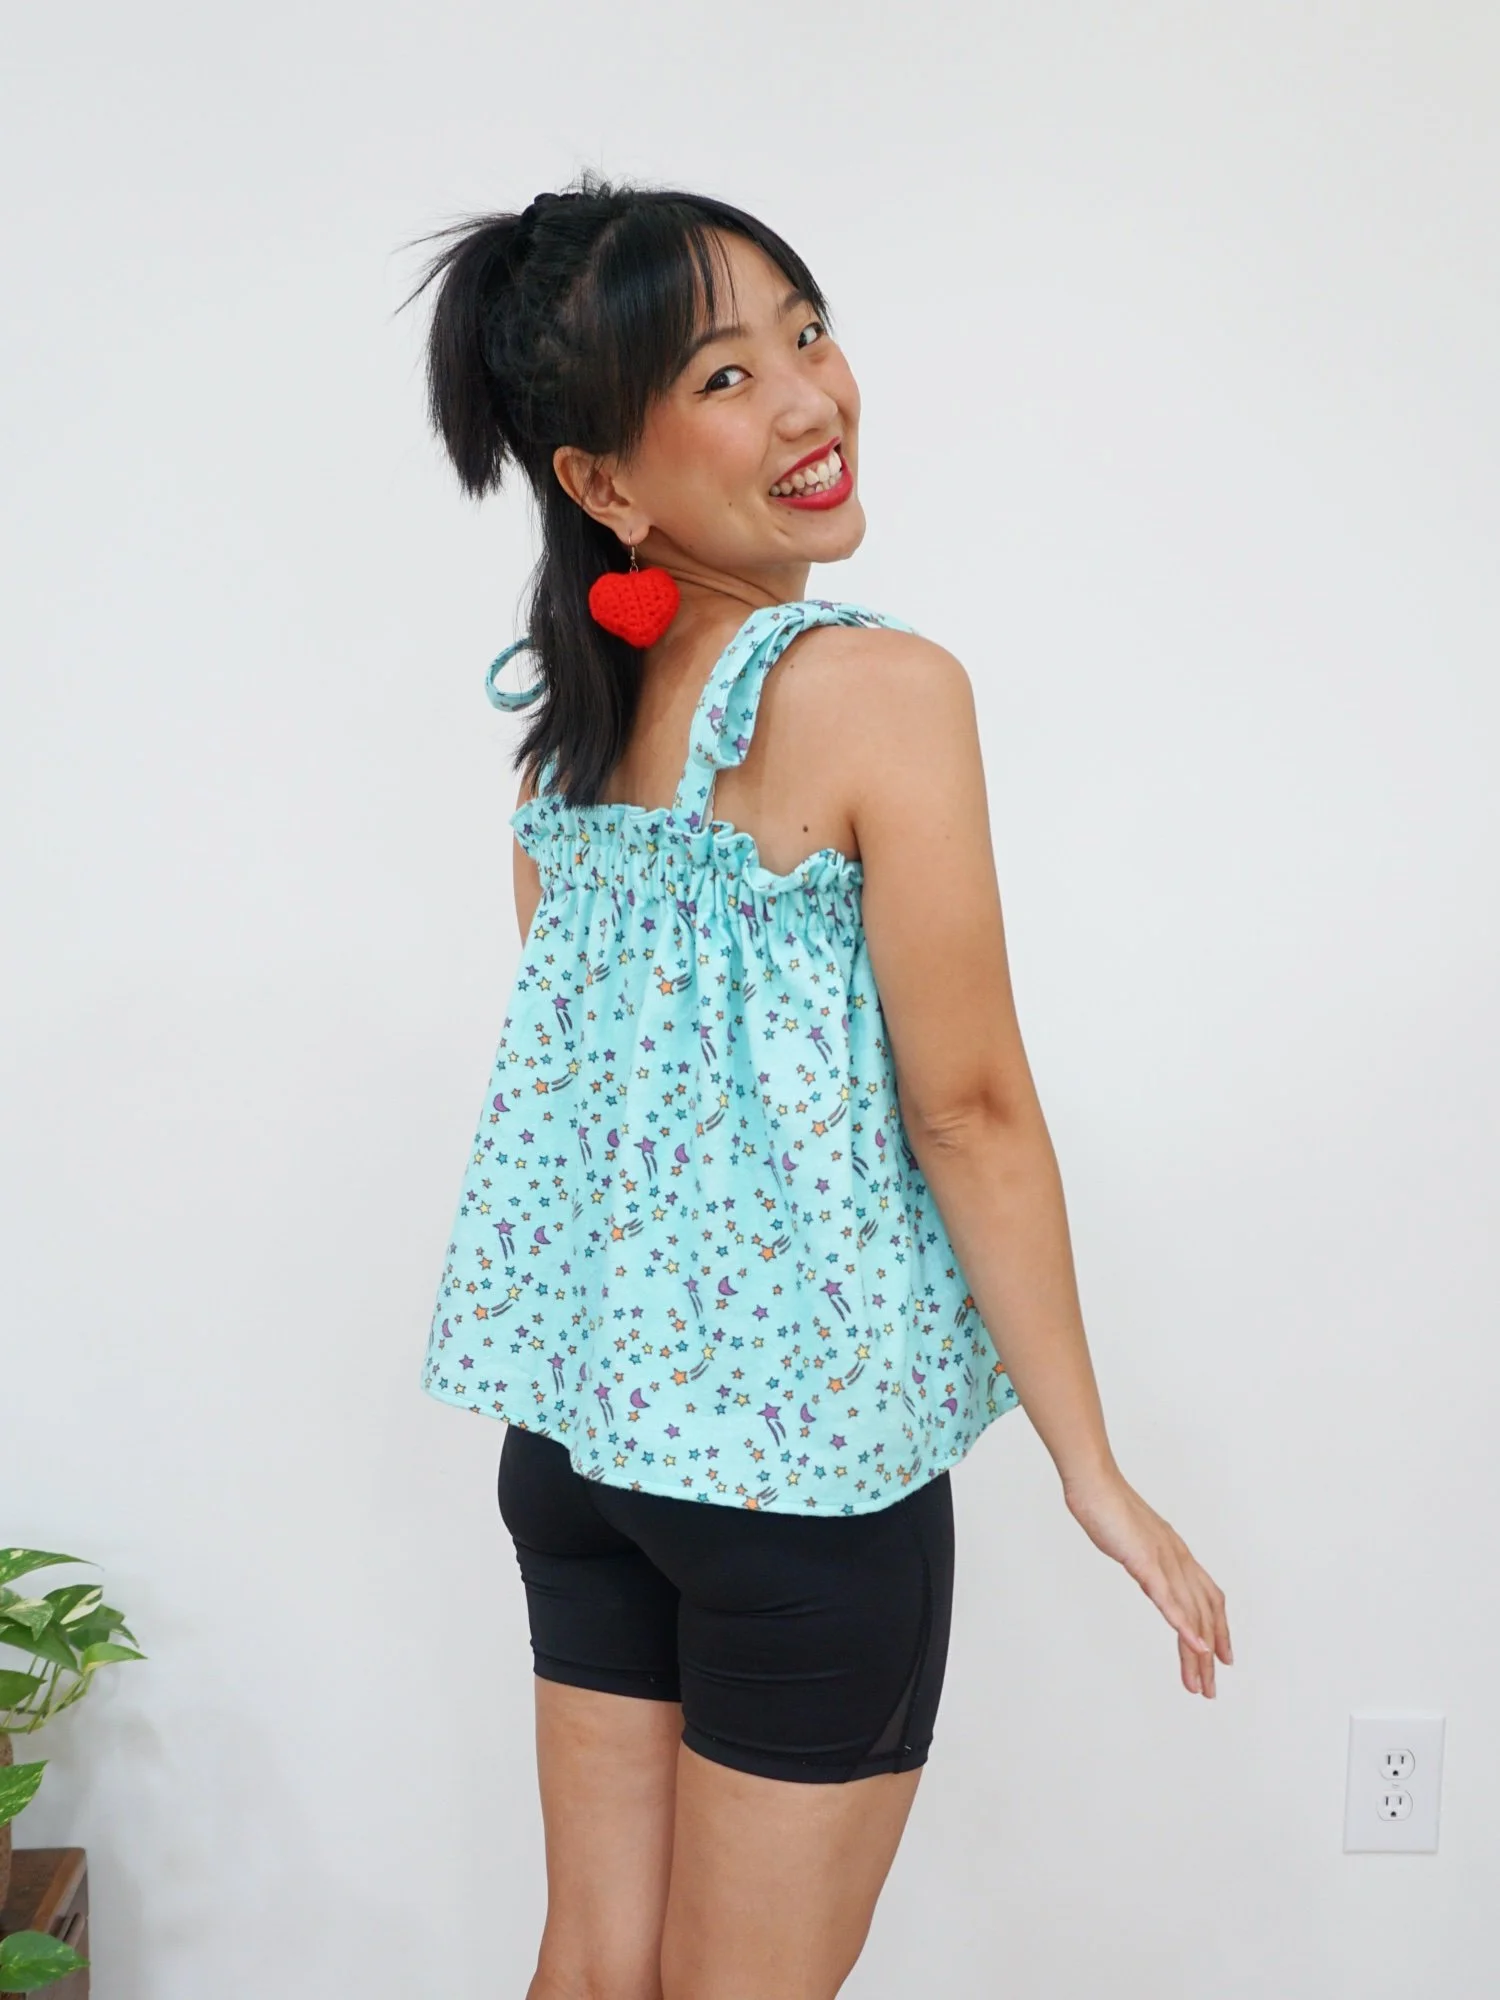
Blue Star Babydoll Top

Drafting
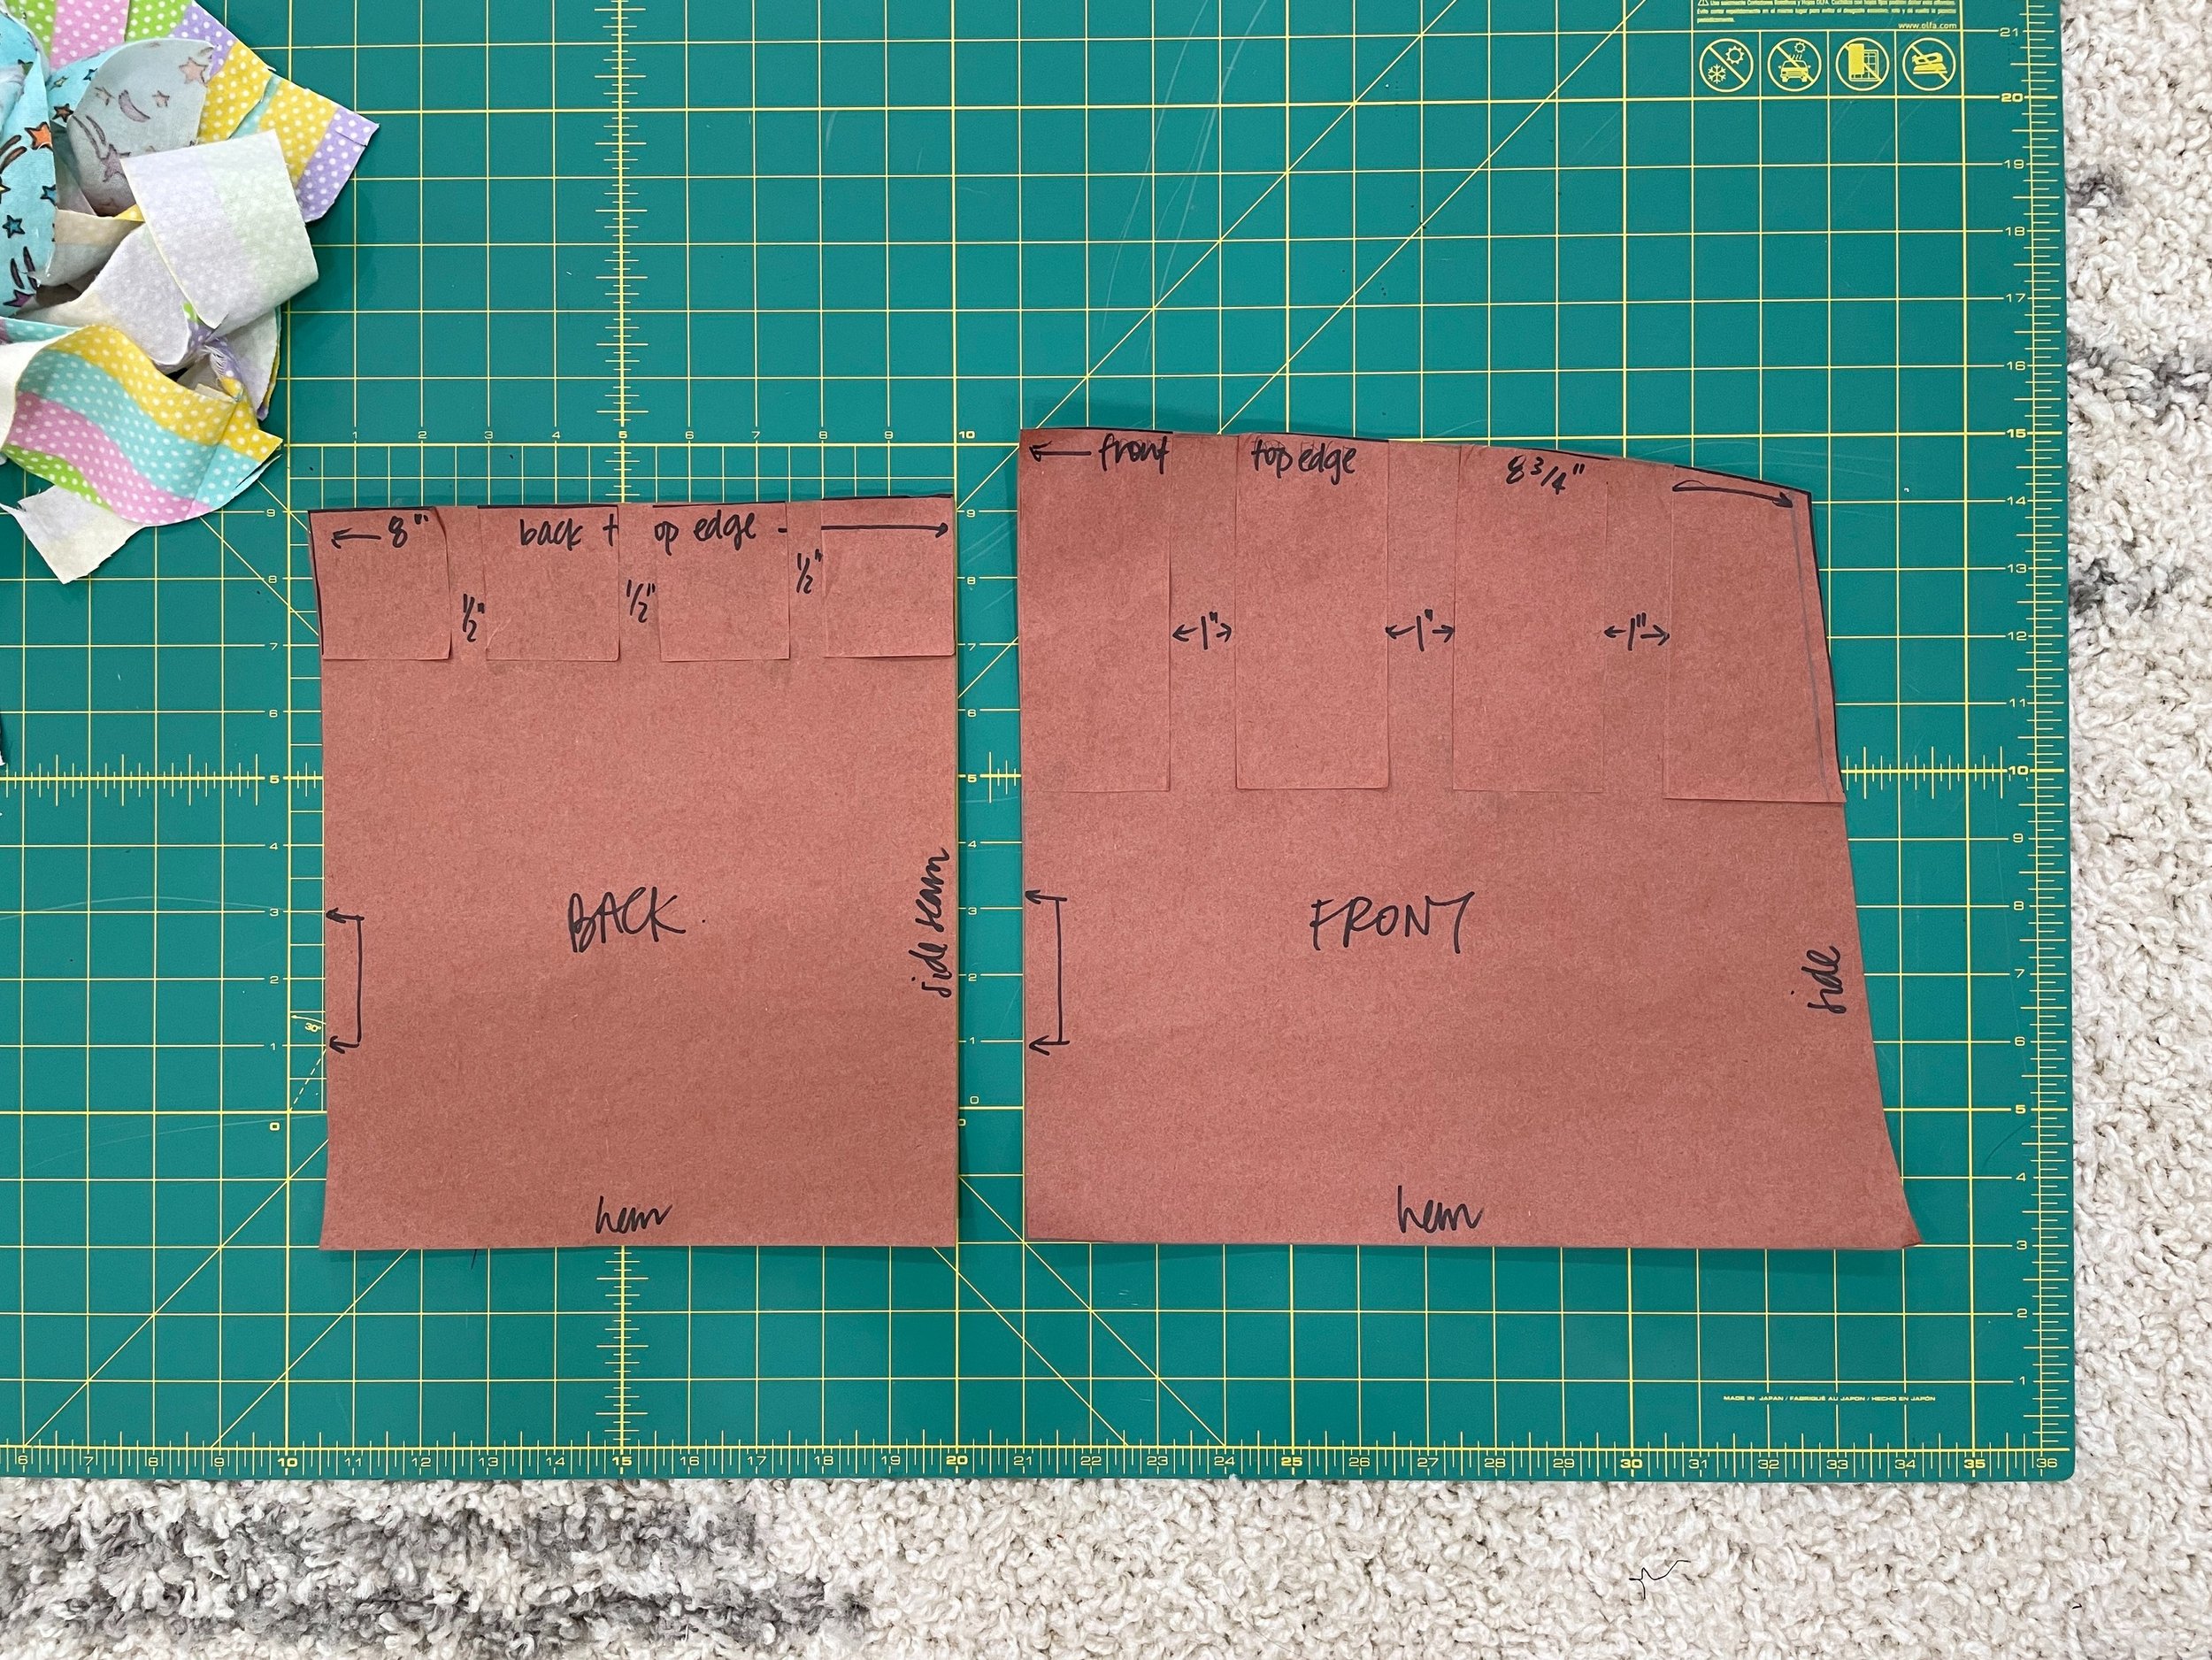
So, this top is the easiest to draft. The main body is made up of 2 big rectangles. The strap and bow centres are made of smaller rectangles.
The bodice

In my video at 03:27, I stated that “the long side of the rectangle is actually the width around my upper bust times a little more for the gathered design”. However, my illustration states “around full bust“.
Depending on the shape of your body, you can choose to use either your full bust or your upper bust width. The rule is to choose the bigger number because we want the finished top to have the ~right~ amount of volume (aka “poofiness”).
If you are choosing to make this top with cotton or linen, you may even consider multiplying the upper bust / full bust by 2.0 for an even fuller look.
The straps and bow

Striped Bubble Top

Drafting
The striped bubble top is drafted with my bodice sloper. The FRONT is drafted with the following steps:
lowered neckline by 2.5”
moved shoulder 1” from neck
moved shoulder end 1/2” towards neck
lowered armhole by 1/2”
increased side ease by 1/4”
height of yoke = 2.5” from underarm
yoke line is drawn with a french curve ruler
The BACK is drafted with the following adjustments from the bodice sloper:
moved shoulder 1” from neck
moved shoulder end 1/2” towards neck
lowered armhole by 1/2”
increased side ease by 1/4”
height of yoke = 2.5” from underarm
yoke line is straight horizontal line
neckline is drawn by measuring 2.5” from yoke line

Striped bubble top - drafting the FRONT and BACK yoke
After drafting the yoke pieces, I took the piece below the yoke, divided them into 4 grossly and added ease in each interval.
Post-sewing suggestion
I love love love how this turned out. The only thing I would change if I made this again would be to increase the amount in each interval to have a more poofy top.
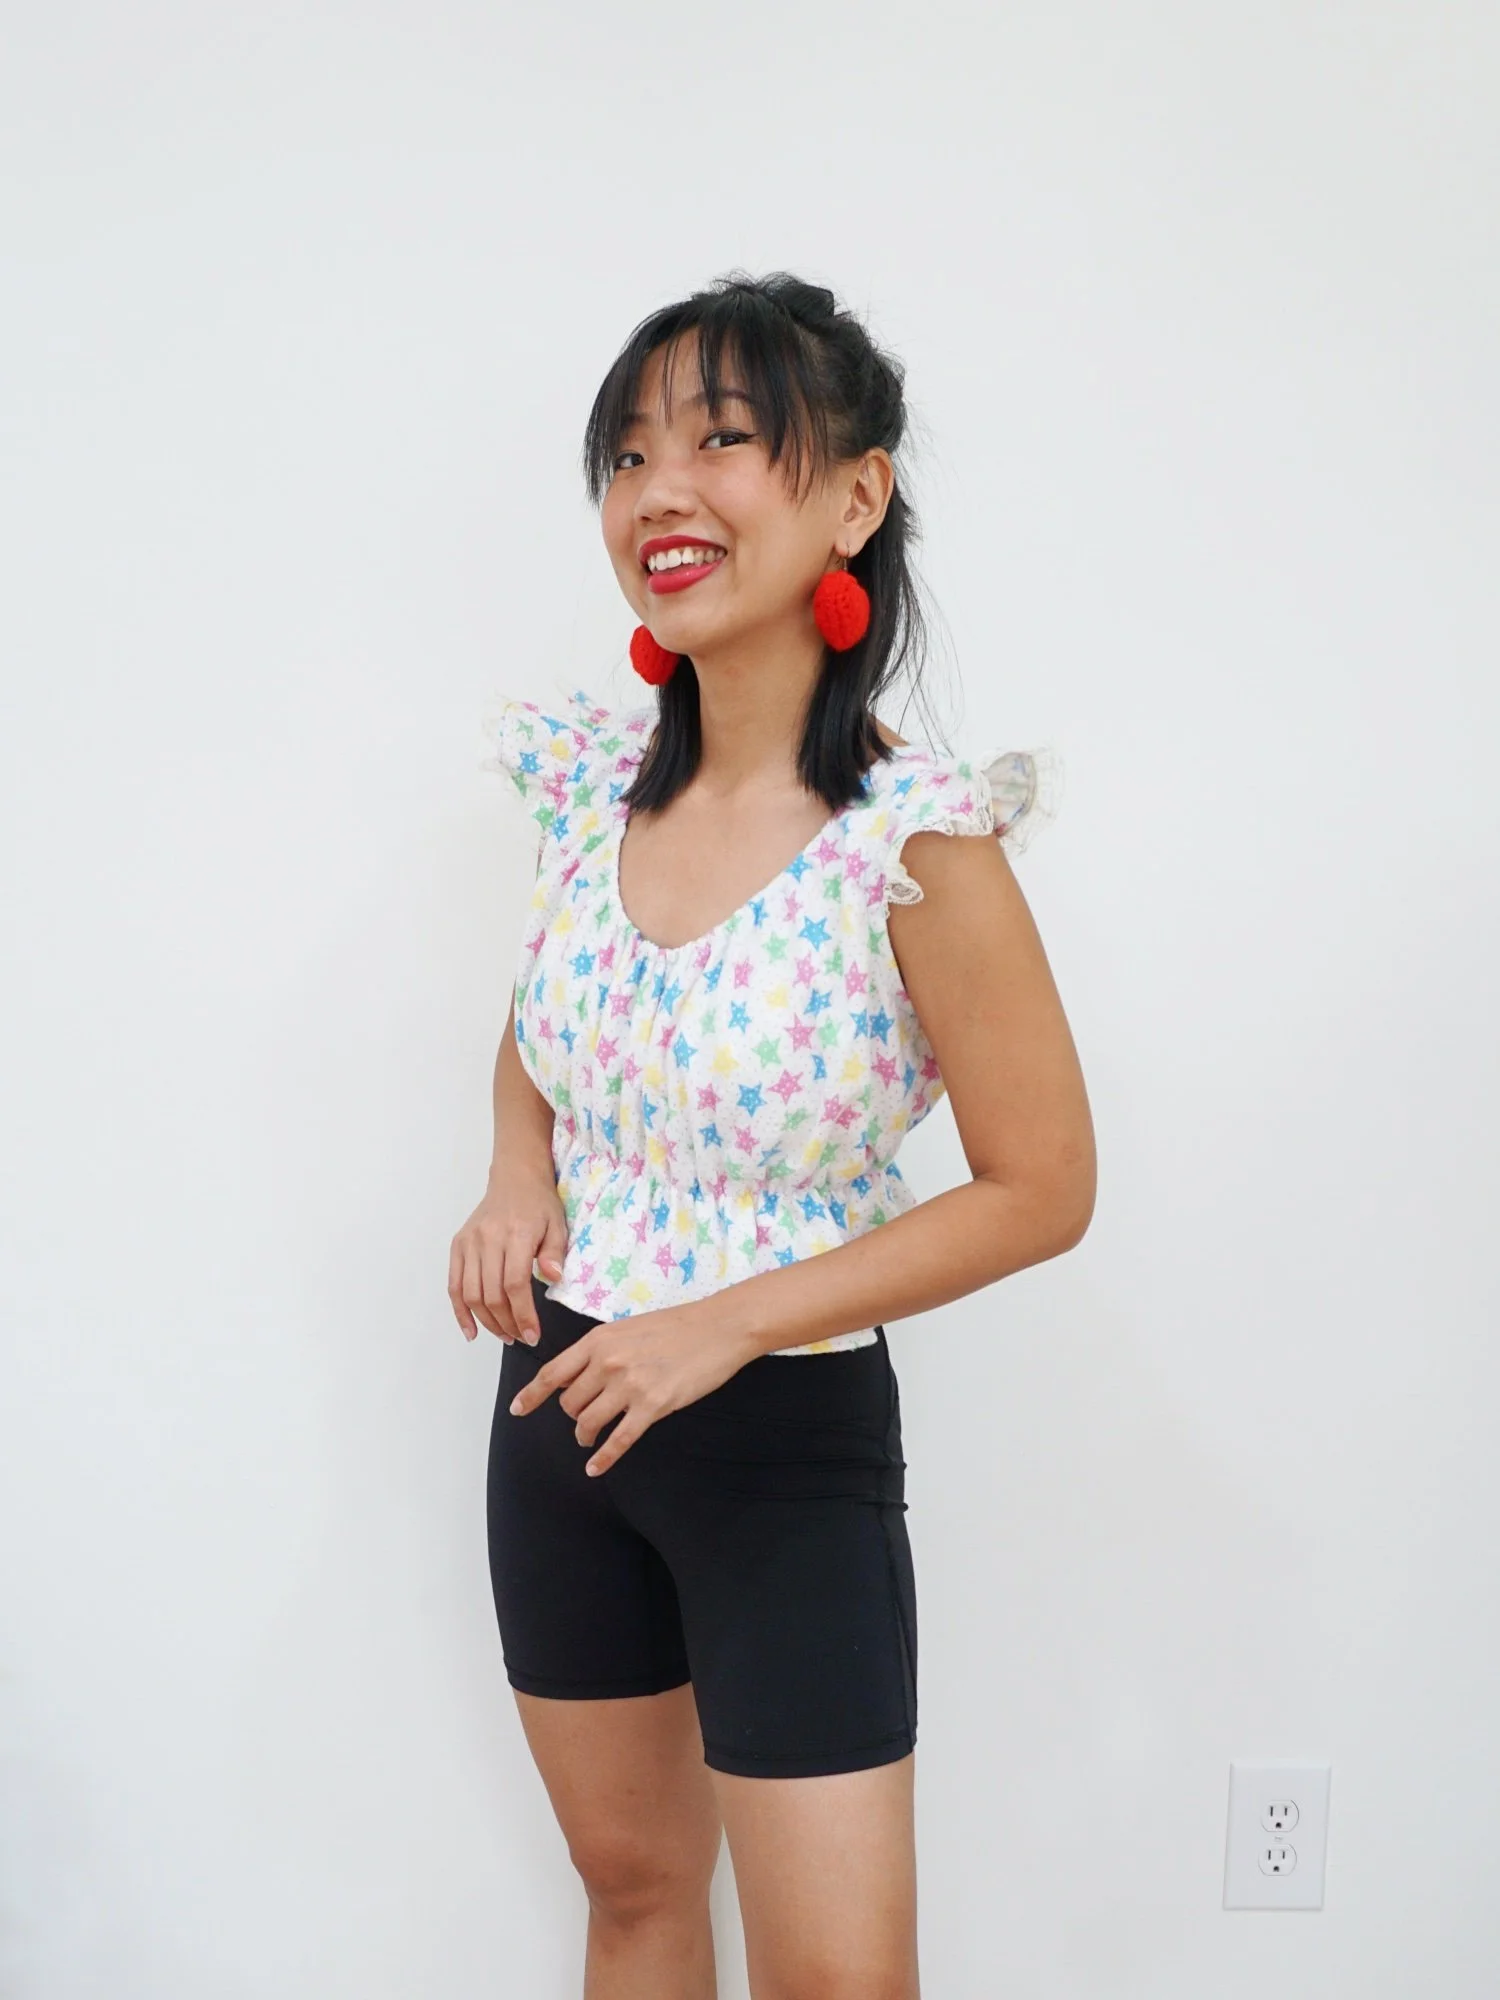
White Star Babydoll Top
Drafting
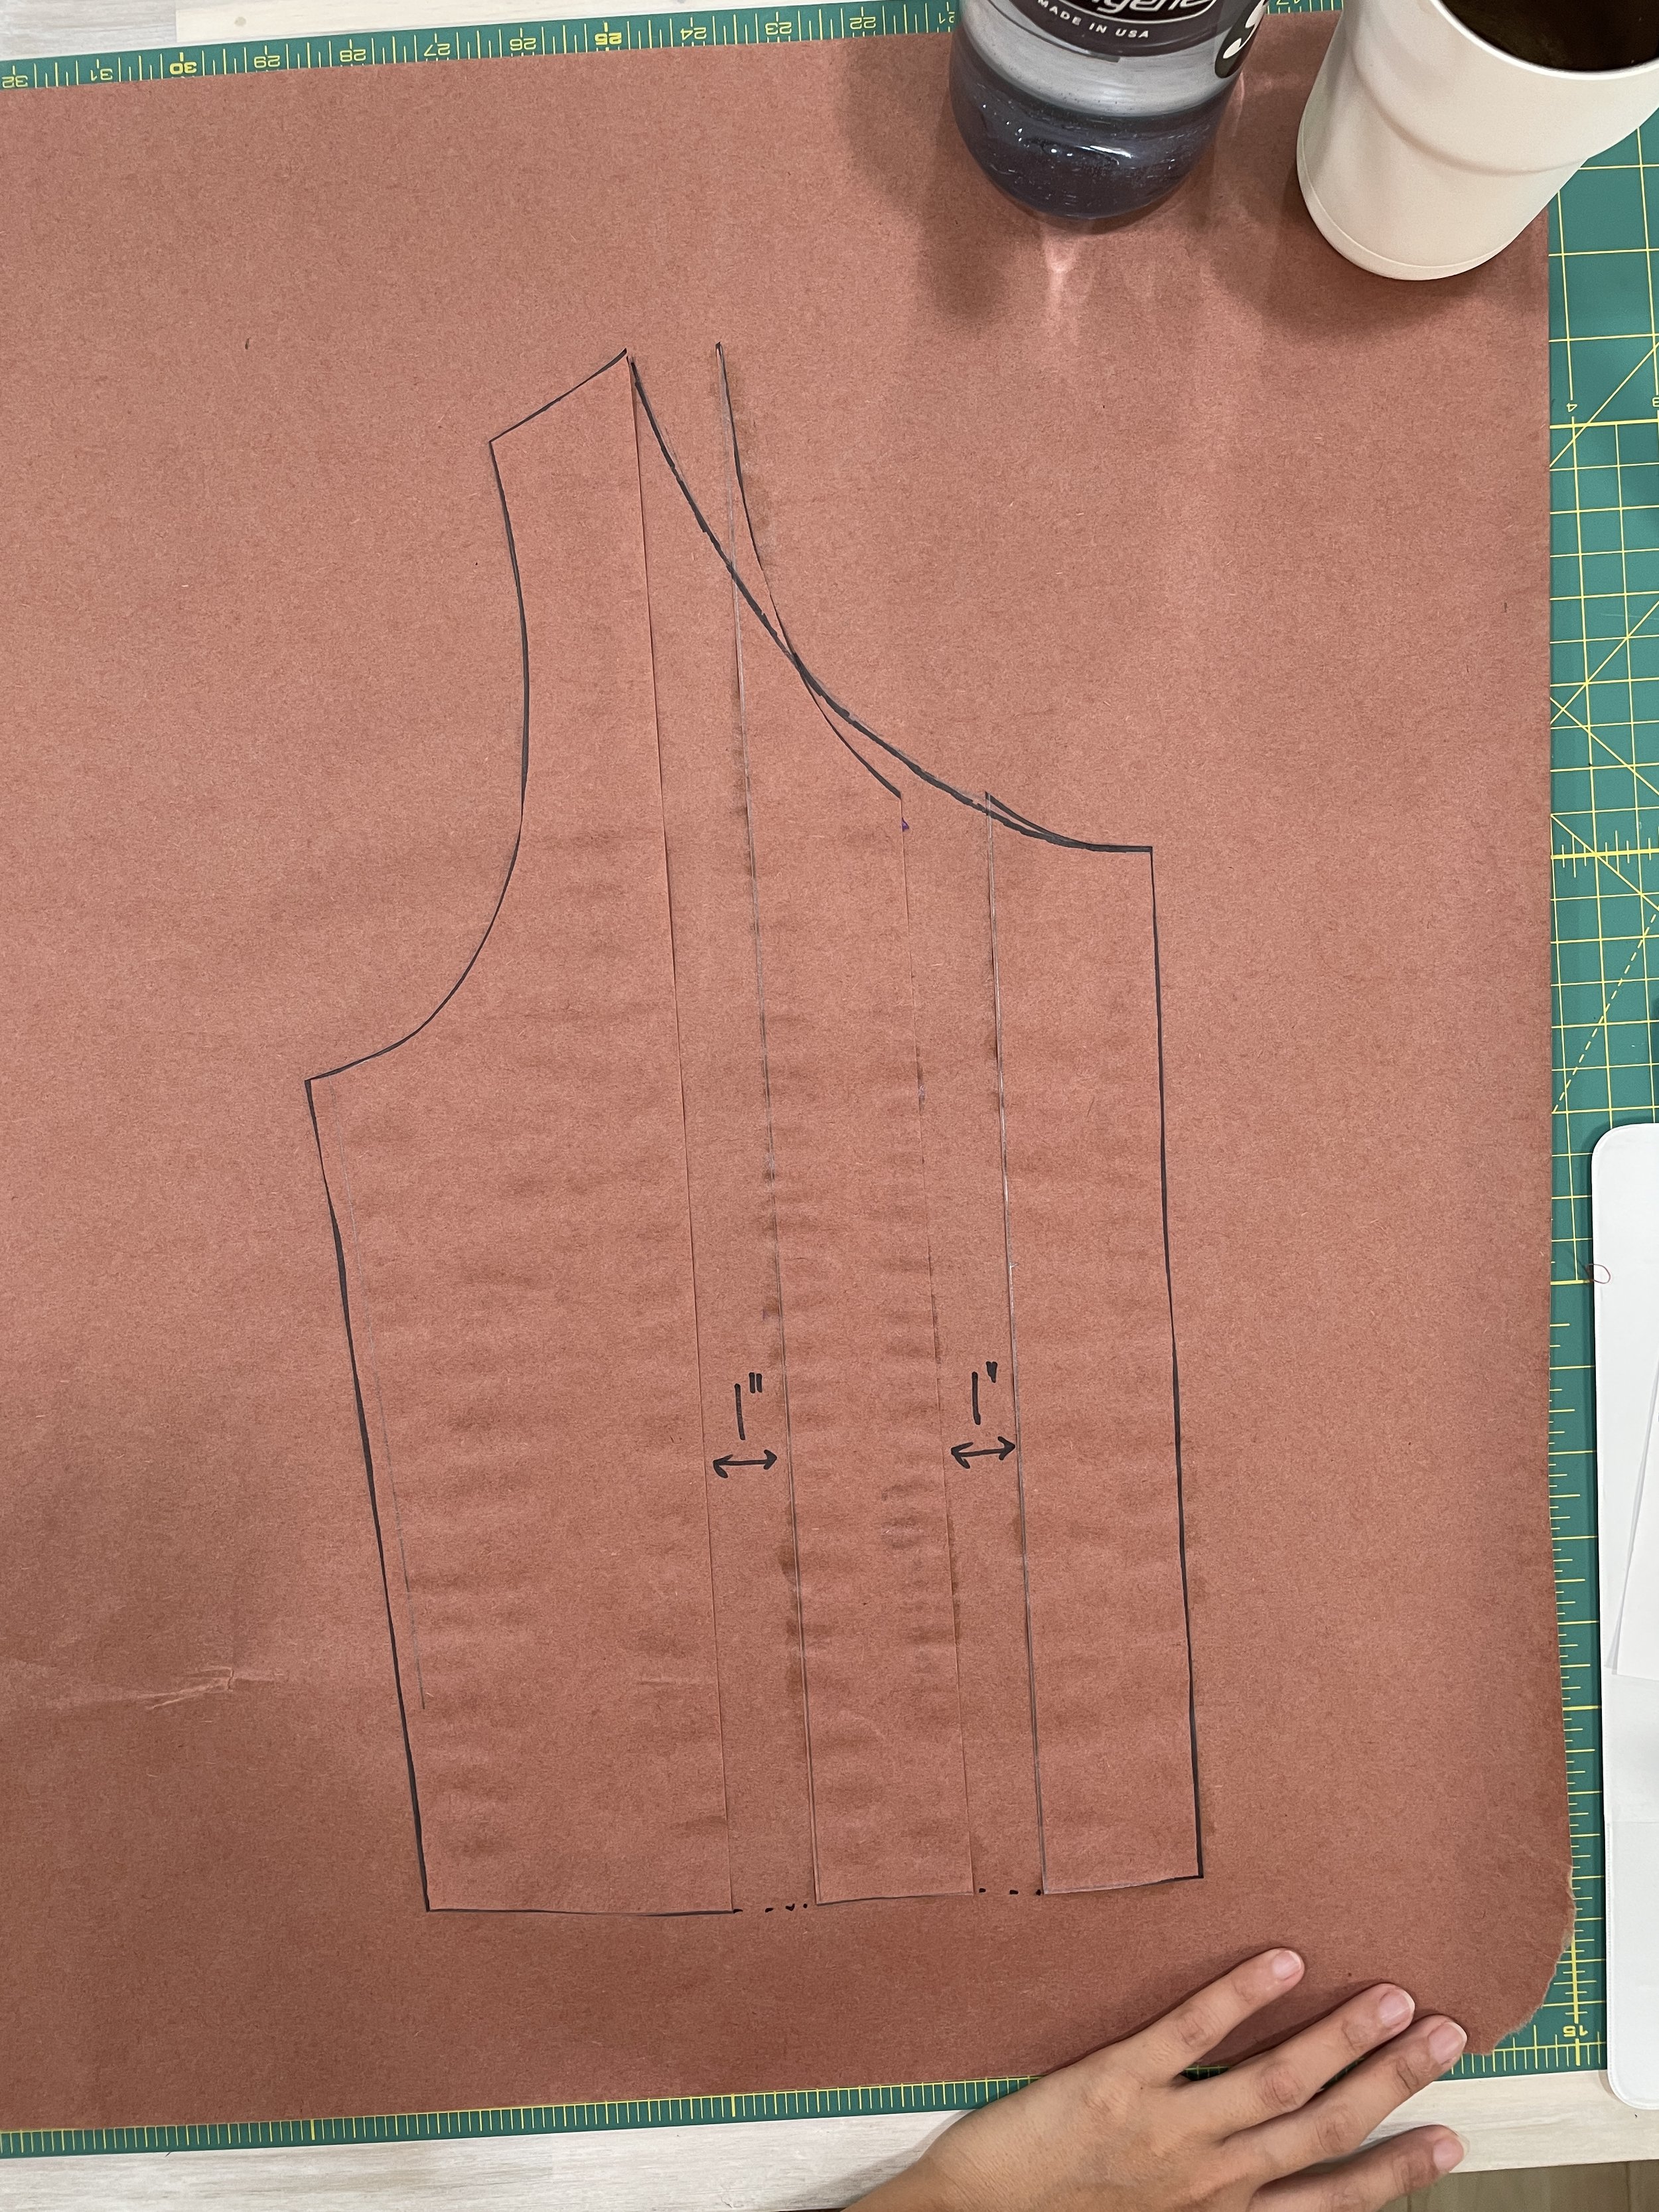
This babydoll pj top has a gathered neckline with ruffle sleeve caps. I drafted this from my bodice sloper.
Here’s how I made the FRONT sewing pattern:
lowered neckline by 4”
reduced shoulder point from neck by 2”
moved end of shoulder towards neckline by 1/2”
lowered armhole by 1/2”
increased side ease by 1/4”
Then, once the base pattern is done, I split the pattern into 3 lengthwise and added 2” in each interval. This increase worked out to be a 25% increase based on my full bust measurement. If you have a fuller bust, the amount you need to add in the intervals to have the right amount of gather will be bigger. For example, 25% of a 40” bust is 10”. This means the interval should be about 2.5” if you would like the resulting top to look similar to mine in terms of the amount of gathers around the neck.

White star babydoll pj top drafting - FRONT

White star babydoll pj top - 2” intervals for the FRONT

White star babydoll pj top drafting - BACK
White star babydoll pj top - 1” intervals for the BACK
Here’s how I drafted the BACK sewing pattern:
matched side seam with FRONT first
made same adjustment to shoulder seam as FRONT
And just like I did with the FRONT pattern piece, I sliced the pattern into 3 and added space between each interval. However, instead of adding 2”, I only added 1”.
Post-sewing suggestion
As mentioned in the video, this design will likely benefit from an elastic sewn around the empire waist (i.e. under the bust). I also made the top a crop top by mistake and would definitely make it longer if I made the same design again.
Sleepwear capsule coming soon!
That’s all the pj sewing for now! Can’t wait to keep working on this capsule and building a complete set! x