

Making the best ergonomic & adjustable sewing and cutting table
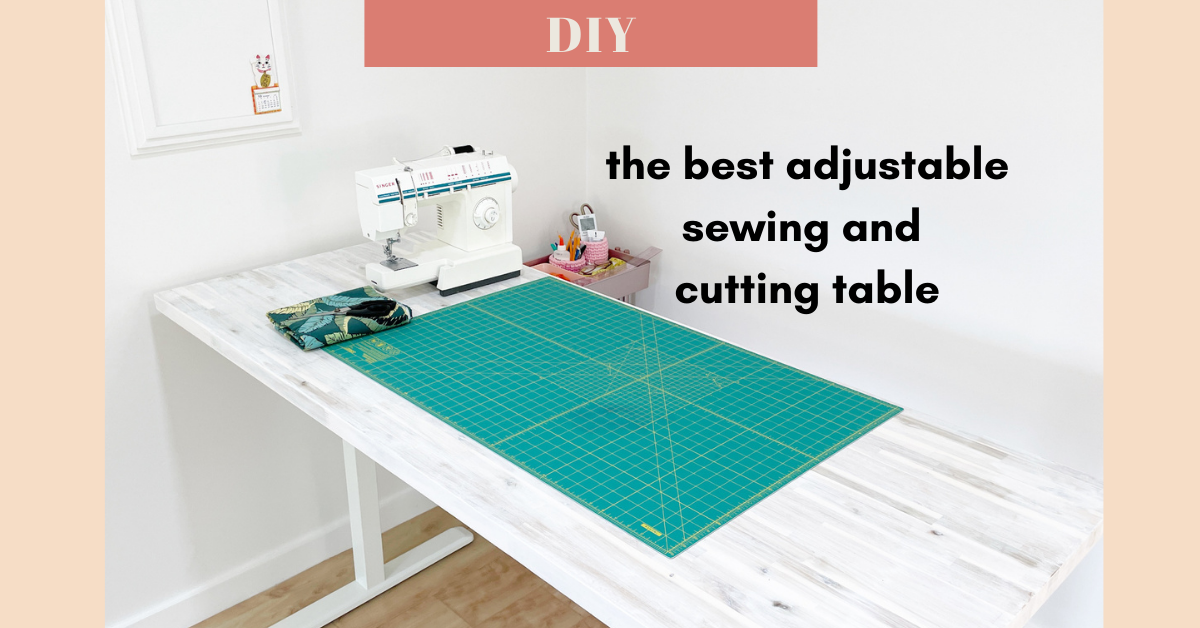
Have you ever dreamed of having the perfect work table for your crafts? A table that is just the right height for cutting fabrics and sewing, and with the right tabletop space for everything you need? Well, I have! And, my dream finally came true earlier last month. Today, I am sharing my process of making the best ergonomic, adjustable sewing and cutting table (with a lot of my husband's help) so you can make yours too!
This post contains affiliate links
What is ergonomics?
Wearing the
Ergonomics is the study of people and the design of their workplaces to prevent injuries. Injuries during physical work is often caused by factors such as repeated movements and poor posture. Having worked as an allied healthcare professional (and been quizzed repeatedly on the standards of the Occupational Safety and Health Administration), I highly value the importance of ergonomics for ensuring optimal safety and efficiency for a physical work like sewing.
Regardless of whether you sew for fun on weekends or if you have a small business sewing your own handmade goods, we all can benefit from applying the concept of ergonomics to improving our workstations and preventing injuries in the long run. Let's face it, aching muscles and body injuries are not fun.
Making the best sewing and cutting table
For a large part of my sewing life, I had always lived in small apartments with standard desks that were too small for cutting. I used to cut large patterns on the floor, on the ironing board, and even on kitchen countertops. Back then, I was mostly only sewing on the weekends.
Now, I am spending more time on sewing than ever. When the renovation for my sewing studio was finally completed a few weeks ago, I finally had the space and the chance to invest in a good table for my sewing and cutting needs. I don't want to end up learning more bad postures and injuring myself over time!
Before embarking on making the best ergonomic sewing and cutting table, I did some research, reflected on my personal experiences and jotted down some of the things I wanted for my bespoke sewing and cutting table.
I decided my perfect sewing and cutting table will have these features:
Best table height for both cutting (while standing) and sewing (while seated)
Ideal width for large pattern pieces for my size (e.g., midi skirt and bias cut pieces)
Light-coloured surface for taking photos
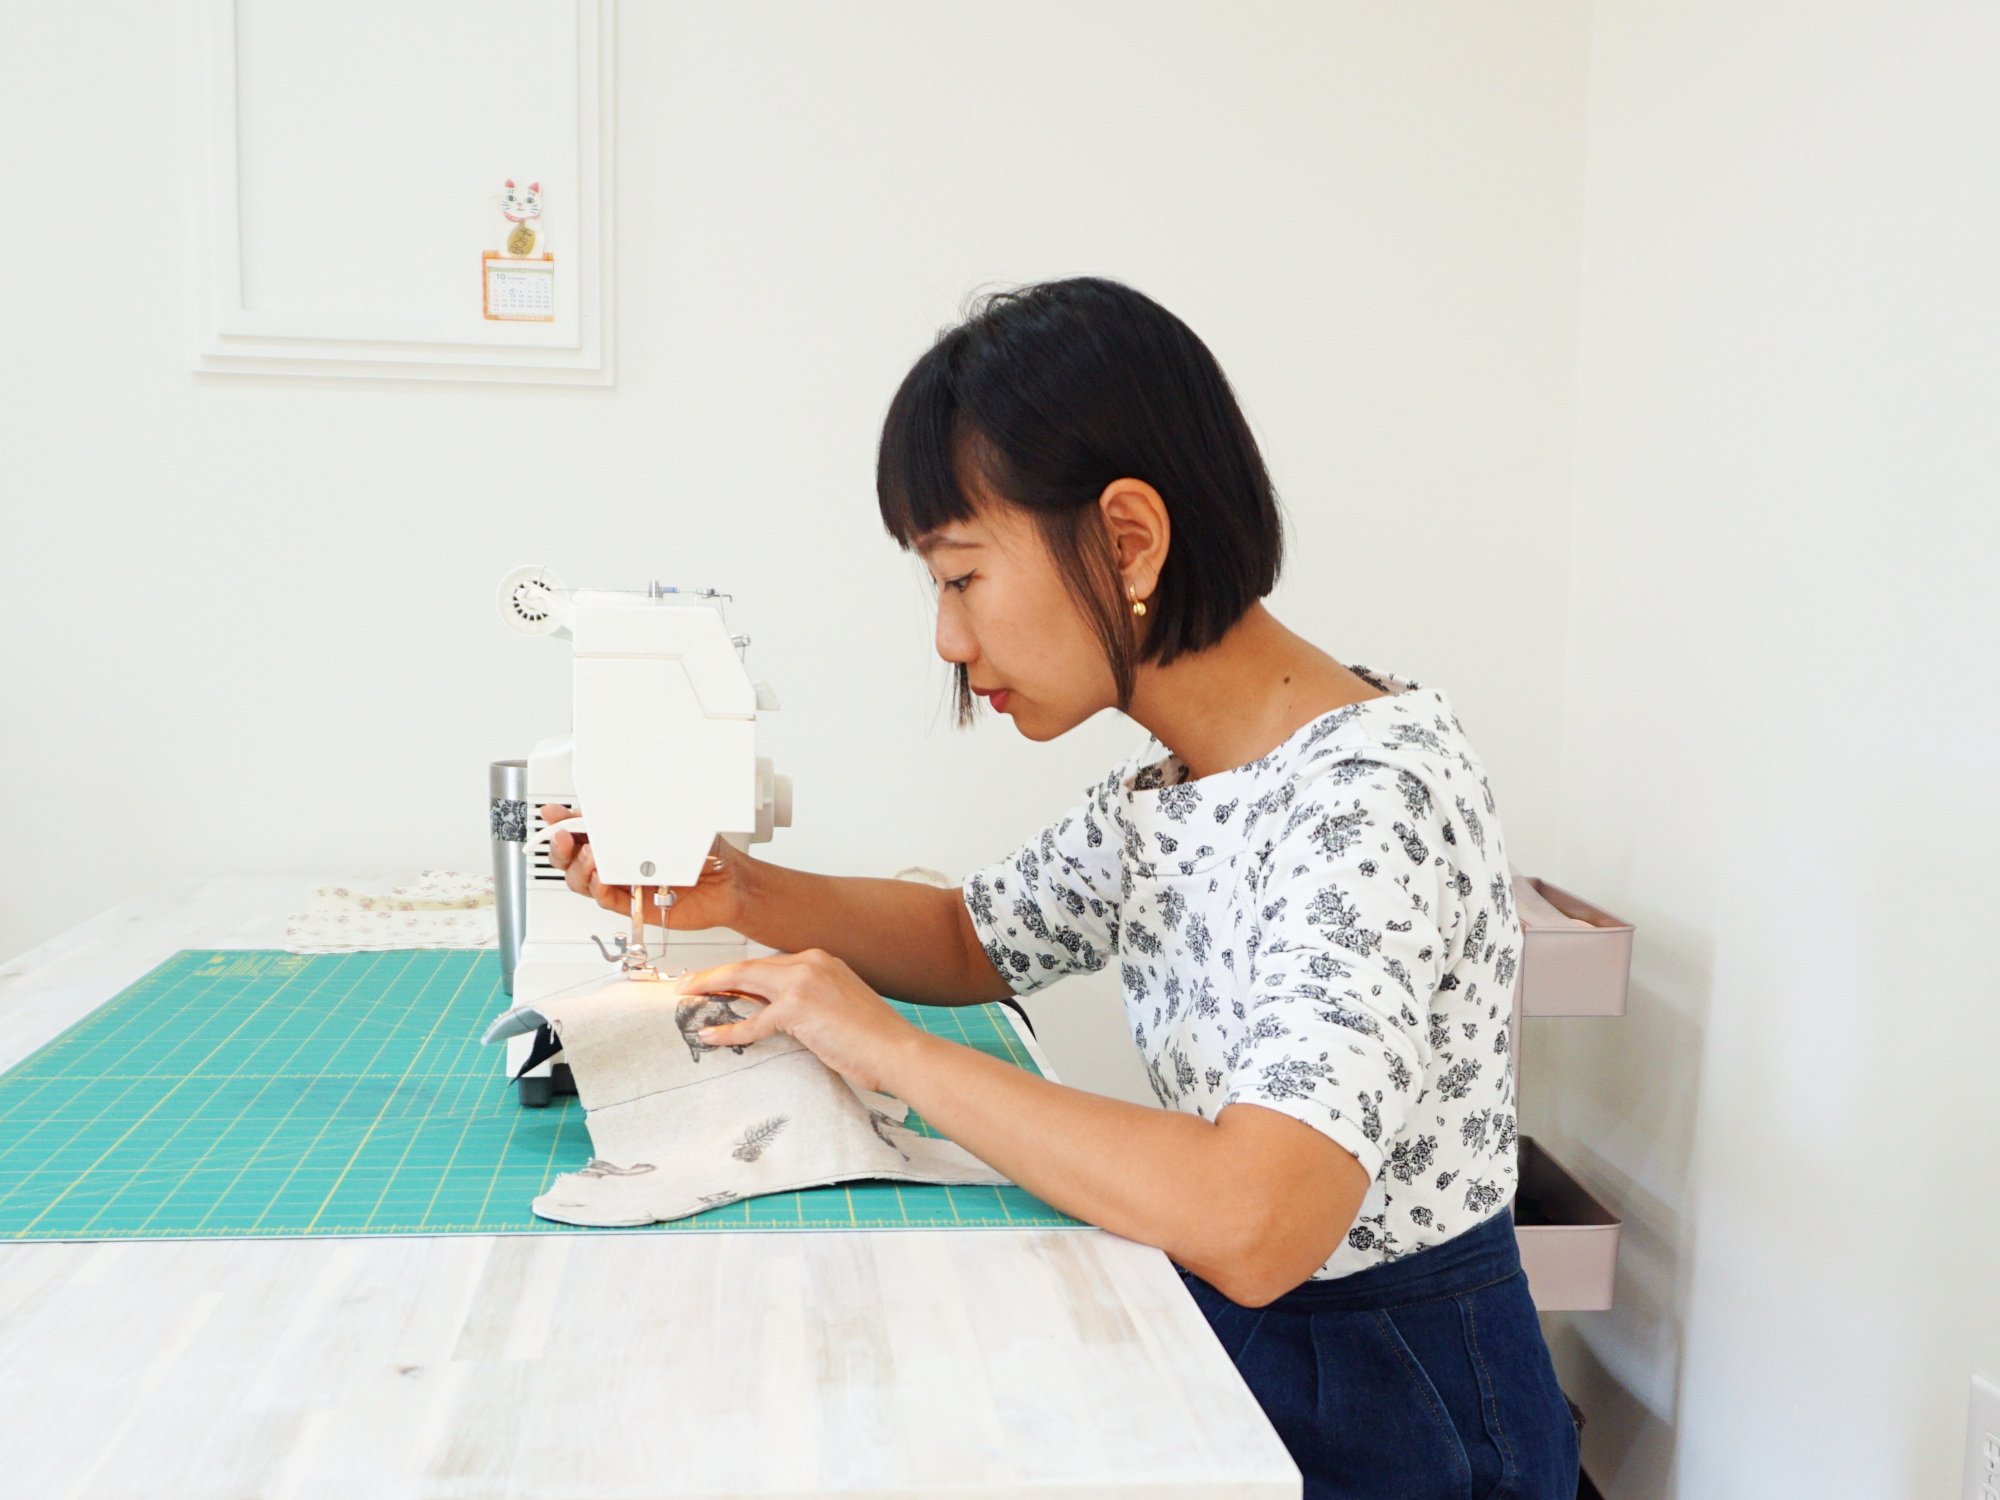
The perfect table height for sewing and cutting

Gwen demonstrates the ideal height of an ergonomic sewing and cutting table for cutting - table should be a few inches below elbow
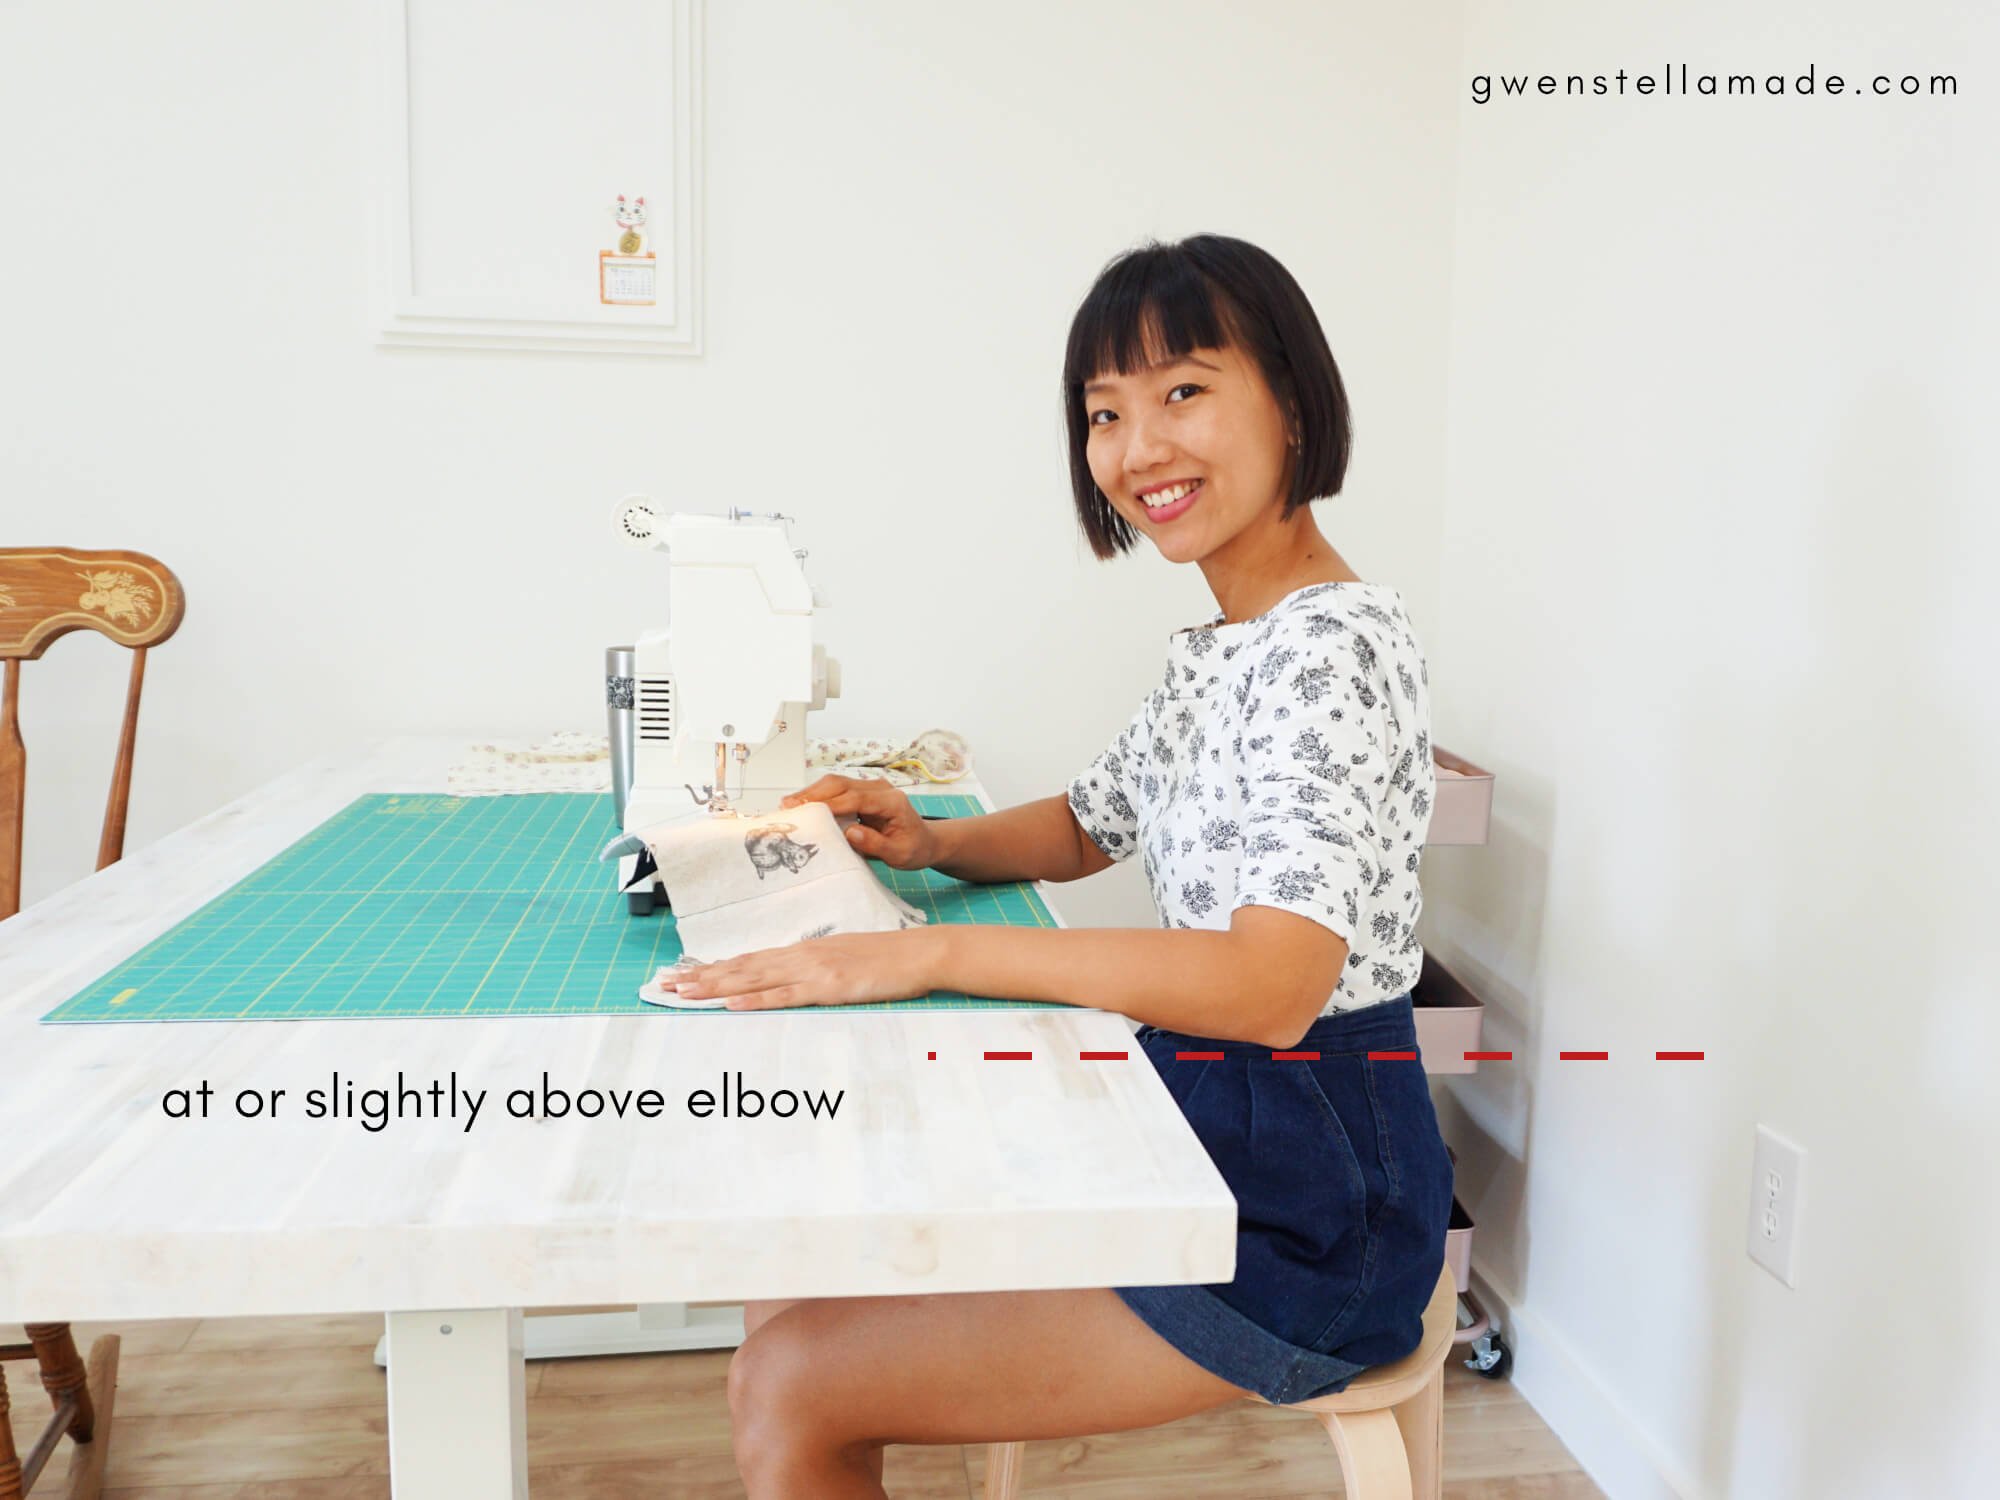
Gwen demonstrates the ideal height of an ergonomic sewing and cutting table for sewing - table should be at or slightly above elbow
Ideally, the height for sewing table should be at or slightly above elbow height when seated (UNITE, 2001, pp. 31). On the other hand, the recommended height for cutting is a few inches below elbow height (UNITE, 2001, pp. 19).
Considering that and my petitie 5'2"/157cm frame, finding a ready-made table with the height for my needs is almost impossible. So, I had to get one with adjustable legs.
The adjustable legs I purchased from Amazon, combined with the width of the tabletop, has a surface top height between 30" - 50". It's perfect for my height and definitely also useful for taller folks!
The ideal width for large pattern pieces
When it comes to deciding on the width of the tabletop, it's a bit of a Goldilocks situation. You want a width that is wide enough for placing a whole large pattern piece on it, but not too wide that you have to reach over excessively (OSHA, n.d.). Since I already have a 24" wide OLFA cutting mat, I wanted my tabletop to be wide enough for me to place the mat on it, with a little more to spare.

Light-coloured surface for taking photos
Yep, of course, I need a table for my photos and videos! At this stage, I also need to say that my husband had pretty much decided that he wanted a sturdy hardwood tabletop for my sewing and cutting so it would last for years and years to come.
Okay, sure. I love the texture and colour of wood. Unfortunately, the floor in my sewing studio is a pale faux pinewood tile, so I couldn't possibly have pale wood as my tabletop. That means... I'll have to stain the wood...
Supplies for making the best ergonomic, adjustable sewing and cutting table
And so, here's all the supplies we got for making the best ergonomic, adjustable sewing and cutting table:
Adjustable desk frame / table legs (affiliate link)
Sparrow Peak 6ft Natural Colour acacia wood kitchen countertop (72" x 30") via Lowe's
Minwax® Pre-Stain Wood Conditioner
Minwax® Wood Finish™ in Simply White 275 (affiliate link)
Minwax® Polycrylic™ Protective Finish (Clear Satin) (affiliate link)
Medium 220 sand paper
Fine 800 sand paper
Paintbrushes (not the kind for fine art)
Electric drill and screwdriver
2B pencil
Measuring tape

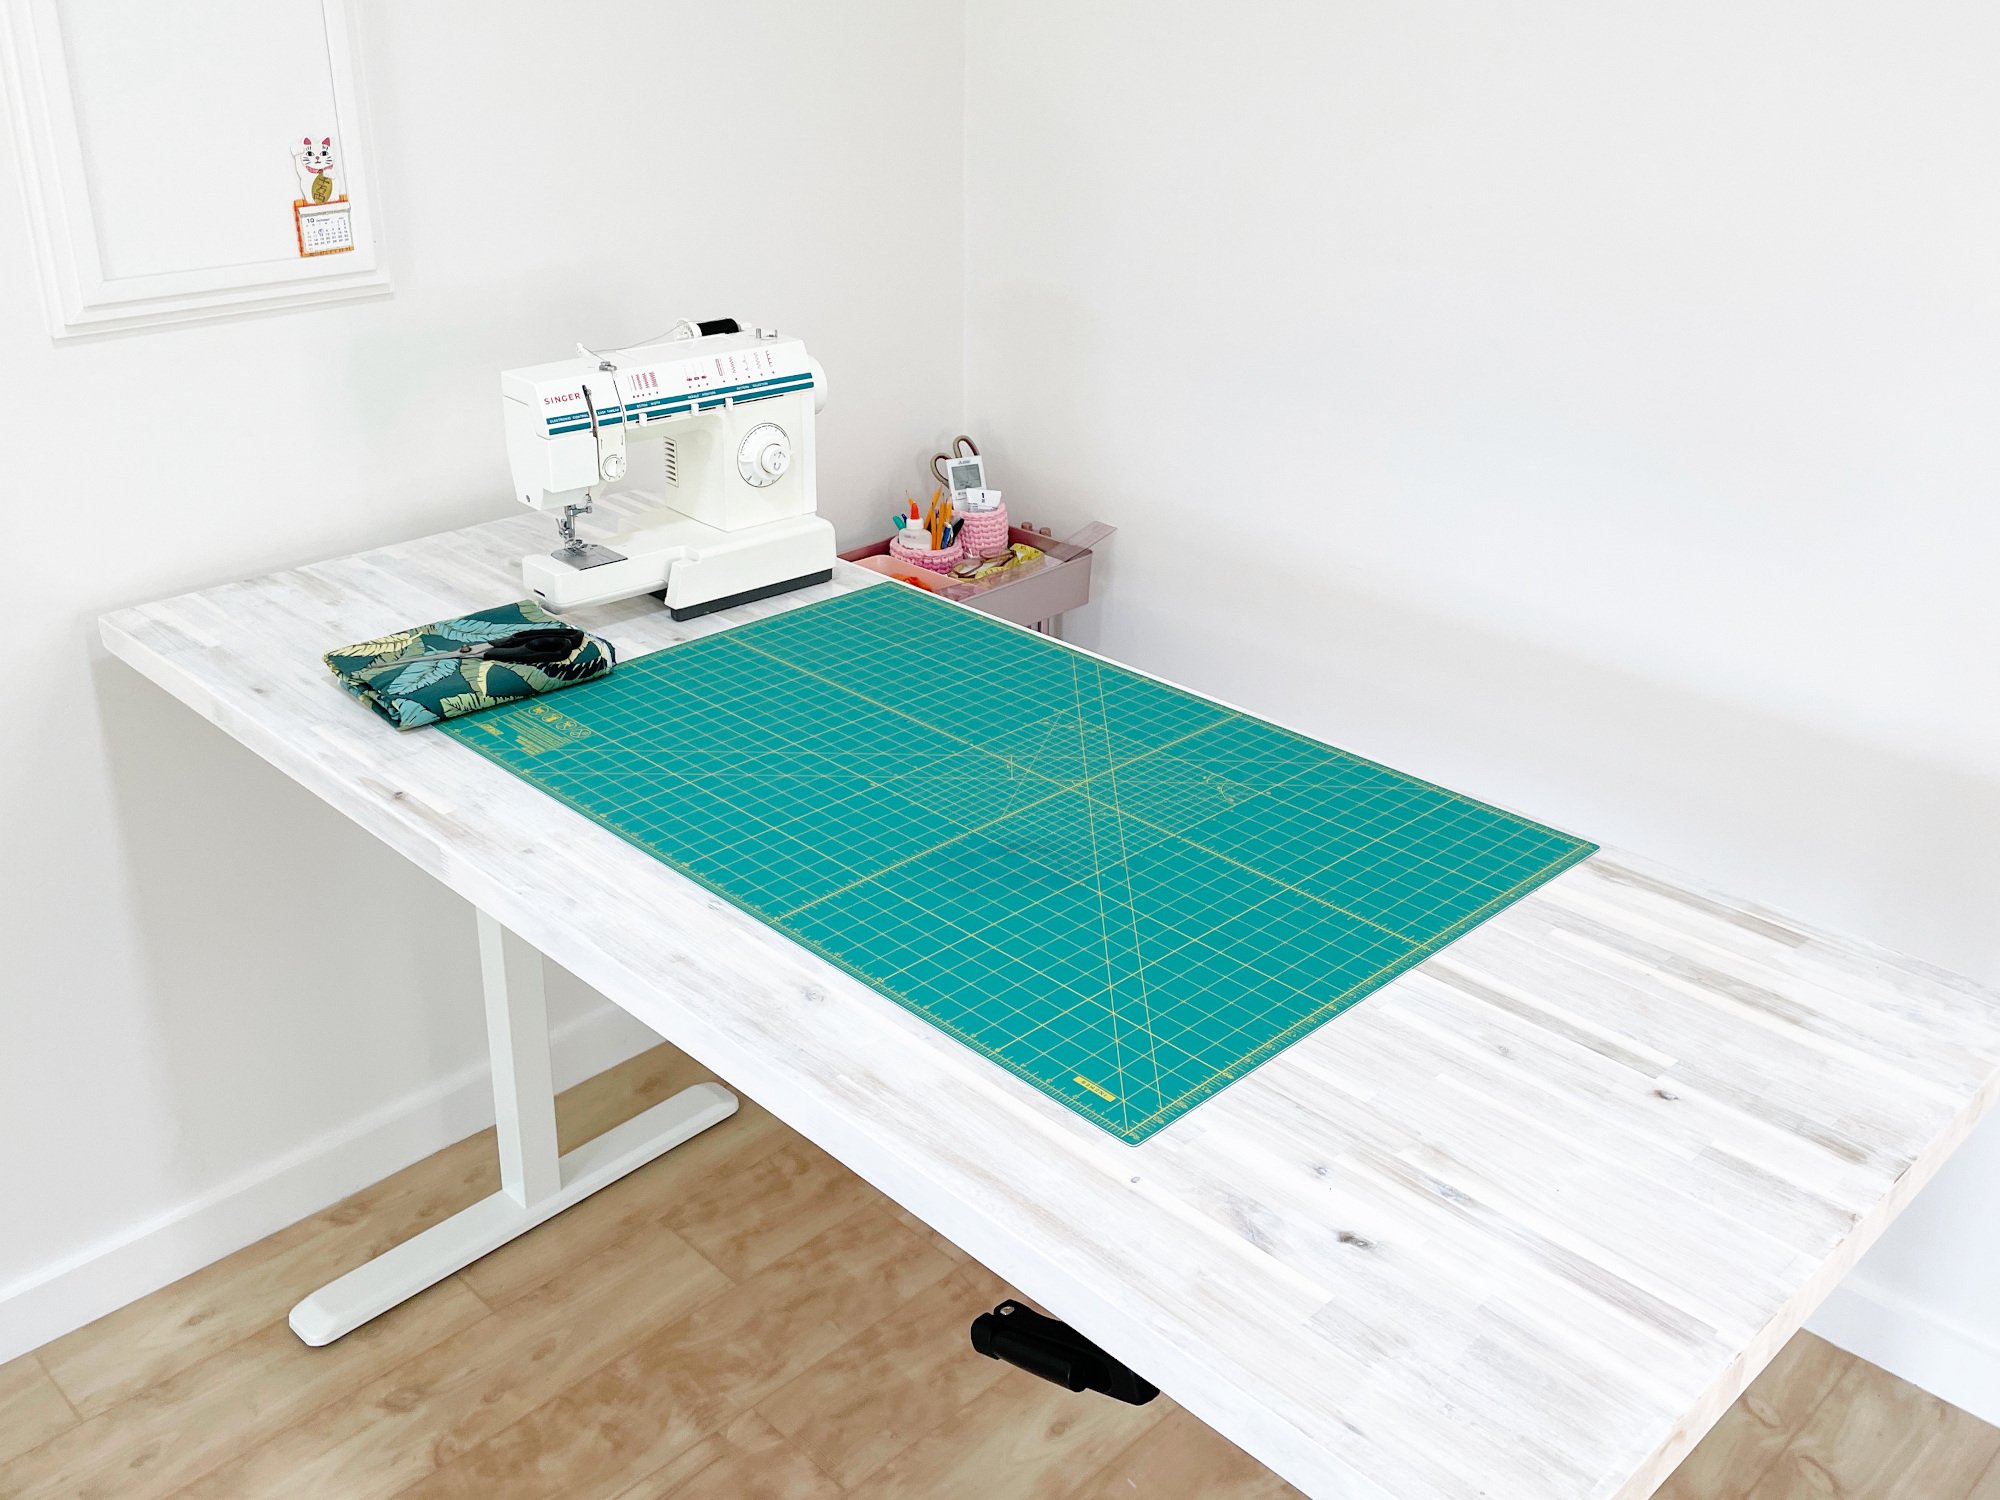
Foreground is the whitewashed top of the adjustable sewing and cutting table
Steps to making the best ergonomic, adjustable sewing and cutting table
Watch the video of the process on Youtube
Depending on the type of tabletop and the workspace you have available, and whether you want to stain your tabletop, your steps to making your sewing and cutting table may be different. This is only a guideline! For example, if you are just getting a finished tabletop like this from IKEA, all you have to do is attach the table legs to the tabletop.
However, the acacia wood tabletop I got from Lowe's required finishing on both the top and underside of the table. Since I was going to stain the wood, I wanted to make sure all the drilling were done before the staining. Honestly, I'm not sure if it would make any difference but if I were to do it again, I'd probably still do it in the same sequence:
Attach the legs to the tabletop so all holes are drilled
amzn_assoc_tracking_id = "gwenstellamad-20";amzn_assoc_ad_mode = "manual";amzn_assoc_ad_type = "smart";amzn_assoc_marketplace = "amazon";amzn_assoc_region = "US";amzn_assoc_design = "enhanced_links";amzn_assoc_asins = "B07HJJLLML";amzn_assoc_placement = "adunit";amzn_assoc_linkid = "6b9f68815c853f339de5de59ab5c6e8e";

Now, here's where my husband comes in for the (literal) heavy lifting. If you are getting the same adjustable legs that I got from Amazon, you'll find that it comes with a lovely instruction booklet that's easy to follow. Follow that or get someone who can follow that. I did the latter.
There's no additional tools needed other than an electric drill and a screwdriver to drill the screws into the acacia tabletop.
Before putting the screws in, we measured the distance between the edges of the table and the legs to make sure that we install the legs onto the tabletop in a symmetrical manner. Specifically, we made sure the measurement for (A) and (B) are the same for all 4 sides of the table. Refer to the photo below for details.


Of course, it's a dressmaker's measuring tape
Admittedly, this took way longer than I would like because guess what, every time we moved the left leg, the right one would move! Nothing like fixing a table to test our communication skills as a couple. But hey, with a bit of patience, a 2B pencil and a measuring tape, it can be done. We did it and looking back, it was pretty fun.
Remove legs from tabletop
Next, we removed the legs from the tabletop. Again, it also seems like I got the steps wrong but I just really didn't want to drill holes into stained wood and have the nice, glossy and stained top side of the tabletop facing down and risk getting scratched or damaged during handling.

Remember how I said fixing the legs took a while? If you did that first and removed the legs for staining, you're getting the hard work done first. Just think about that!
Stain tabletop (underside)
This is the most tedious step of making the sewing and cutting table. So, if you somehow found the perfect, finished tabletop for your needs, congratulations.
If you are staining a real wood top, don't forget to do a little bit of research beforehand! Softwoods like pine takes water-based stains well. Hardwoods like my acacia tabletop, requires an oil-based stain. I picked the Minwax® products because they are readily available at my local Lowe's.
I stained the UNDERSIDE of the tabletop first.
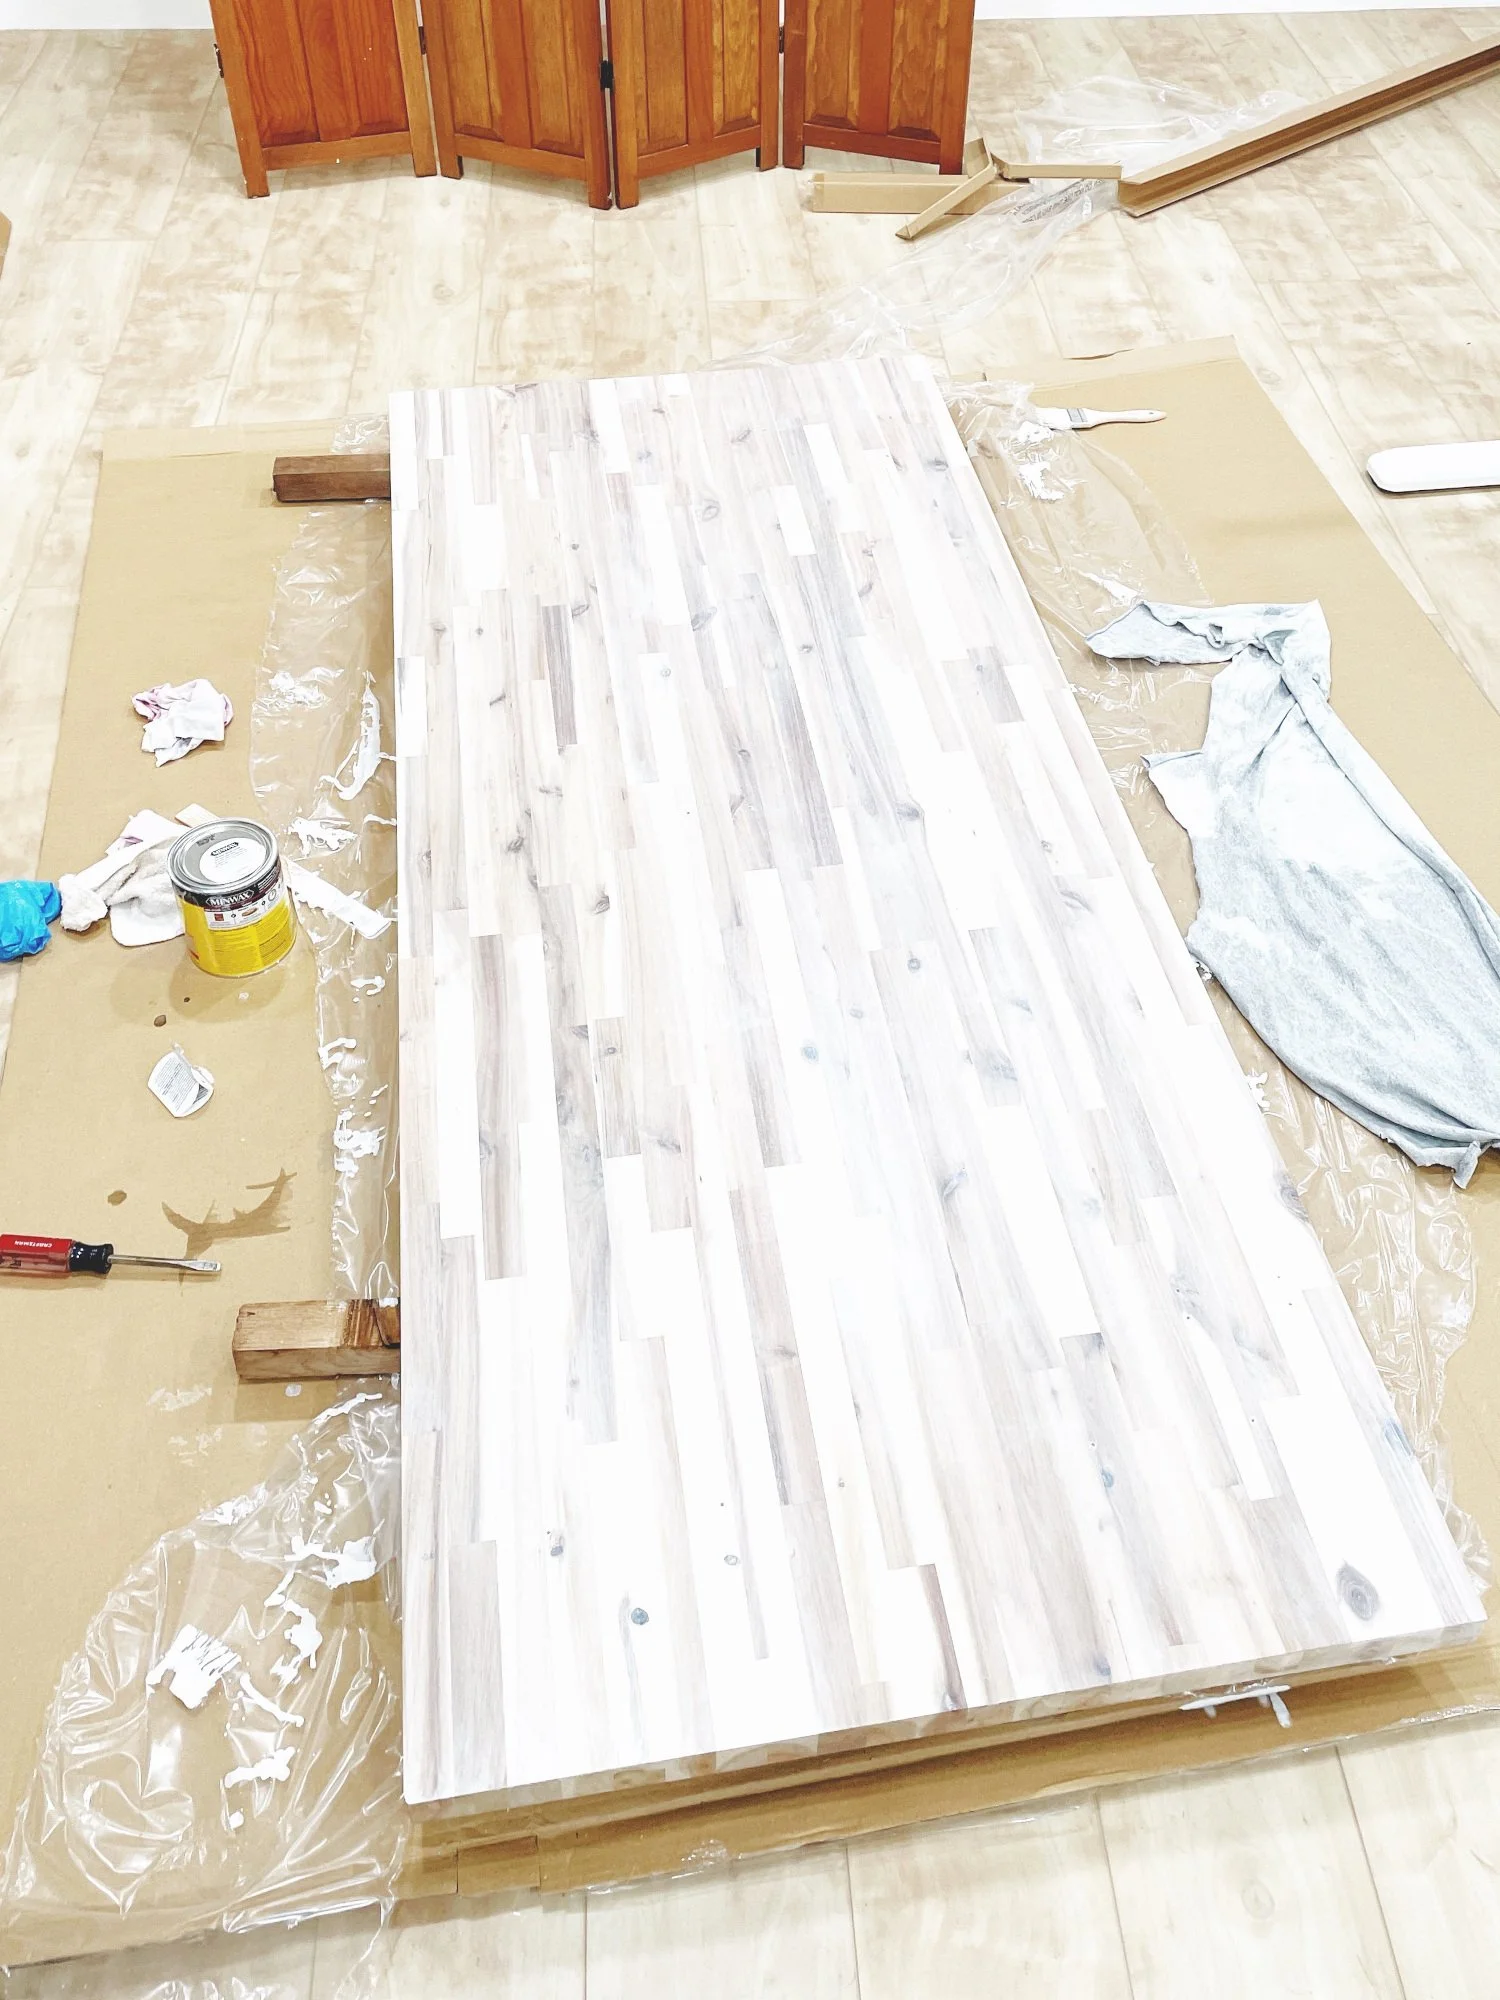
A truly un-ergonomic set-up for staining... my back hurt for a day.
Re-attach legs to tabletop
The adjustable table legs were easily re-attached by following the holes that were previously drilled. After re-attaching the adjustable table legs to the underside of the tabletop, I stained the TOP of the tabletop.
Stain tabletop (top side)
Here's how I stained the top of my tabletop for a perfect, smooth and white finish:
Use medium 220 sand paper to smooth the raw surface of the tabletop
Apply wood pre-stain (Minwax® Pre-stain Wood Conditioner) with brush, allow to dry as instructed
Apply oil-based wood stain (Minwax® Wood Finish™ in Simply White 275) with a brush, then wipe off excess with a rag and allow to dry as instructed
After drying, use medium 220 sanding paper to correct any uneven painting
Apply a thin layer protective topcoat (Minwax® Polycrylic™ Protective Finish) and allow to dry as instructed
Use medium 220 sand paper to smooth out uneven topcoat
Apply another thin layer of protective topcoat and allow to dry as instructed
Use medium 220 sand paper
Apply a final thin coat of protective finish and allow to dry as instructed
Use fine 800 sand paper for the perfect smooth finish

In my opinion, the final step is really important for a smooth tabletop. You just don't want a tabletop that will snag on your fabrics during use and handling!
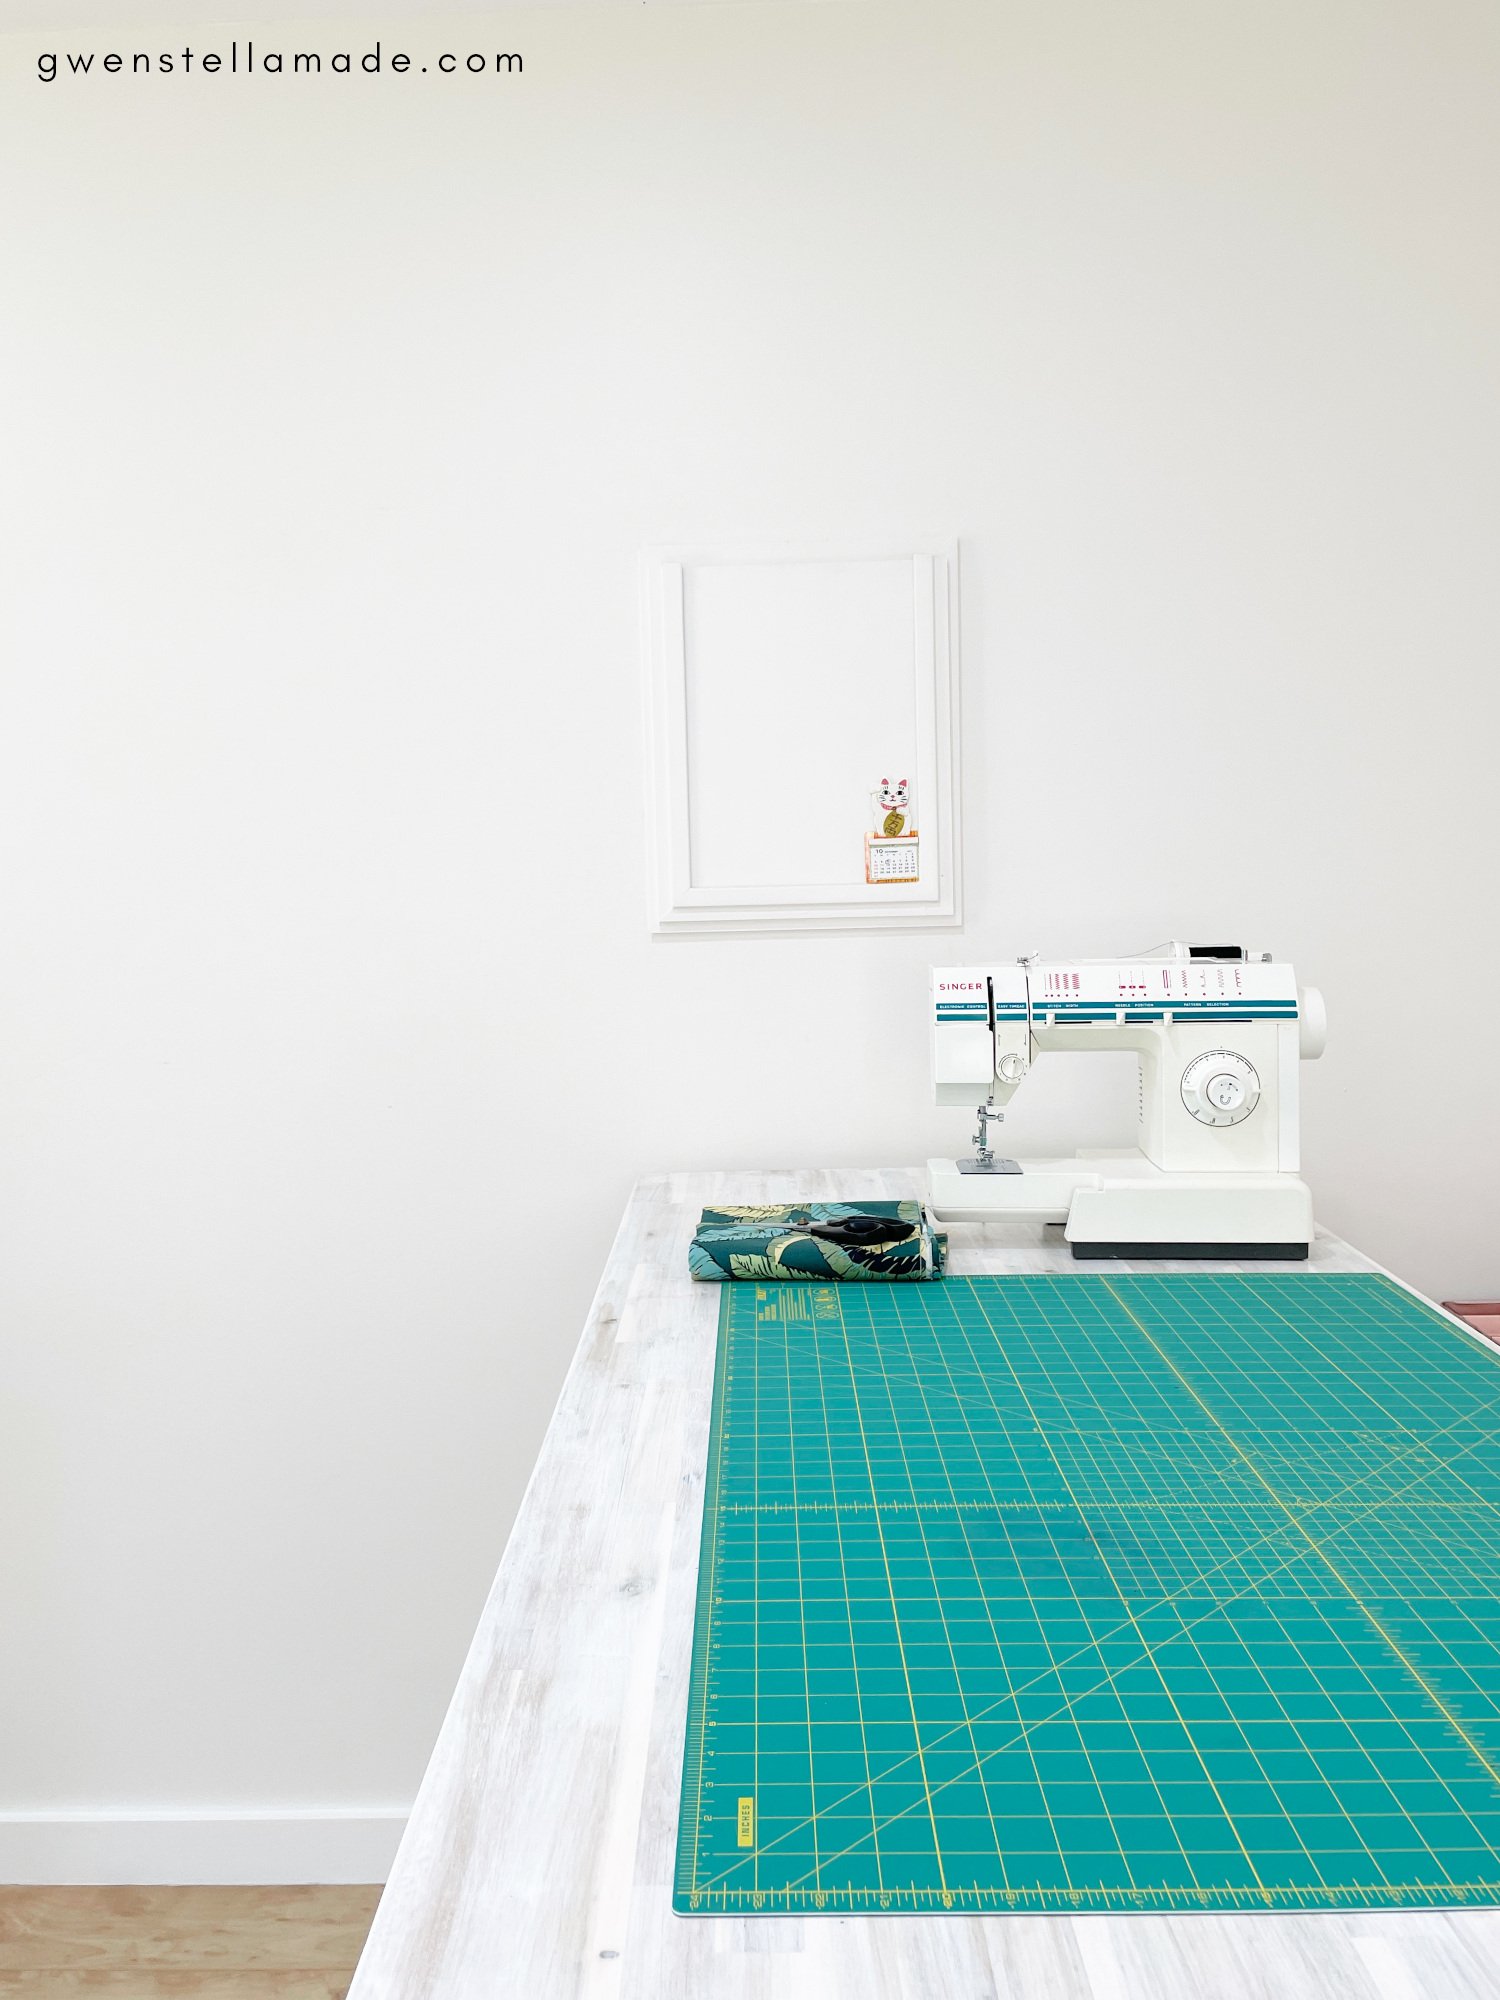
the finished product - the best ergonomic adjustable sewing and cutting table
Once the top of the tabletop is all stained, finished and dried, you're done!
Additional tips for staining the tabletop
Practise on the underside

Is it actually white on the underside?
Honestly, this is the first time I stained a tabletop and I was petrified at first. If you are staining wood for the first time, start with the underside of the table. This way, you get to practise with no consequences! I stained the underside of my tabletop without a pre-stain because at first I thought it didn't matter. But looking at my photos, you know it does. The acacia wood barely absorbed any of the white stain. I also only used 1 layer of the protective topcoat for the underside of the tabletop.
Use only 1 layer of stain for visible wood grain

Visible wood grain
If you love the look of the visible wood grain, apply just 1 layer of wood stain. Depending on the brand and/or the colour, you may or may not have to apply a second layer. As you can see from my table, adding another layer of the wood stain would have made the tabletop look painted over and I would have lost the look of the lovely acacia wood!
Paint from side to side, in small sections
When applying the layer of wood stain, I ran my brush on the tabletop in short sections from one short end of the tabletop to the other. I felt that this helped me to work faster since I could cover a short section with the can sitting at the same spot. Applying the stain lengthwise might have slowed me down since I would have to move the can continuously across the length of the tabletop while painting.
(See video demonstration at 6:35)
Safety precautions
Also, the fumes from the liquids used for staining are nasty, hazardous stuff. Always read the safety labels before using them and always use them with precautionary measures in place! I made sure I had all windows in the sewing studio open and place a fan right in front of the window to improve air circulation. I also wore a respirator while working and only stayed in the room when I was staining.

Will you be making the best ergonomic, adjustable sewing and cutting table for your needs?
Well, if you are, I wish you all the best! I hope this post has given you some ideas on what to look out for when planning to make the best ergonomic, adjustable sewing and cutting table that suits your body and your needs. Let me know if you have any questions in the comments section below!
References:https://www.osha.gov/etools/sewing/scissor-workhttps://www.iwh.on.ca/sites/iwh/files/iwh/tools/ergo_handbook_clothing_2001.pdf