

How to Draft and Sew a Half Circle Skirt (4 panels)
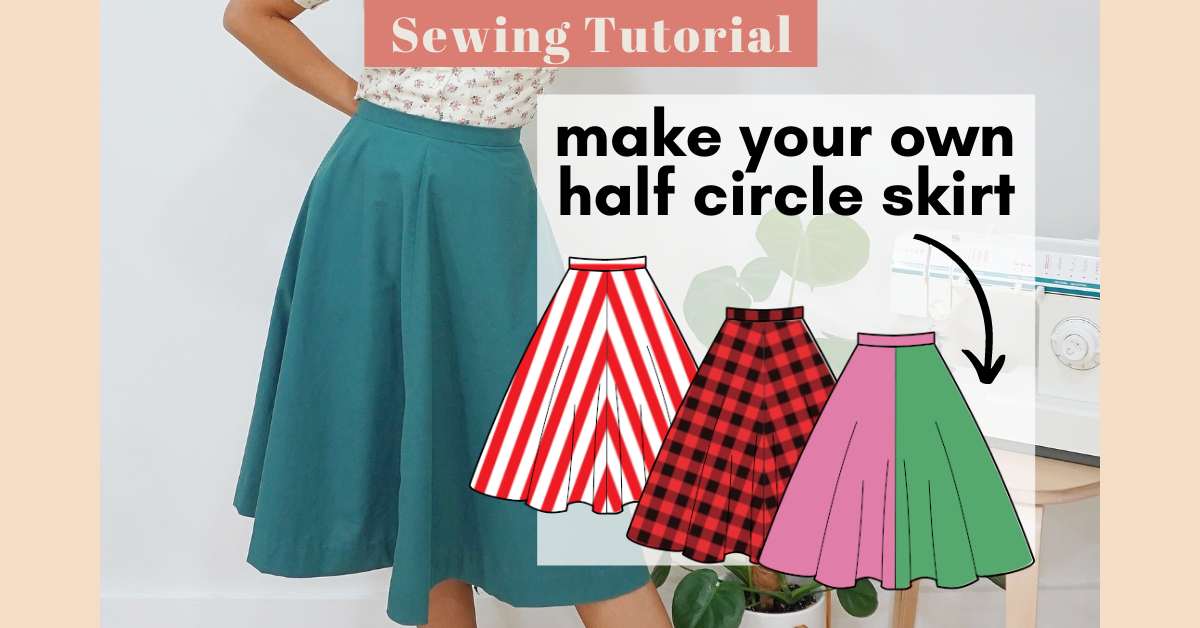
One of the garments I planned to sew for my A/W 2021 capsule wardrobe is a skirt with a flared design and a waistband that sits on my natural waistline. Today, I am showing you the step-by-step process on how to draft and sew a half circle skirt with 4 panels!
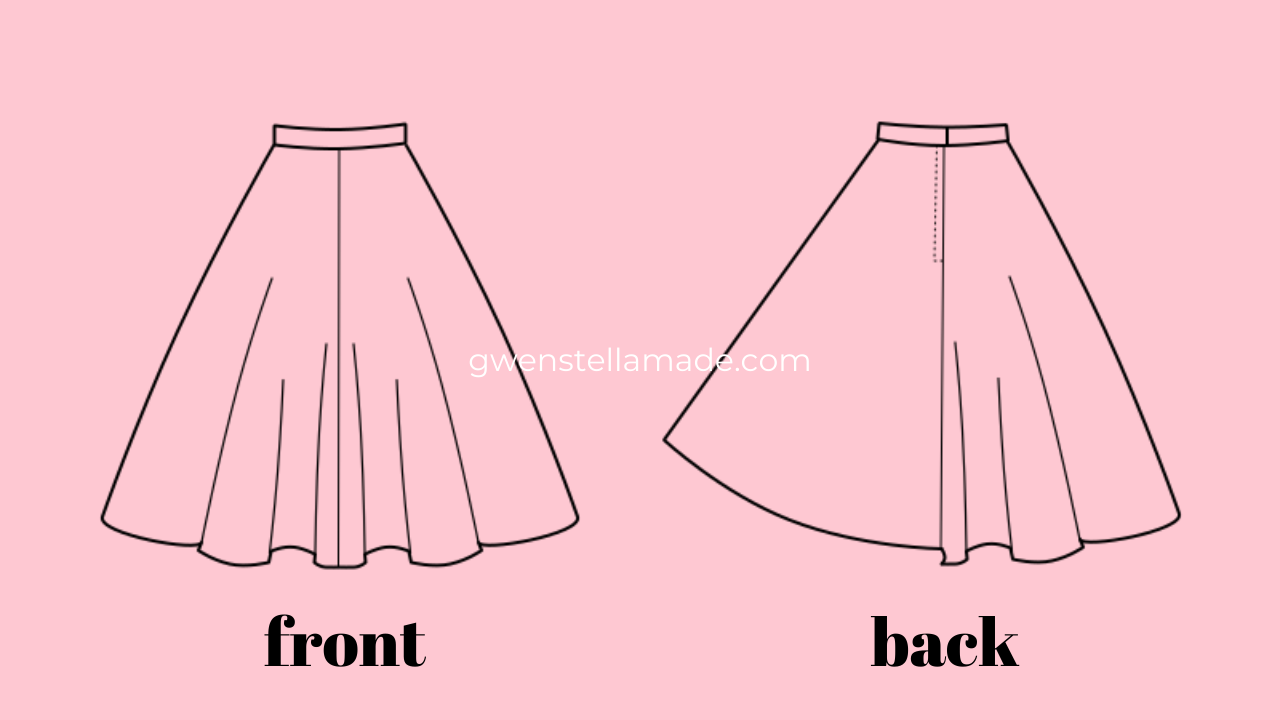
The skirt in this tutorial has the following design features:
fit and flare silhouette: waistband sits fitted on the natural waistline and the skirt flares out away from the hips and knees
4 panels: left side seam, right side seam, centre-front and centre-back seams
zipper opening with a hook and eye closure
The beauty of a half circle skirt with 4 panels
What is a 4-panelled half circle skirt?
A regular half circle skirt is usually only made of 1 whole half circle cut and sewn together with just 1 seam. For my half circle skirt, I have chosen to use 4 panels (i.e. 4 pieces of fabric) to make the half circle.
This means that this half circle skirt has a total of 4 seams: (1) left side seam, (2) right side seam, (3) centre-back seam, and (4) centre-front seam.
Why 4 panels?
There are several benefits of making a half circle skirt with 4 panels rather than a single 1-piece half circle skirt.
More design possibilities
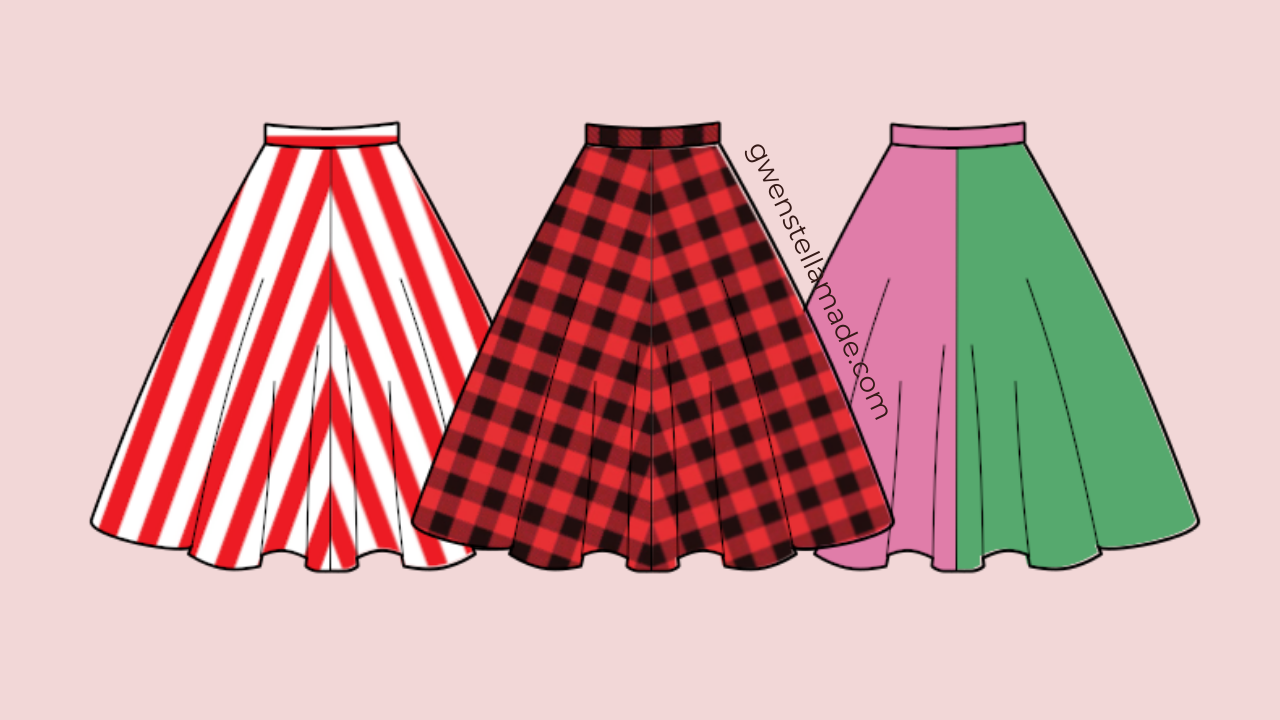
With 4 panels, it is easier to create different designs by using different print placement. For example, you can sew a half circle skirt with a chevron design along the centre-front and centre-back seams. A striped fabric and a symmetrical plaid print will be great for this design!
Also, you can use different coloured fabrics of similar fibre content and weight to create a colour-block design.
Pockets!

Yep, all you pocket-loving folks better believe it. With the presence of the left and right side seams, you can sew a half circle skirt with pockets!
You can add inseam pockets into the side seams. Also, you can add patch pockets on the outside of the skirt by aligning them to the side seams.
I know what it sounds like and I want to confirm your suspicion - yes, I don't care too much for pockets in my skirts or dresses...
How to draft and sew a half circle skirt (4 panels)
In this tutorial, you will learn to draft and sew a half circle skirt with 4 panels. This skirt will sit on the natural waist of your body and flare away from your hips. You can add your own preferred amount of ease in the waistband and choose to draft this in any skirt length.
Draft the half circle skirt
Take your body measurements
Before you begin to draft the half circle skirt pattern, take the following body measurements:
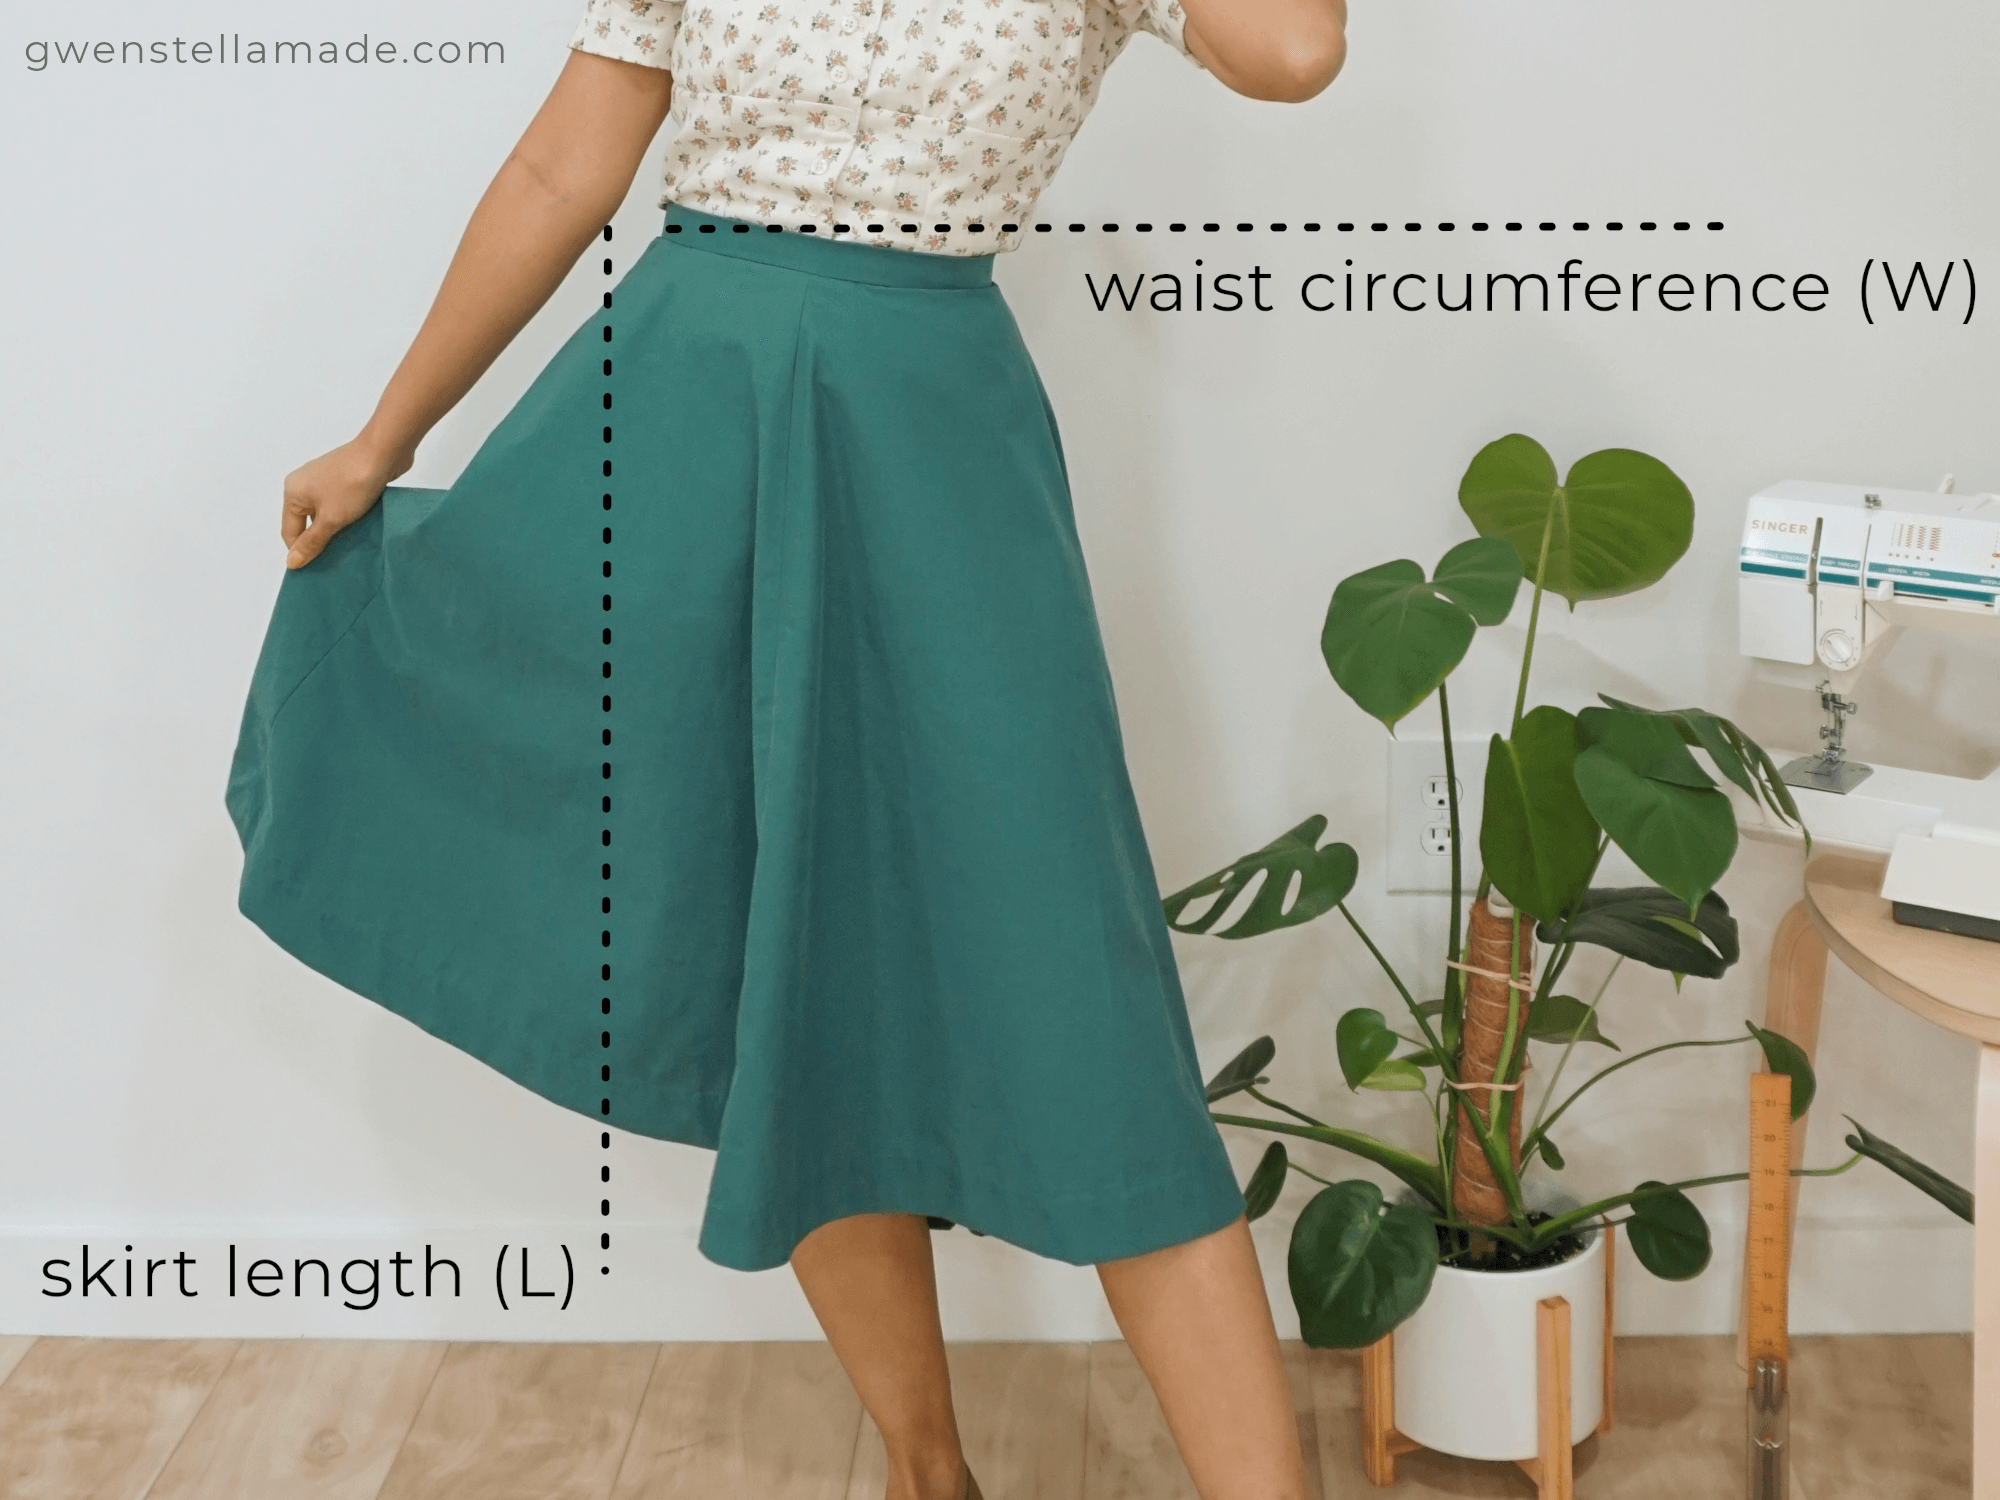
Natural waist circumference (W)
Skirt length (L)
The natural waistline usually sits somewhere above the belly button. However, every body is different and your natural waist may be located at a different position. If you need a little help with finding your natural waist, tie a narrow elastic band around your abdomen and see where it rests comfortably. Do this in front of a mirror for extra visual help.
To measure your skirt length, place your measuring tape perpendicular to your natural waistline. If you are like me and store your measuring tape rolled up, chances are your measuring tape will be curling. Try taping or tying something with weight to the measuring tape so the tape stays straight with the help of gravity. Again, doing this in front of a mirror is very helpful!
For reference, the skirt pattern I am drafting in this tutorial is a 25 1/8" (64cm) long skirt. This is a knee-grazing length for my height of 5' 2" (157cm). The waist circumference of my natural waistline is 25".
W = 25 1/8" (64cm)
L = 25"
Calculate the r
Now we are going to do some math! We are going to find 'r'.
This 'r' is the value of the radius of the circle that we will be drawing to draft the half circle skirt pattern. (Actually we are only drawing 1/8 of a circle but we will get to that in a bit!)
Use the following formula to calculate r:
r = [W + ease + (8 x seam allowance)] / 3.142
Ease refers to the amount of "breathing space" you want your skirt to have. A tight-fitted stretch T-shirt has 0 to negative ease (i.e. it is the same size as or smaller than your body). I like my skirts close-fitted and usually only add 1 cm for ease. If you like more breathing space especially after a meal, I recommend adding 1.5 - 2 cm of ease. You can hold the length of (W + ease) around your waist using a measuring tape and try sitting down to see how much ease you would like. For my skirt, I am adding an ease of 3/8" (1 cm).
There are 8 times of seam allowance to be added to the pattern. This is because there are 4 panels in this skirt design, which creates 4 seams as mentioned. Each seam is made up of 2 pieces of fabric, so there are (4 x 2 =) 8 seam allowances to be added to the waistline of the pattern. For my skirt, I am using a 5/8" seam allowance.
So, with that in mind, here is the value of my 'r':
r = [W + ease + (8 x seam allowance)] / 3.142
ease = 3/8"
seam allowance = 5/8"
r = [ 25 1/8" + 3/8" + (8 x 5/8") ] / 3.142
r = 9.7" OR ~ 9 3/4"
Note: Stick to the same units when doing calculations! If you are using centimetres, use that all the way. If you are using inches, use that for everything!
Draft the half circle skirt panel
Tip: Your paper should be at least the length of r + L + hem allowance. Start from the longest edge of your paper.
Get your paper and pencil ready because we are about to start drafting! Using the value of your r, draw a square where the breadth = r.
Then, split the square in half by drawing a diagonal line from one corner to another. See figure below for reference.

Next, using the value of 'r' and a measuring tape, draw an arc inside one half of the square. This arc is the (1/4 of the) waistline of your skirt!
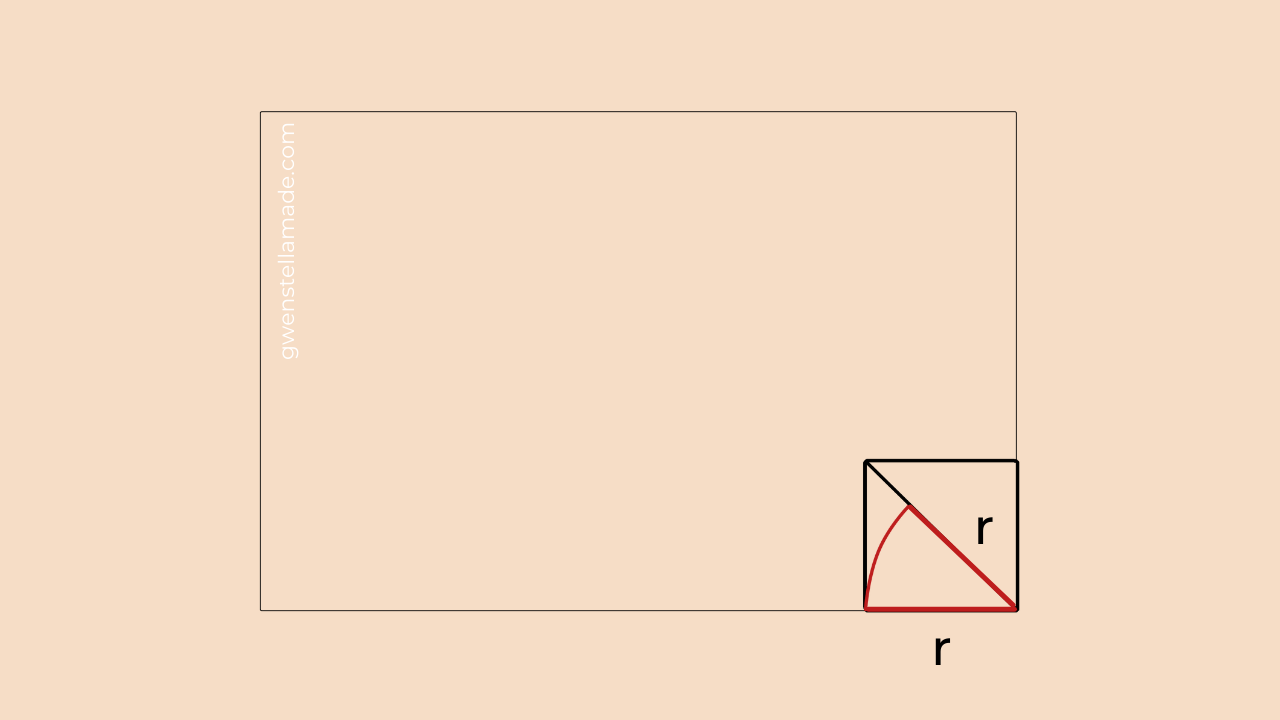
After that, use a measuring tape and the value of (L) to mark out the hemline of your skirt panel.

Add hem and seam allowance for waist
At this stage, we have included the seam allowance for the left, right, centre-front and centre-back seams into the drafting. Before finalising the pattern, we need to add the seam allowance along the waistline and the hem allowance at the bottom of the skirt.
In this tutorial, I am using the standard 5/8" seam allowance along the waistline (just like the rest of the pattern). I added 2" for hem allowance.
Add the seam allowance along the waist and the hem allowance using the figure below as a guide:

Draft the waistband
The waistband pattern is basically a rectangle with the following dimensions:
breadth = (desired width of band x 2) + (2 x seam allowance)
length = W + ease + 1" for underlap + (2 x seam allowance)

Just like the rest of this pattern, I am using 5/8" as seam allowance. For this skirt, I wanted a 1" wide waistband. You can choose from anything between 1" - 2". Anything beyond 2" will be too wide and may not fit as well.
I am also choosing to have 1" underlap which goes under the waistband when the skirt is worn. This is a pretty arbitrary number and a standard amount I usually include in my waistbands. I don't recommend anything shorter than 1" for the underlap!
With that in mind, my rectangle has the following measurements:
breath = (1" x 2) + (2 x 5/8") = 3 1/4"
length = [W + 3/8" + 1" + (2 x 5/8")] / 2 = 13 7/8"
Mark your paper pattern
Lastly, mark out the zipper placement and the grainline on the paper pattern.
The grainline of the waistband runs lengthwise across the pattern. To find the grainline of the skirt panel, fold the pattern piece in half lengthwise, aligning the long straight edge together. Then, fold the paper pattern just enough to leave a mark on the paper. Unfold the paper and draw a straight line where the folded crease is. That's your grainline!
The end/bottom of the zipper should be placed at leaste ~ 8 1/4" from the waistline along the centre-back seam of the skirt. I only have a 9" metal zipper that could go with the skirt, so I decided to place the end of my zipper at 9" from the waistline.
Your pattern for a half circle skirt with 4 panels is now complete! Don't forget to write down your the measurements used in this draft directly on the paper pattern so you can always refer to it again for future projects. I like to mark out the following on my paper pattern:
waist circumference
ease
skirt length
seam allowance
hem allowance
Writing these down makes it easier to alter the pattern in the future. It is also helpful to mark notches on the straight edge of the skirt panel and on the centre of the waistband. You will be able to use these notches to align the fabric pieces for sewing later.
Sew the skirt body
Prepare the fabric for washing
In this tutorial, I am using a full-sized polycotton flat sheet that I found in a thrift store to sew my half circle skirt. The fabric is pre-washed and measures approximately 96” x 102” (244 x 259 cm).
Cut the fabric
Using the skirt pattern piece, cut 4 pieces with the main fabric. Using the waistband pattern piece, cut 1 piece with the main fabric.
Next, take the waistband pattern piece and fold the seam allowances to the back. Using this new pattern piece, cut 1 piece with interfacing.

Mark the fabric
Remember the zipper placement marking? Don't forget to mark that on the fabric so you know where to insert the zipper later!
At this stage, you may also wish to use a serger to finish the seams. I don't have a serger and usually only use a regular zig-zag stitch to finish my seams. That step will come later.
Baste the curved waistline
Using the longest stitches on your machine, baste the curve waistline of your skirt panels. Basting helps to prevent the curved seam from stretching out and warping during handling as you sew!

Sew the half circle skirt panels
With right sides together, sew 2 of the skirt panels together. Repeat with another 2 skirt panels. You will now have 2 big skirt panels.

With right sides together, sew the 2 big skirt panels together, leaving an opening for your zipper.

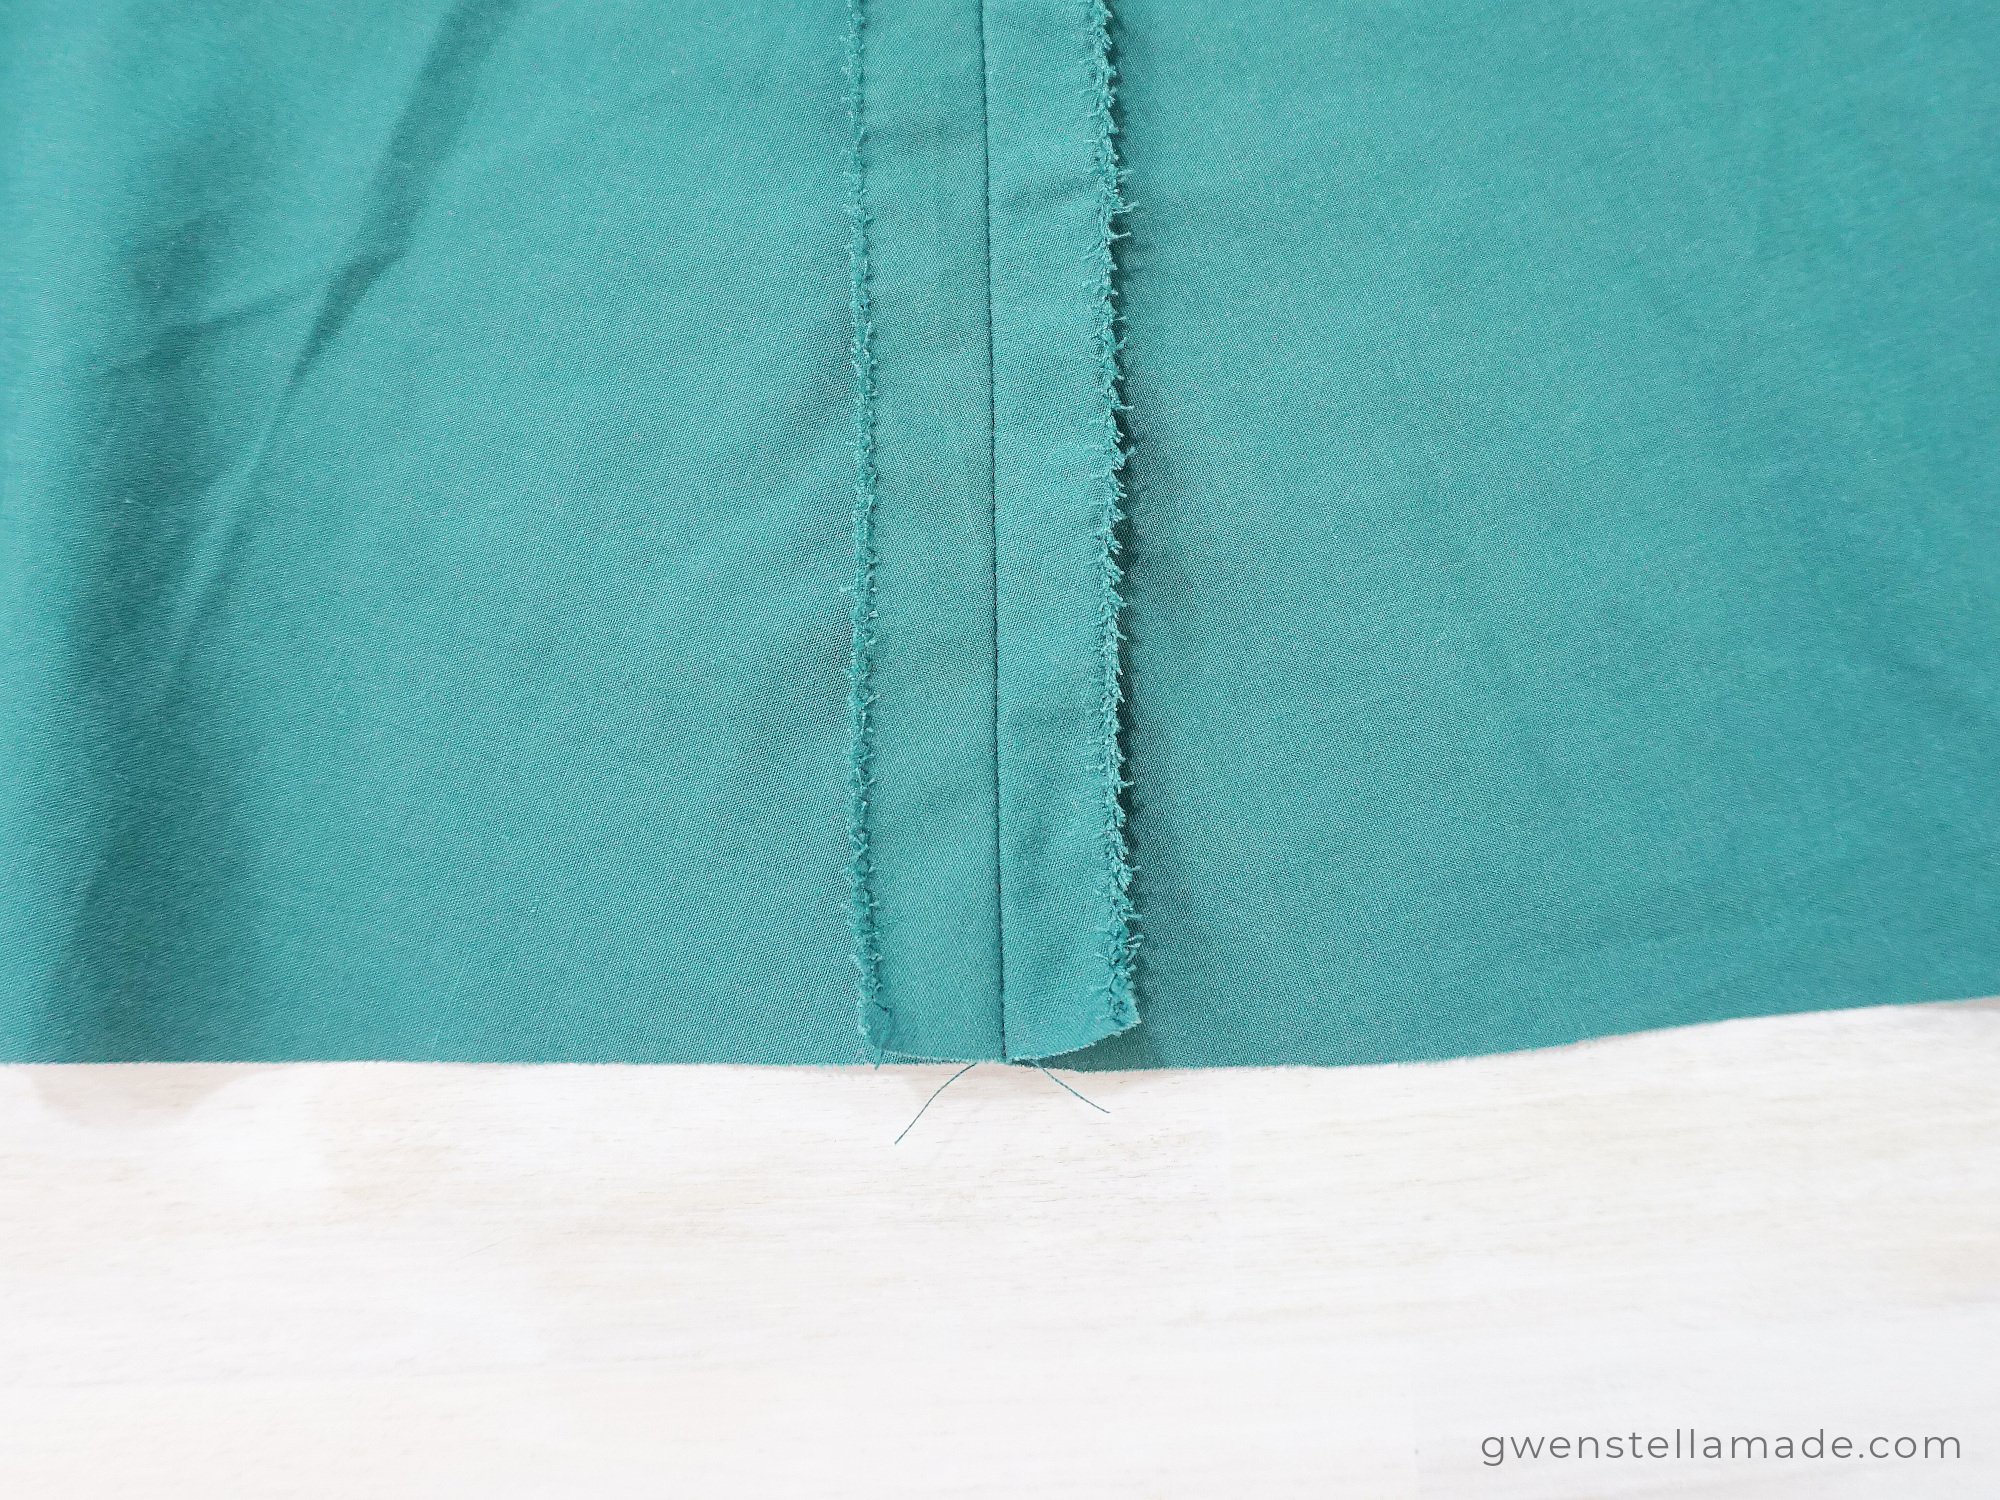
Press seams
It's a good idea to do this now before continuing. Usually, this is also where I finish the seams with zig-zag stitches.
Insert the zipper
Now, insert your choice of zipper. You can choose to use either an invisible zipper or a regular zipper. I am using a regular metal zipper to sew a lapped zipper for this skirt.

Sew the waistband
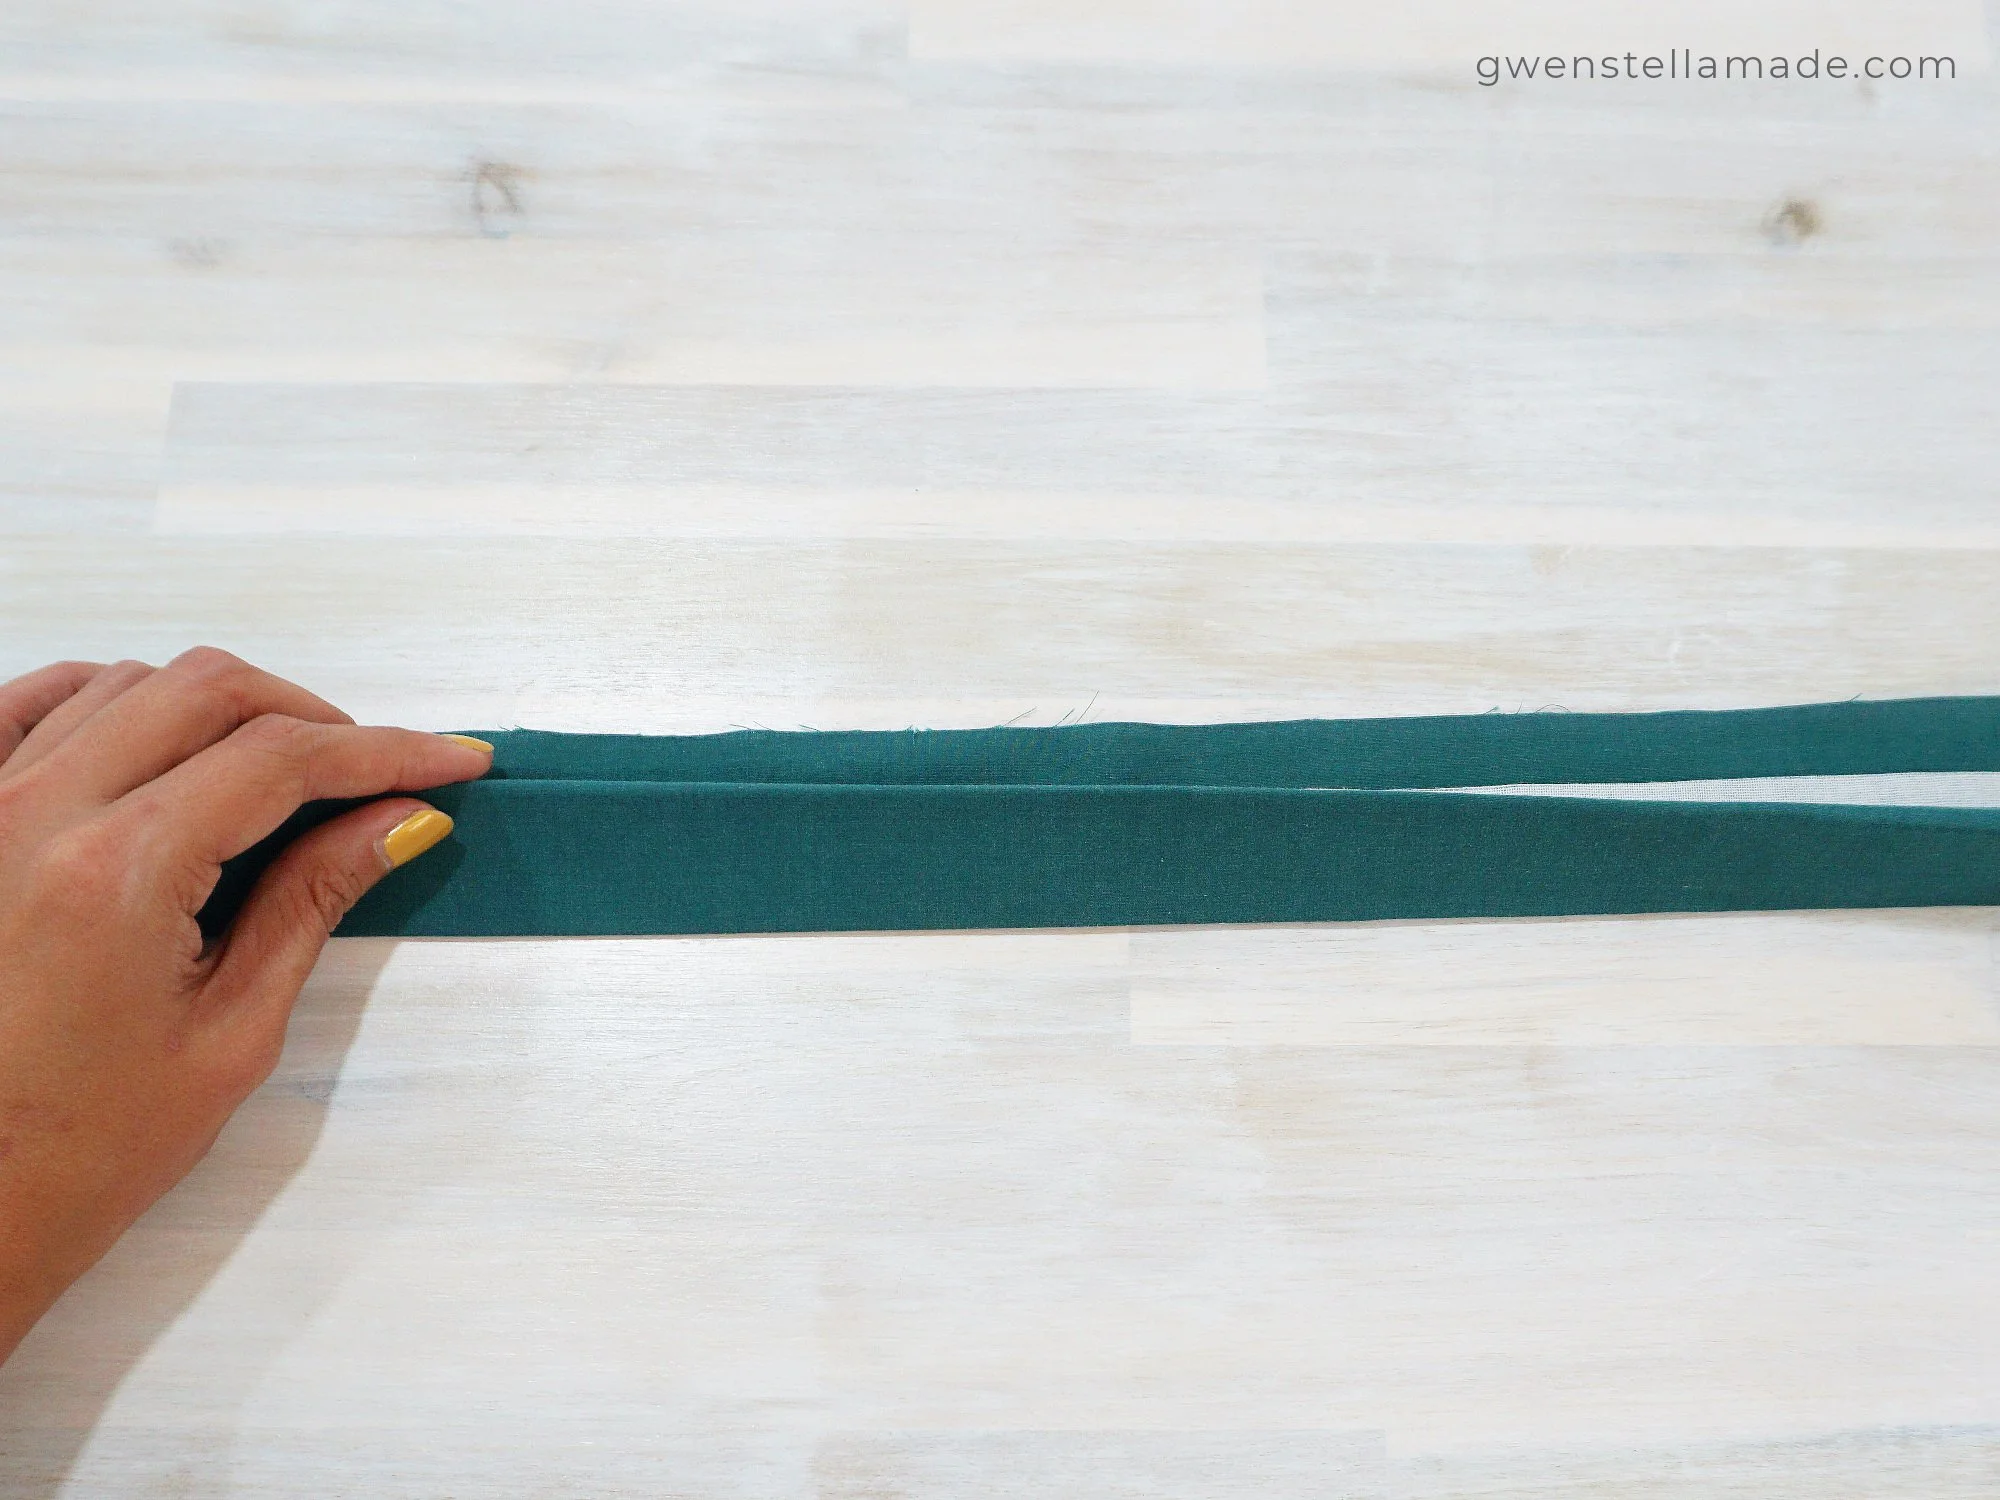
Apply interfacing to the waistband, then press the waistband in half lengthwise. Next, press the seam allowance of one of the long edges of the waistband towards the wrong side.

With right sides together, sew along the short edges of the waistband. Turn the waistband inside out and make sure the corners of your waistband are sharp and neat!

Attach the waistband to the skirt
Pin the unpressed long edge of the waistband to the waistline of the skirt, right sides together. Try to align one of the short edges of the waistband with the left side of your zipper. The short edge of the waistband with the 1" overlap should be on the right side of the zipper. This underlap will go under the right edge of the waistband.

sewing the waistband to the half circle skirt
After pinning, clip the curved seam of the waistline so that it aligns better with the straight seam of the waistband. Once that is done, sew the waistband and the skirt together.

Tip: Before sewing the waistband on the skirt, you may wish to just machine baste the waistband using long stitches on the machine and try the fit of the skirt at this stage.
Next, flip the waistband over, encasing the seam allowance along the waist of the skirt into the waistband. There are a few different ways to sew the other long edge of the waistband. You can (1) topstitch the bottom edge of the waistband, (2) stitch in the ditch, or (3) handsew with a blindstitch.


For my skirt, I am choosing to handsew with a blind stitch the other long edge of the waistband to the skirt.
Note: In this step, I am talking about the right vs left of the zipper from the perspective of looking at the zipper from the right side of the skirt.
Let the bias sag
The hem of the skirt may sag and shift with gravity over time. I advise hanging the skirt in a vertical position to let the bias sag for at least 24 hours.
Hem the skirt
We are so close to finish! Lastly, make a double-fold hem and sew the hem!
Using a measuring tape, measuring your skirt length from the bottom of the waistband and mark out your hemline using pins. Then, press the hem allowance to the wrong side using an iron.
Since the half circle skirt has a very curved hem, there will be fullness in the hem where it seems like the hem can't and won't sit flat. This is called "fullness" in the hem. Make small pleats as your press the hem allowance to ease the fullness.
Finally, fold about 1/4" of the raw edge towards the wrong side of the hem allowance, pin in place and handsew.

hem on the inside of the half circle skirt
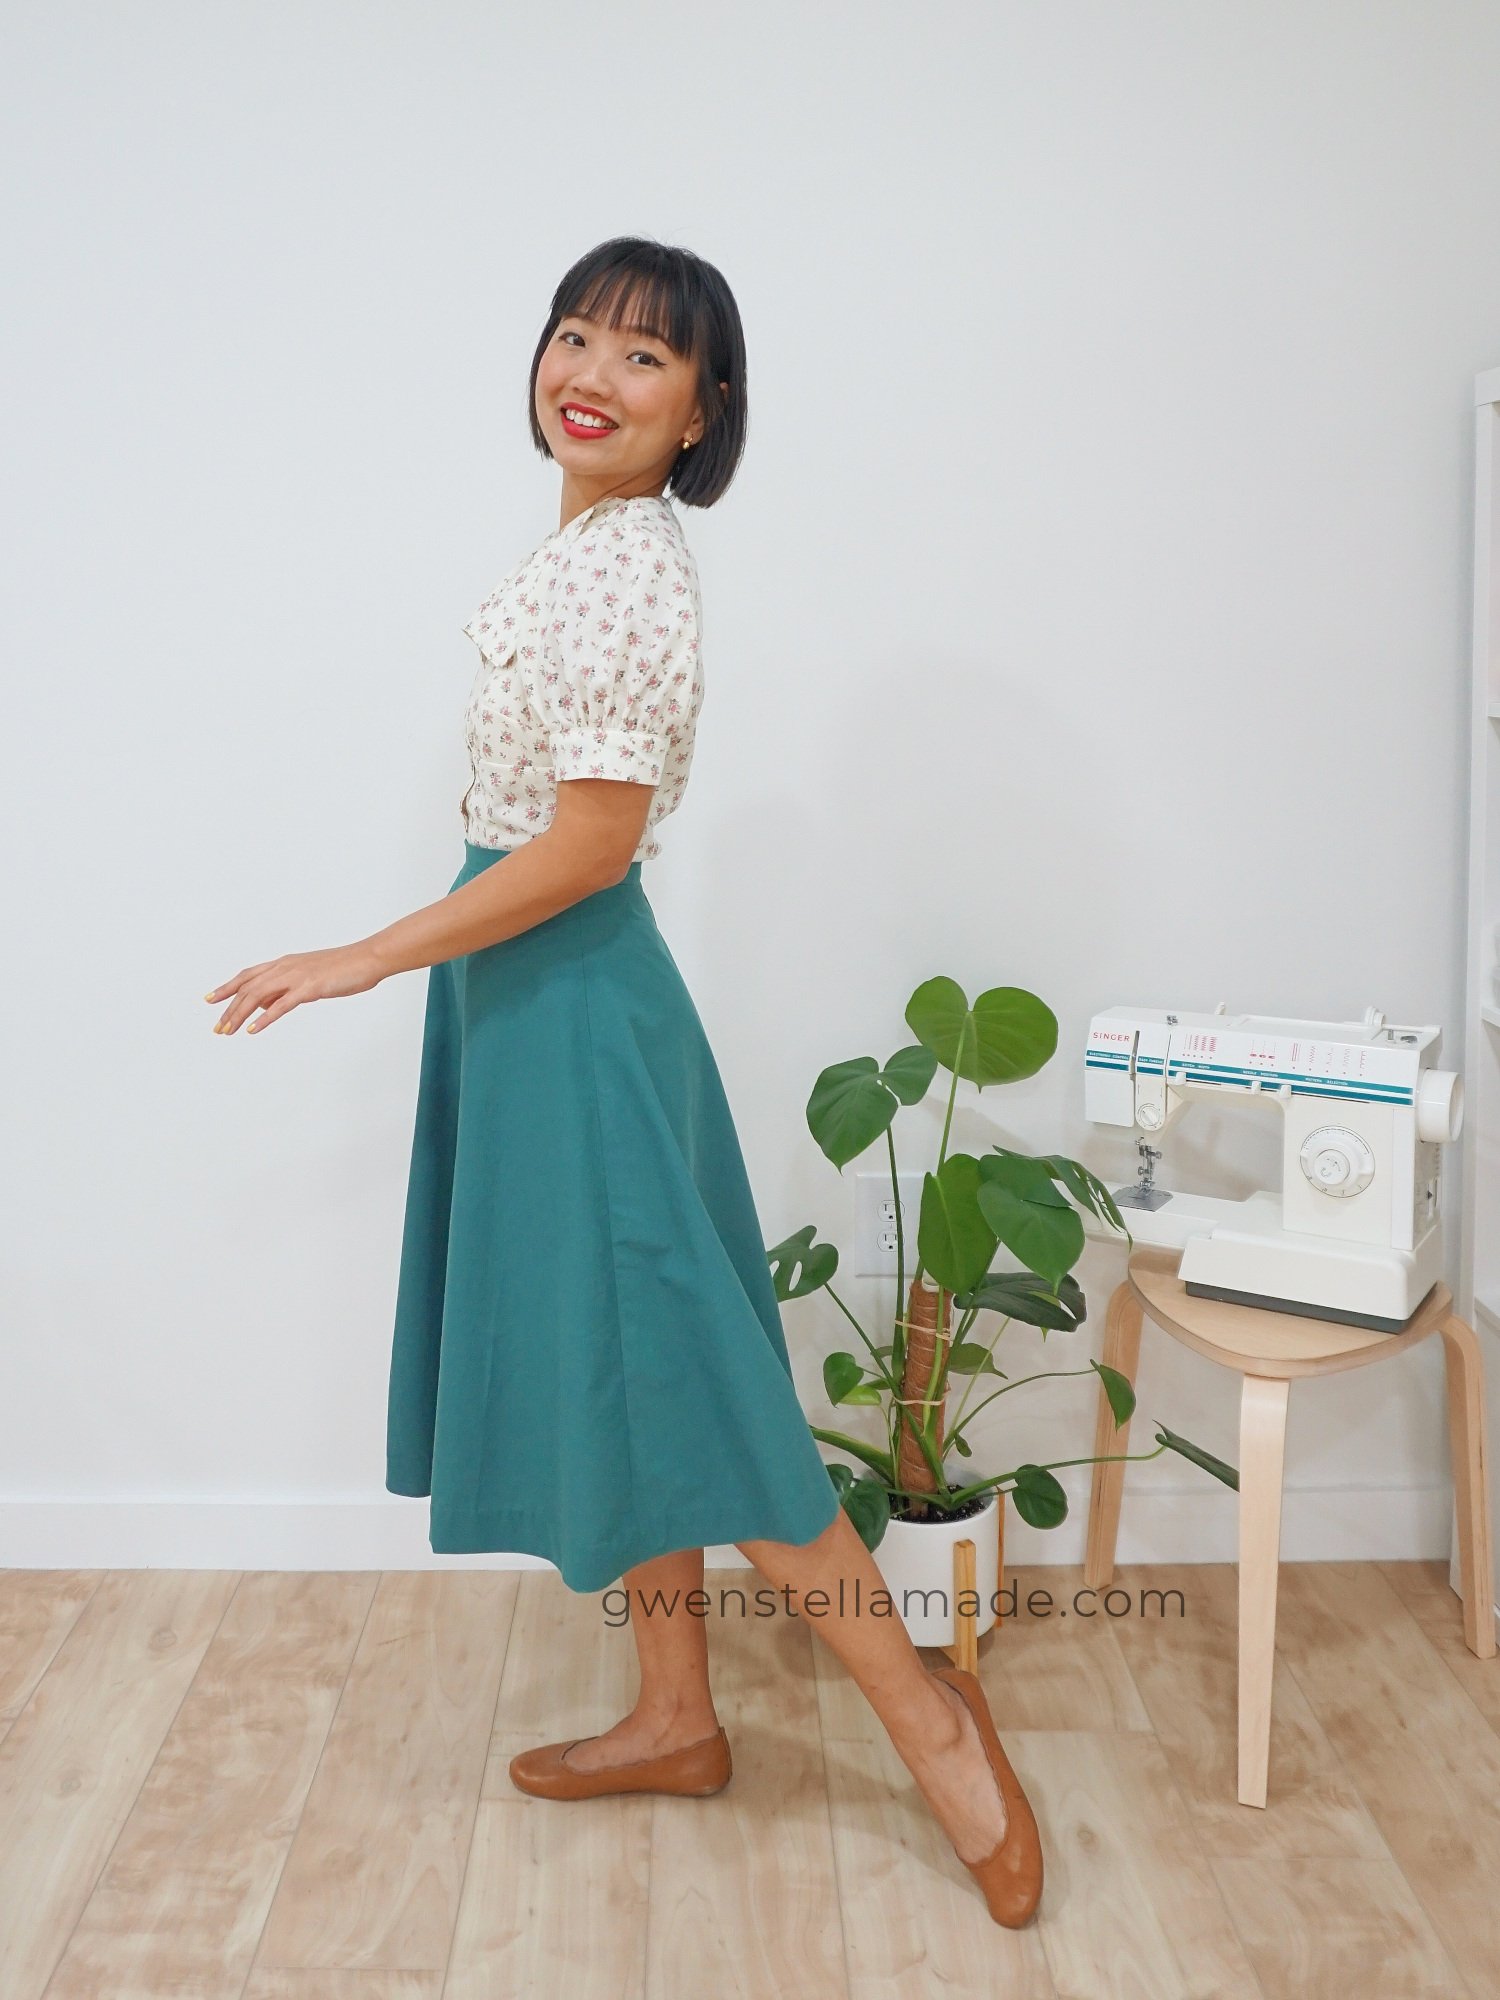
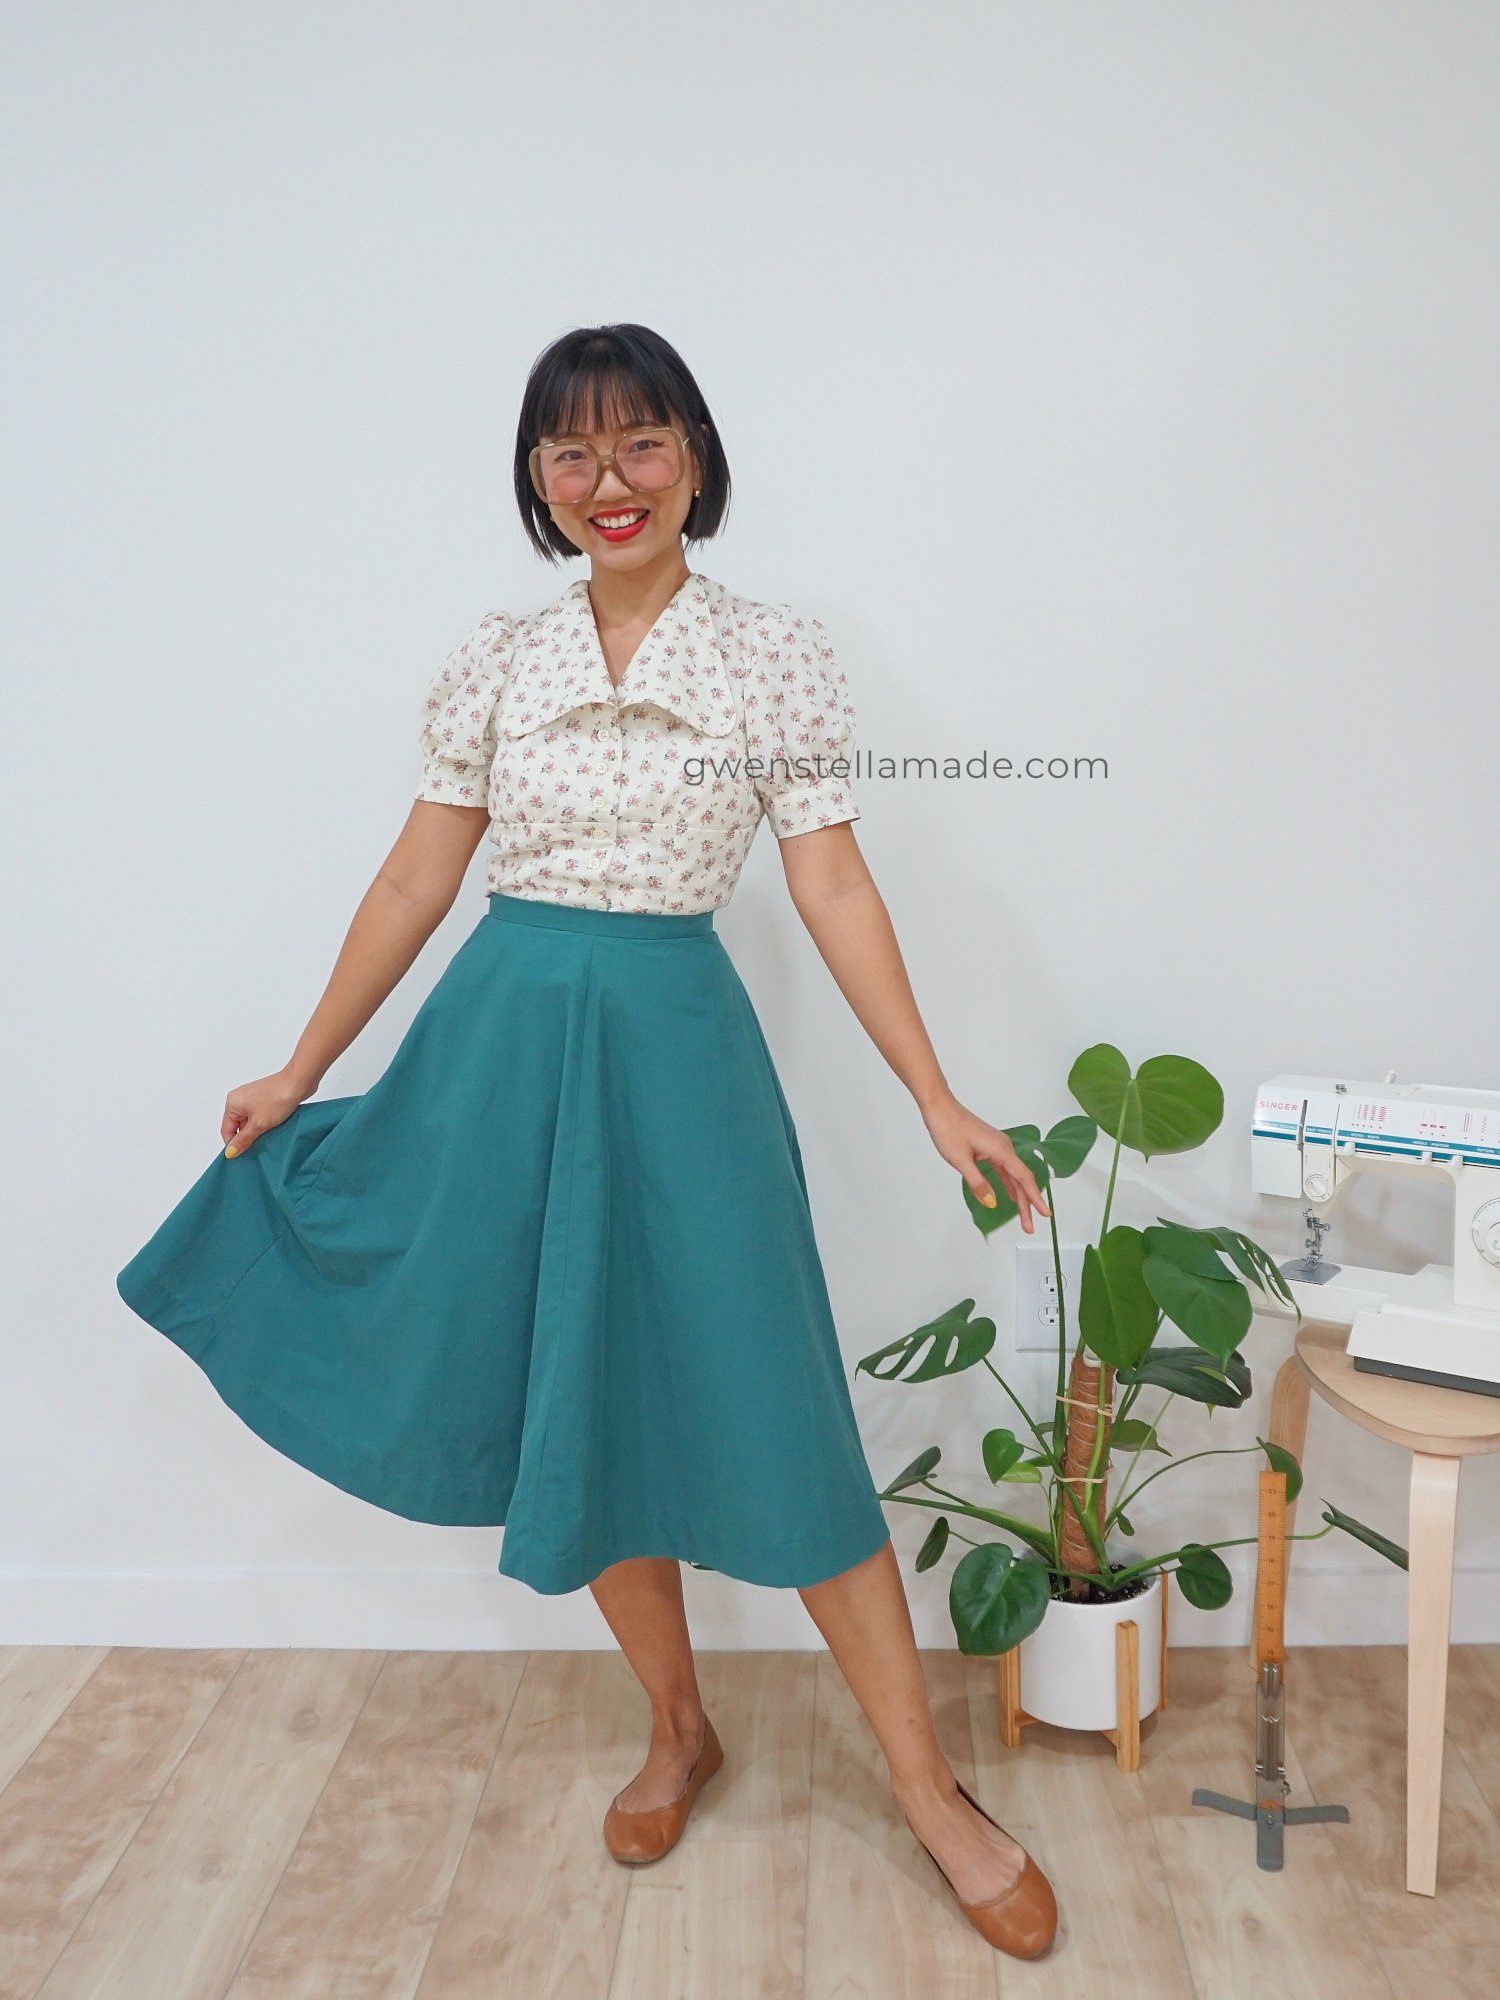
You made a half circle skirt!
There, you did it! You sewed a beautiful half circle skirt. I hope you had fun throughout the process of drafting and sewing the half circle skirt. Let me know if you have any questions in the comments below!

Styled look from the step by step tutorial on how to sew a half circle skirt
Want more drafting tutorials? Leave a comment and tell me what you hope to see!