

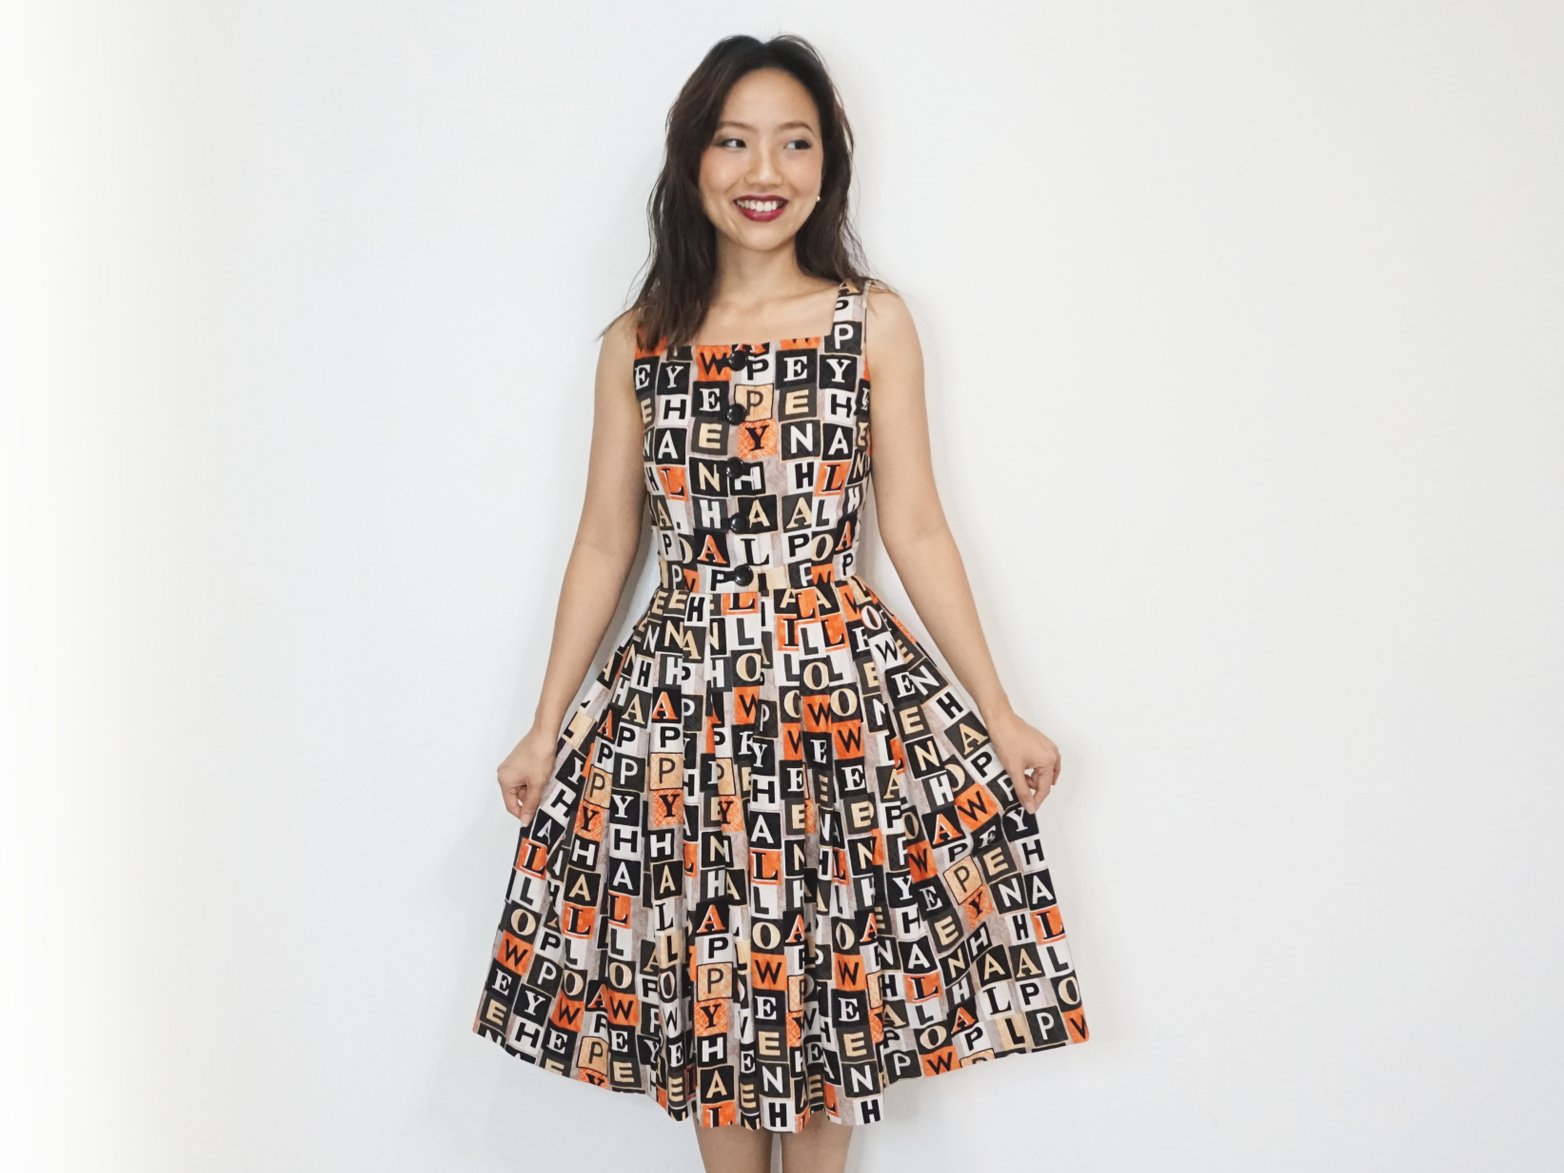
I Made A Vintage Halloween Dress! (Simplicity 2548)
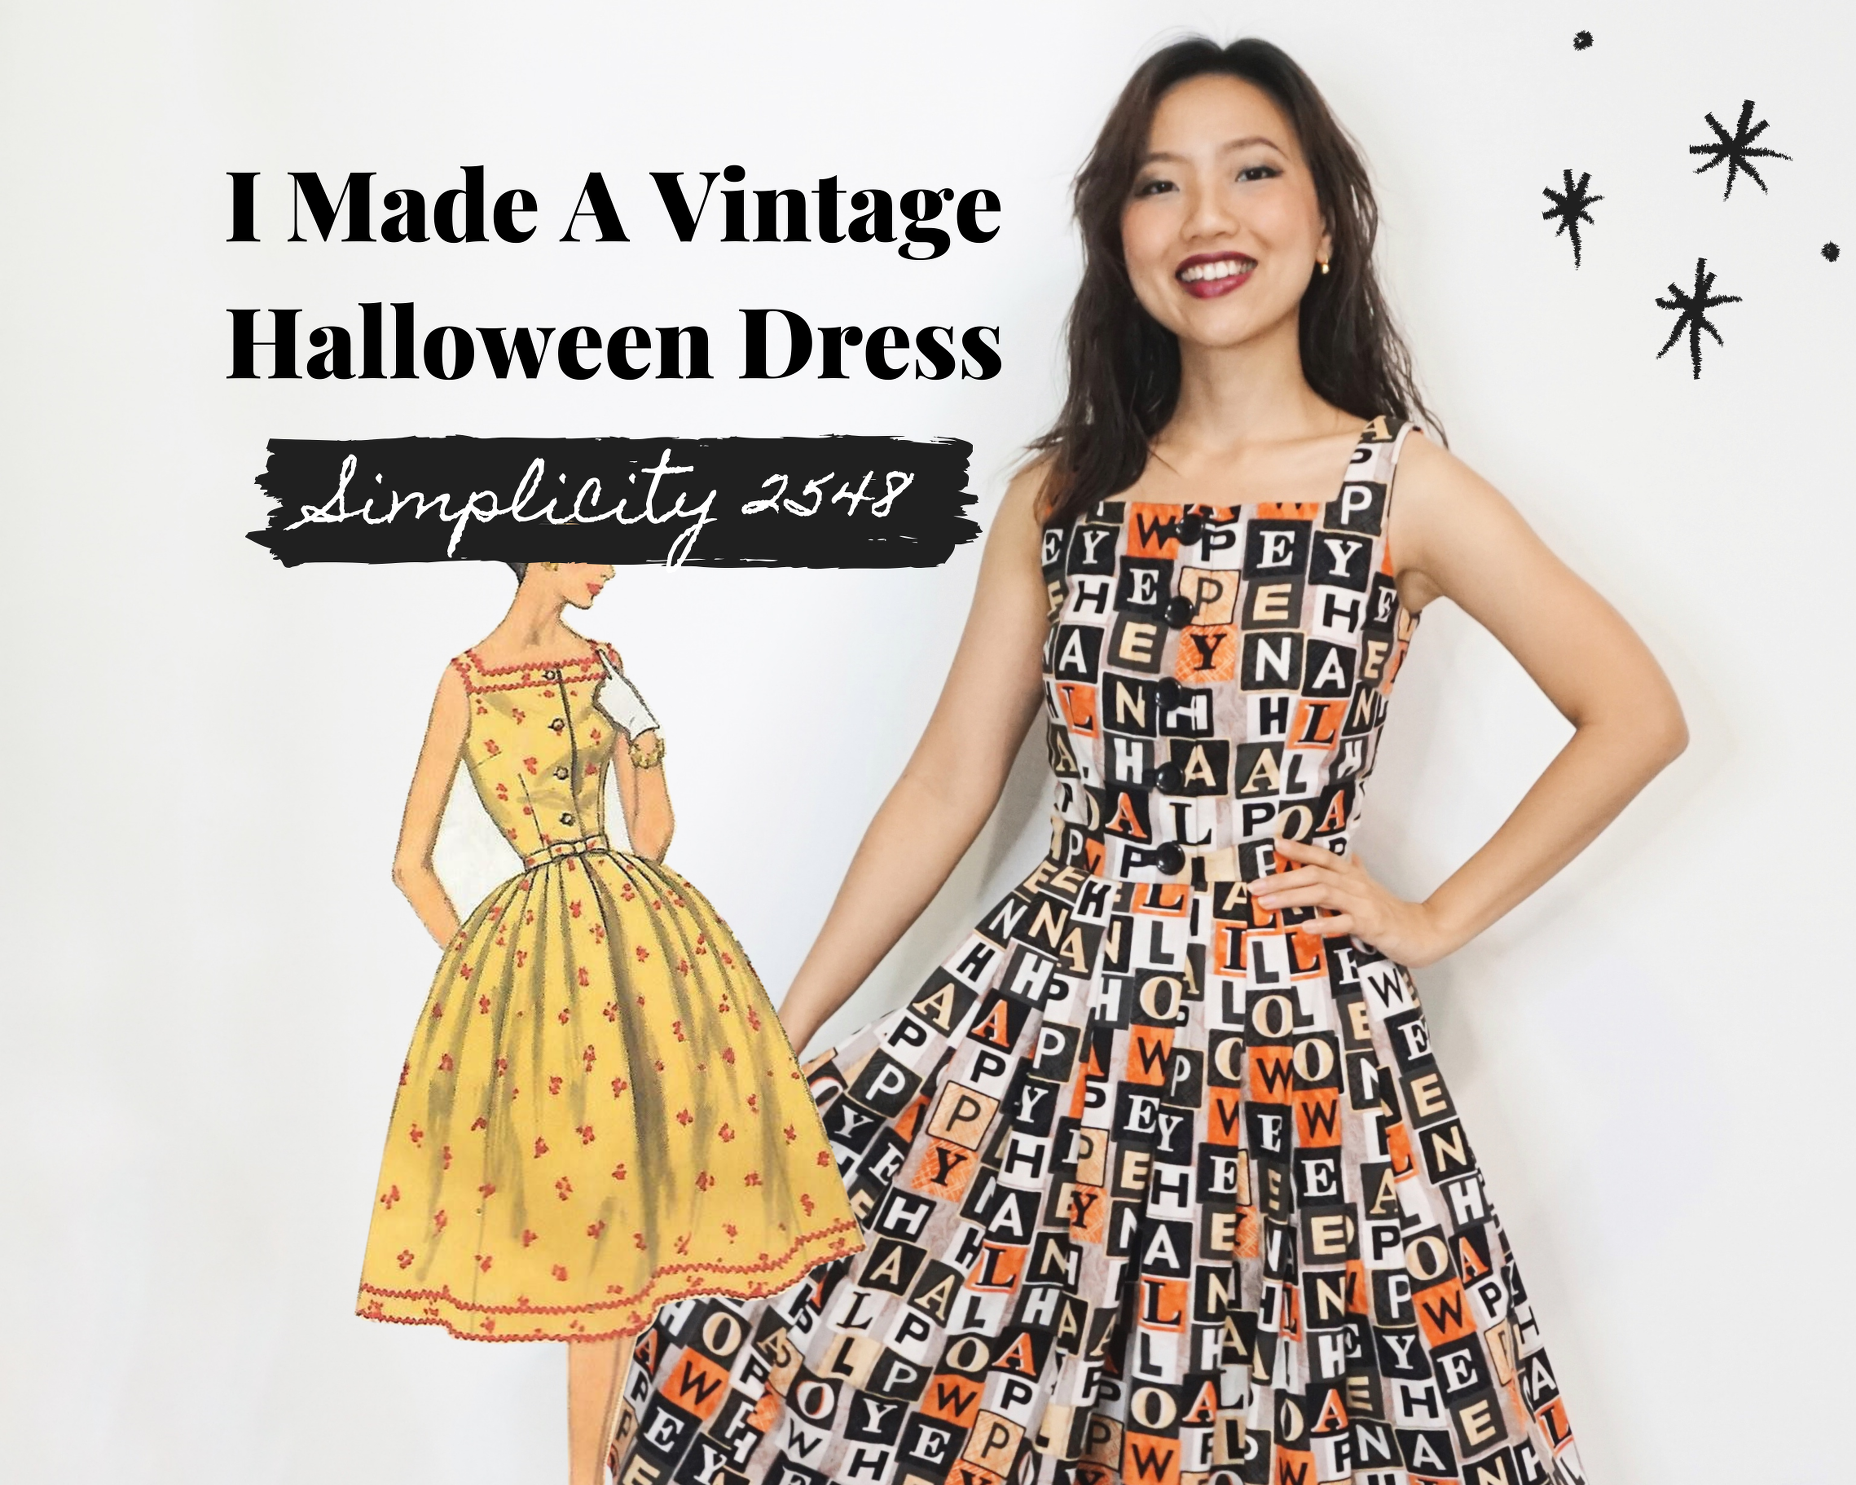
In 2019, I started this dress thinking it would be my Halloween dress for the year. Alas, life took over and I never finished it. When I took the unfinished dress out earlier this month, I was surprised at how close I was to finishing this dress in 2019! So, it's 2020 and I'm proud to say that I finally made my first Halloween-themed dress. I made this dress using the vintage Simplicity 2548 sewing pattern. It's full of hand sewn details and I love it so much!!!
Sewing notes
Fabric and other sewing notions
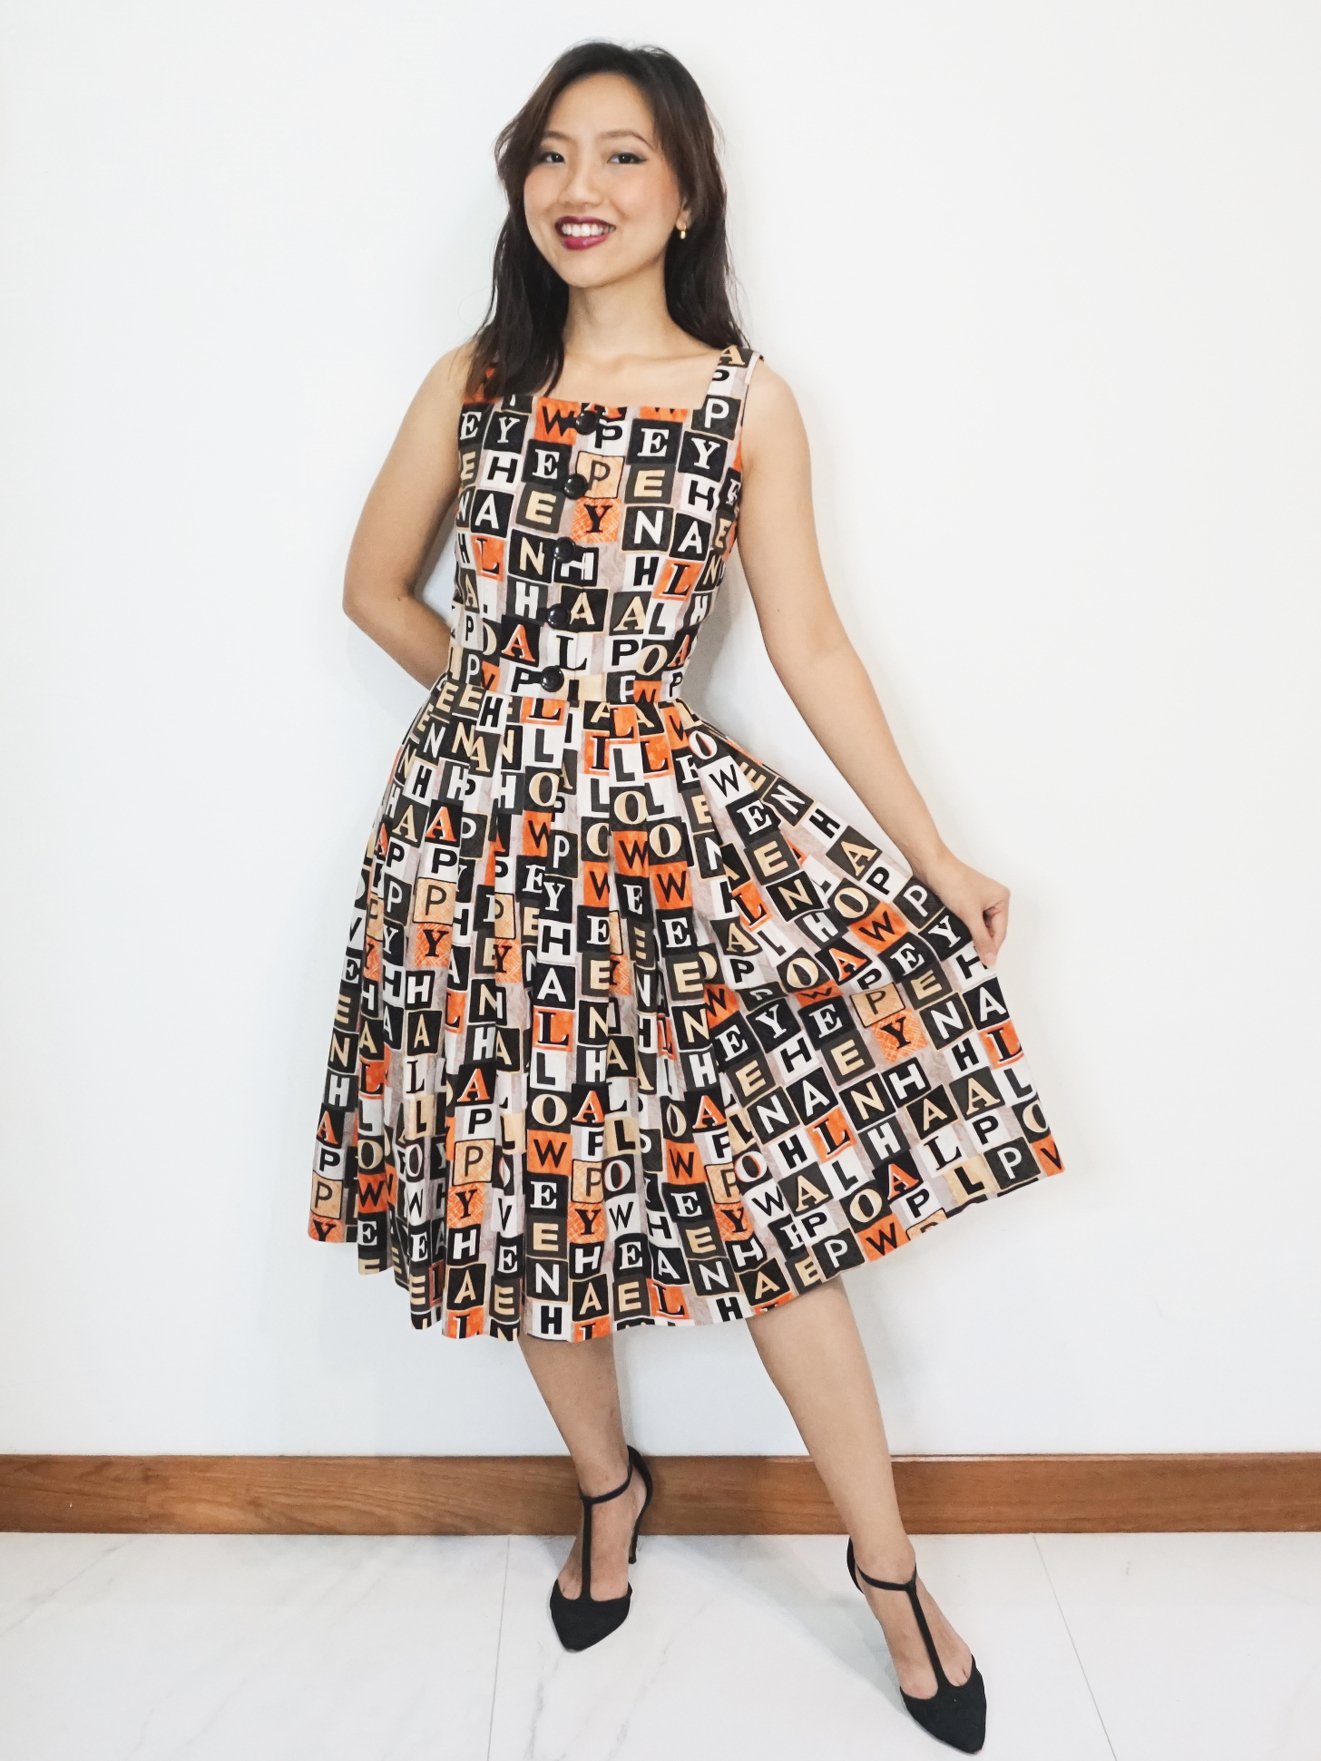
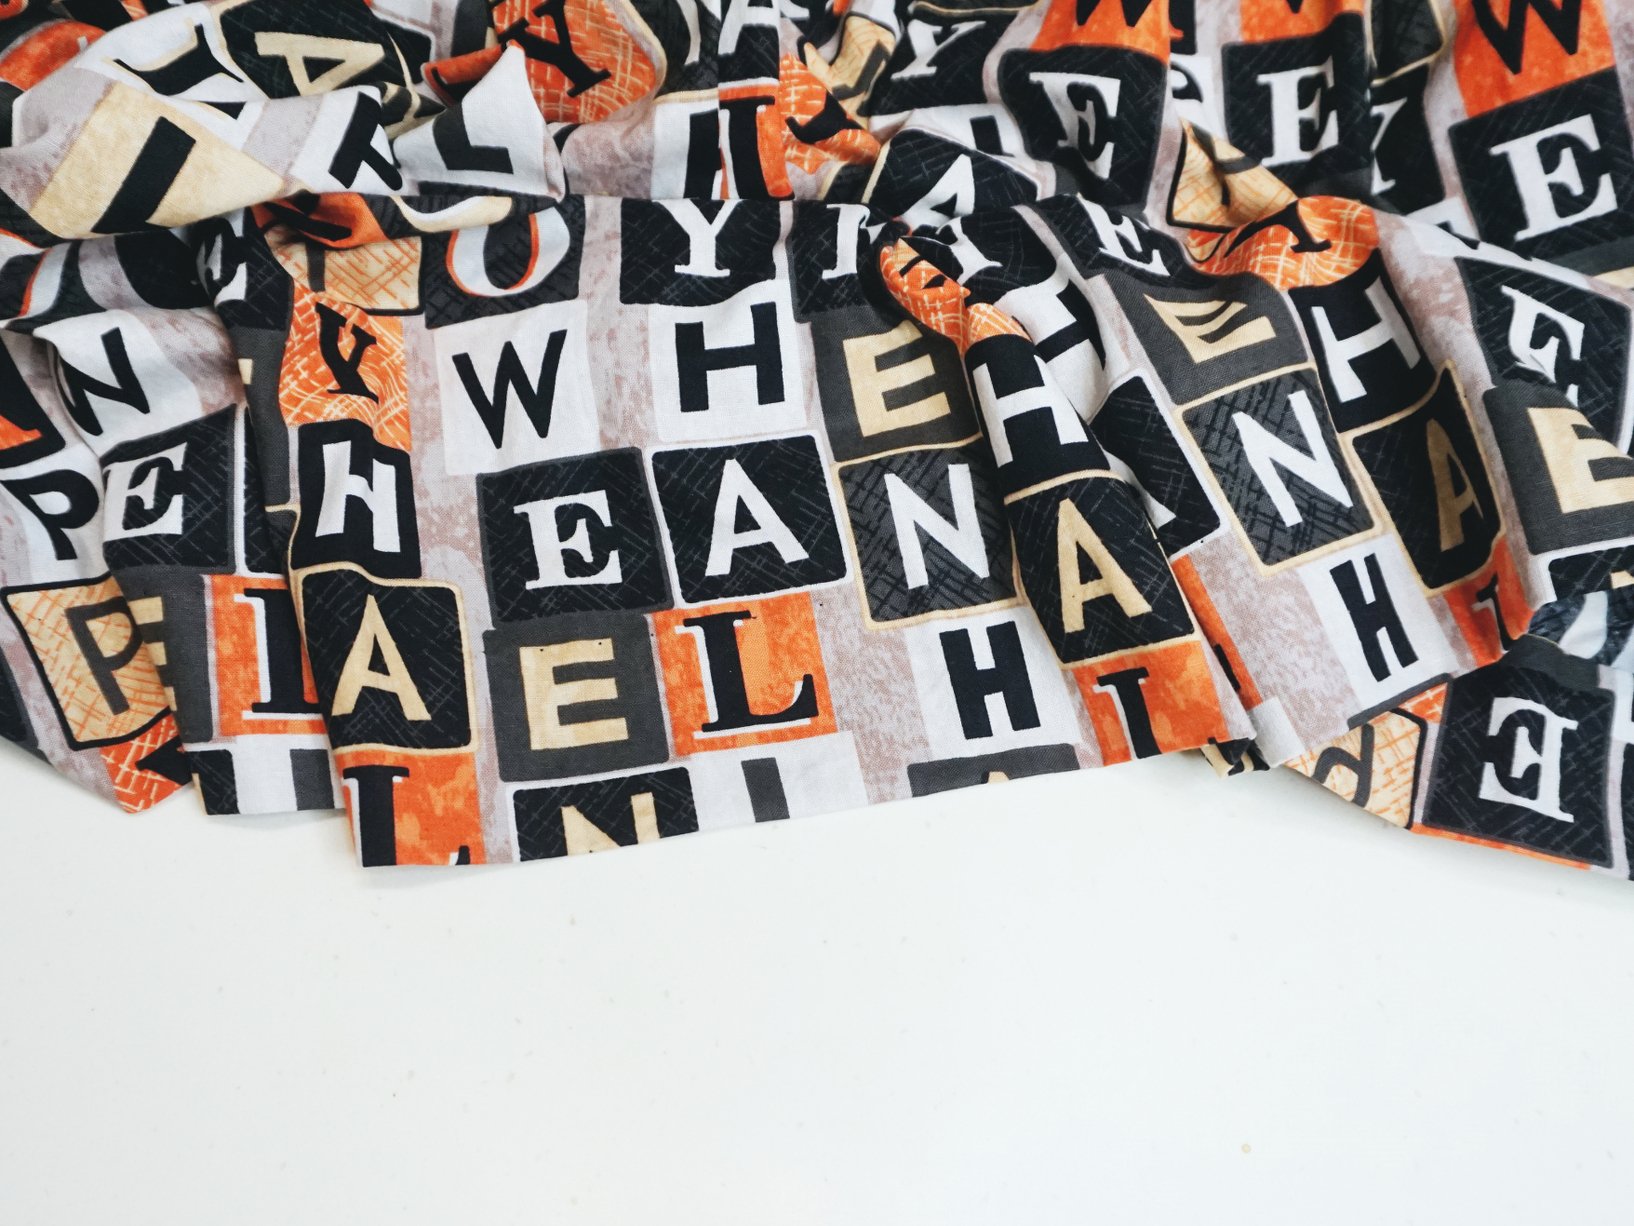
Halloween themed fabric by David Textiles
I purchased 3.5 metres of this fabric by David Textiles and still have approximately 0.5m left after completing this dress. I like the retro colours and subtle Halloween vibes! The letters say "Happy Halloween" but not in an obvious way so my wearing of this dress is not just limited to the month of October!
Plastic buttons

These big round buttons are vintage plastic buttons that I bought online. It came as a huge box and they are the same buttons that I used for my Black and White Stripe Capsule pieces. See #GBnWStripes on Instagram for the pieces in this capsule!
Black bias tape
Eyes and hooks
Pattern and size grading
Vintage Simplicity 2548
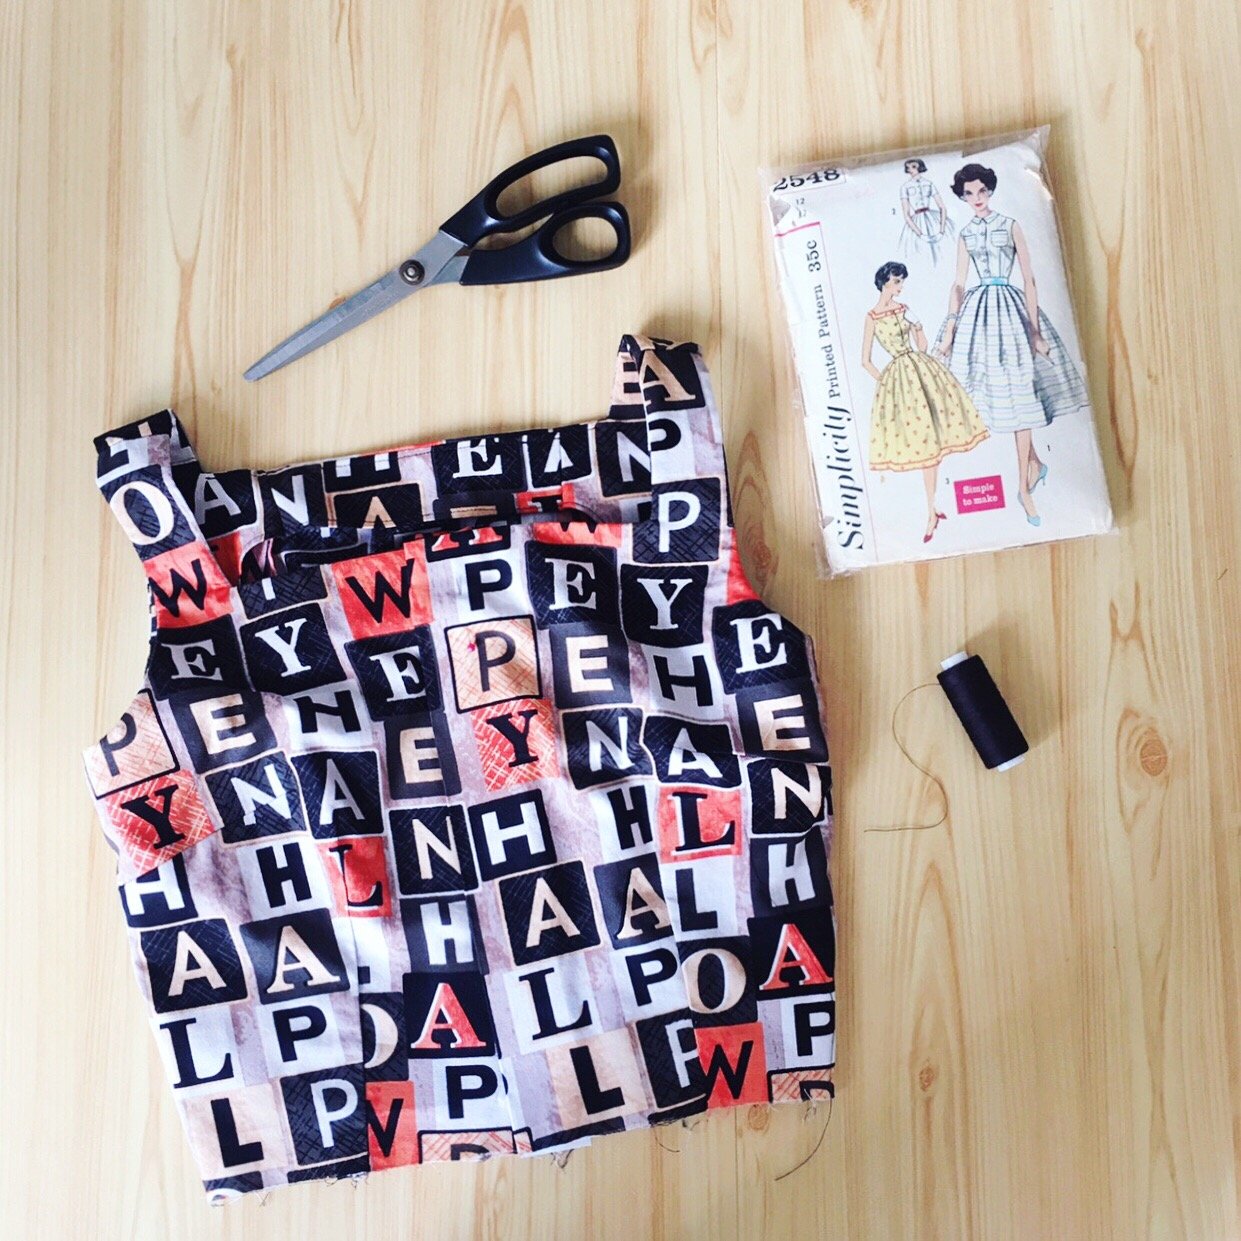
The Simplicity 2548 is a vintage 1950's sewing pattern. My pattern is a size 12 and fits a 32" bust. Similar to my version of the vintage 1950's Simplicity 3730 blouse, there was a lot of reverse engineering that occurred. I did a small bust adjustment, hollow chest adjustment, narrow back adjustment, and also shortened the bodice.
Sewing process

The steps to putting the bodice together was pretty straightforward to me. I had to cut one of the front pieces twice because I didn't do the pattern matching right the first time. For some reason, the centre front line and fold line for the button facing always confuse me. I mixed them up the first time round and didn't get the pattern to match on the centre front line. But I'm glad I got it right the second time!
Hand sewing finishing touches
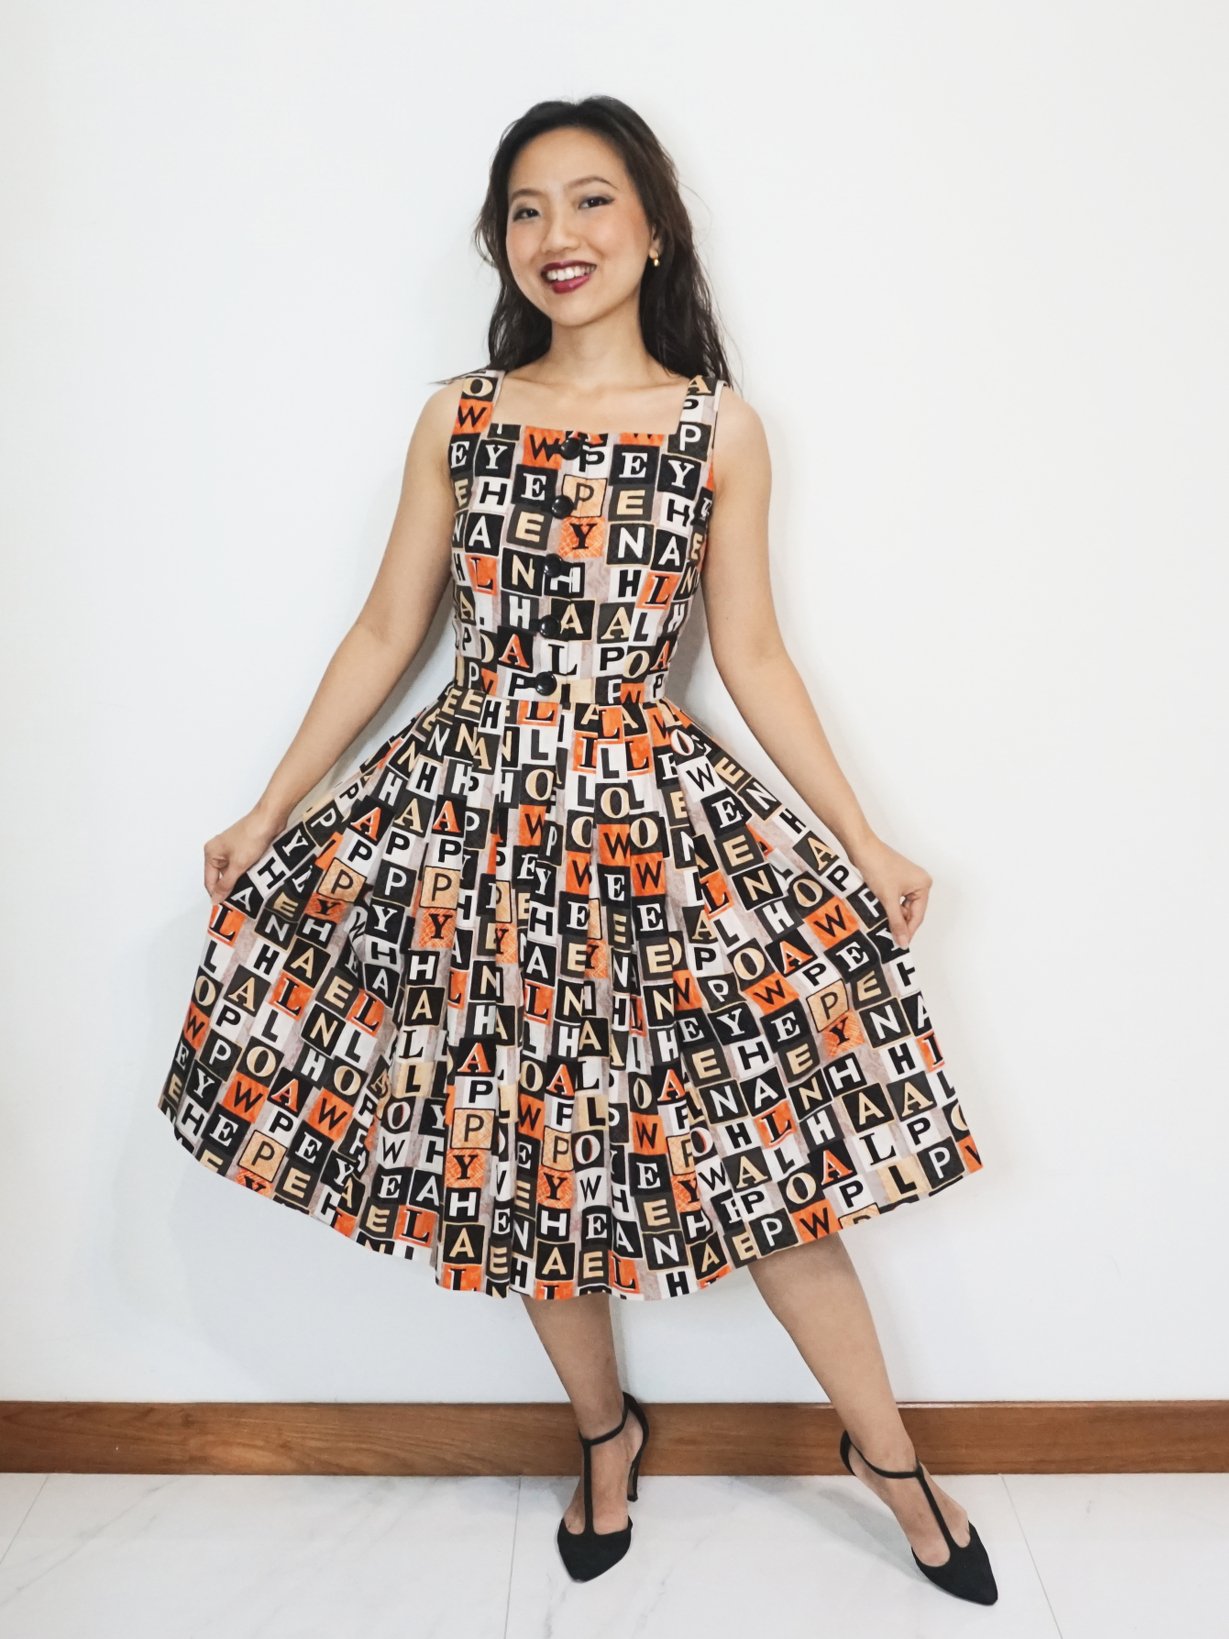
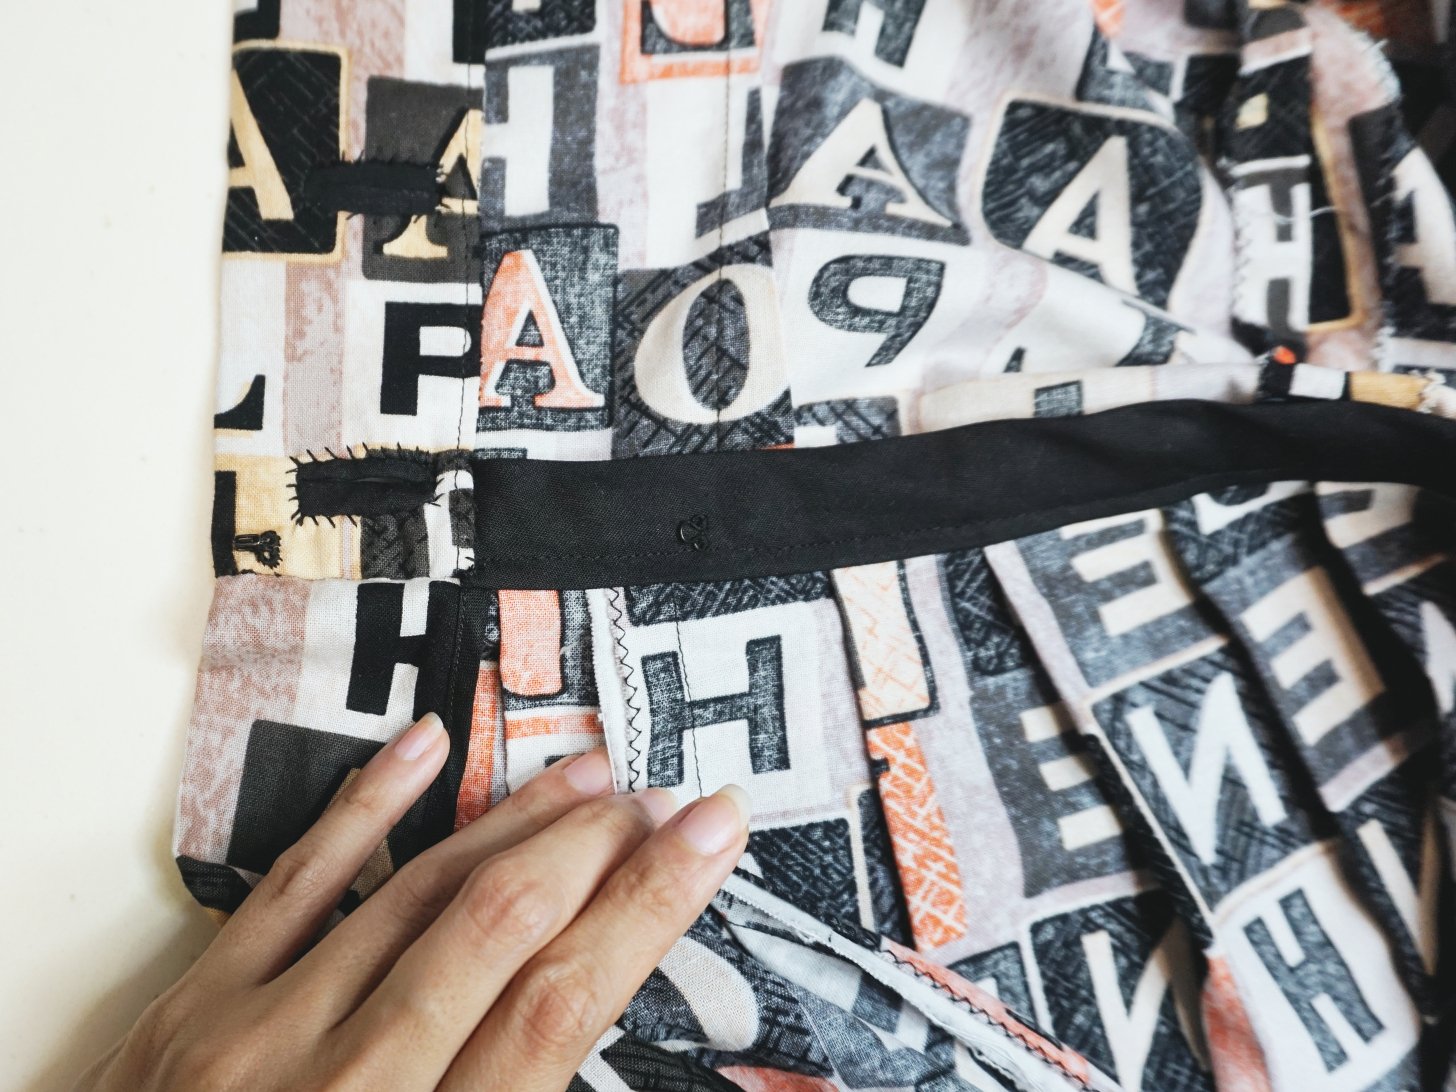
The most tedious part of sewing was the bound buttonholes. I decided that I wanted to be ~fancy~ and also practise making bound buttonholes. There was a lot of hand sewing involved and these 5 buttonholes took A. REALLY. LONG. TIME.

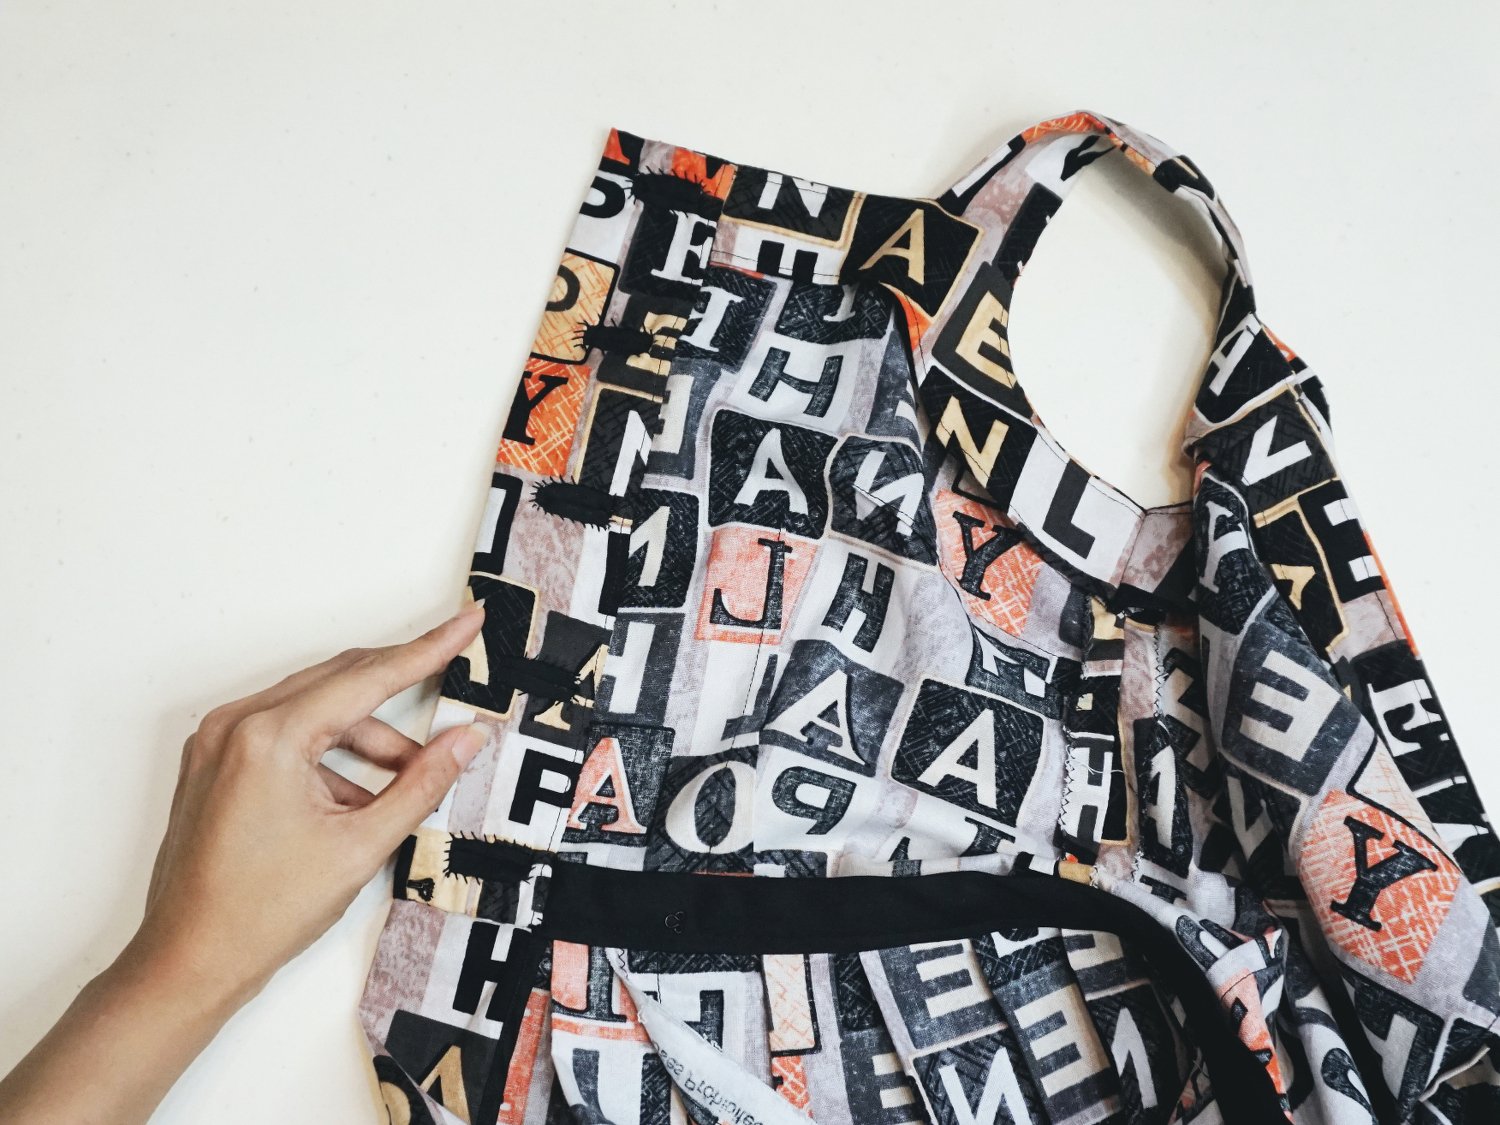
They are not perfect but I am glad that I took the time to make them. After going on a hand sewing rampage with the bound buttonholes, I decided to go ahead and hand sew the skirt hem as well.

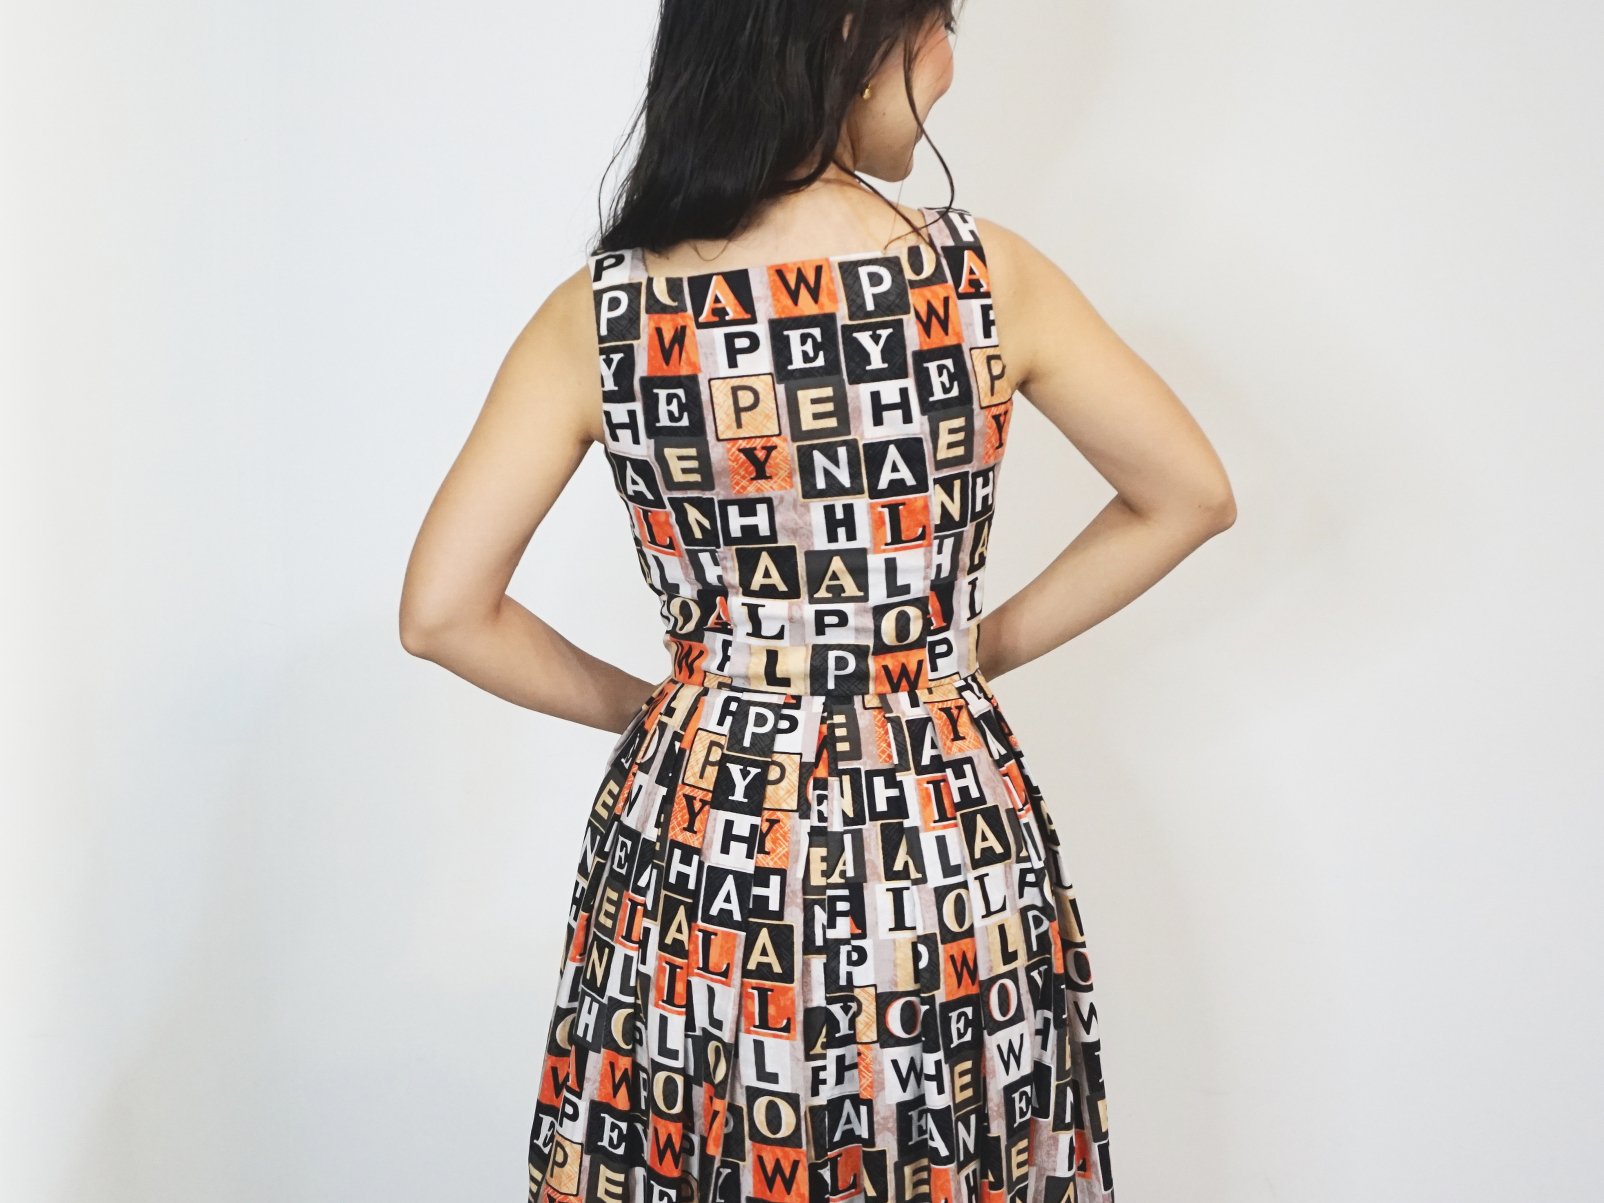
Using bias tape to finish raw seam
I also finished the seam between the bodice and the skirt using a wide bias tape. While this is not instructed by the pattern, I wanted a more polished look and more support on the waist. I also sewed additional metal eyes and hooks for the skirt closure. Other than the buttons and the metal eyes + hooks, there's no other additional zippers needed. The skirt opening is neatly concealed within the pleated skirt design. Isn't that neat!?

When I finally finished this dress, I nearly cried when I put it on and saw how well the dress fits me. I am so proud of this dress I made using the vintage Simplicity 2548 patter.
I put in a lot of effort from start to finish for this dress and I thoroughly enjoyed the whole process of grading the pattern, making a muslin, matching the fabric print, and hand sewing the finishing touches.
How do you feel about hand sewn finishing touches for a handmade garment? Do you also enjoy using hand sewing details in your handmade garments?