

I made a cute 70's style puffed sleeve blouse!

We are more than a month into autumn! I promise you, I am still slowly chipping away on my A/W 2021 capsule wardrobe. Turns out, trying to film Youtube videos and write blog notes for every single project takes a while! Today, I am sharing the first piece of garment I made for my A/W 2021 capsule - a super cute 70's style puffed sleeve blouse!

Image of a cream floral fabric with a vintage pattern envelope featuring a 70's style puffed sleeve blouse, the Simplicity 6308 placed on it

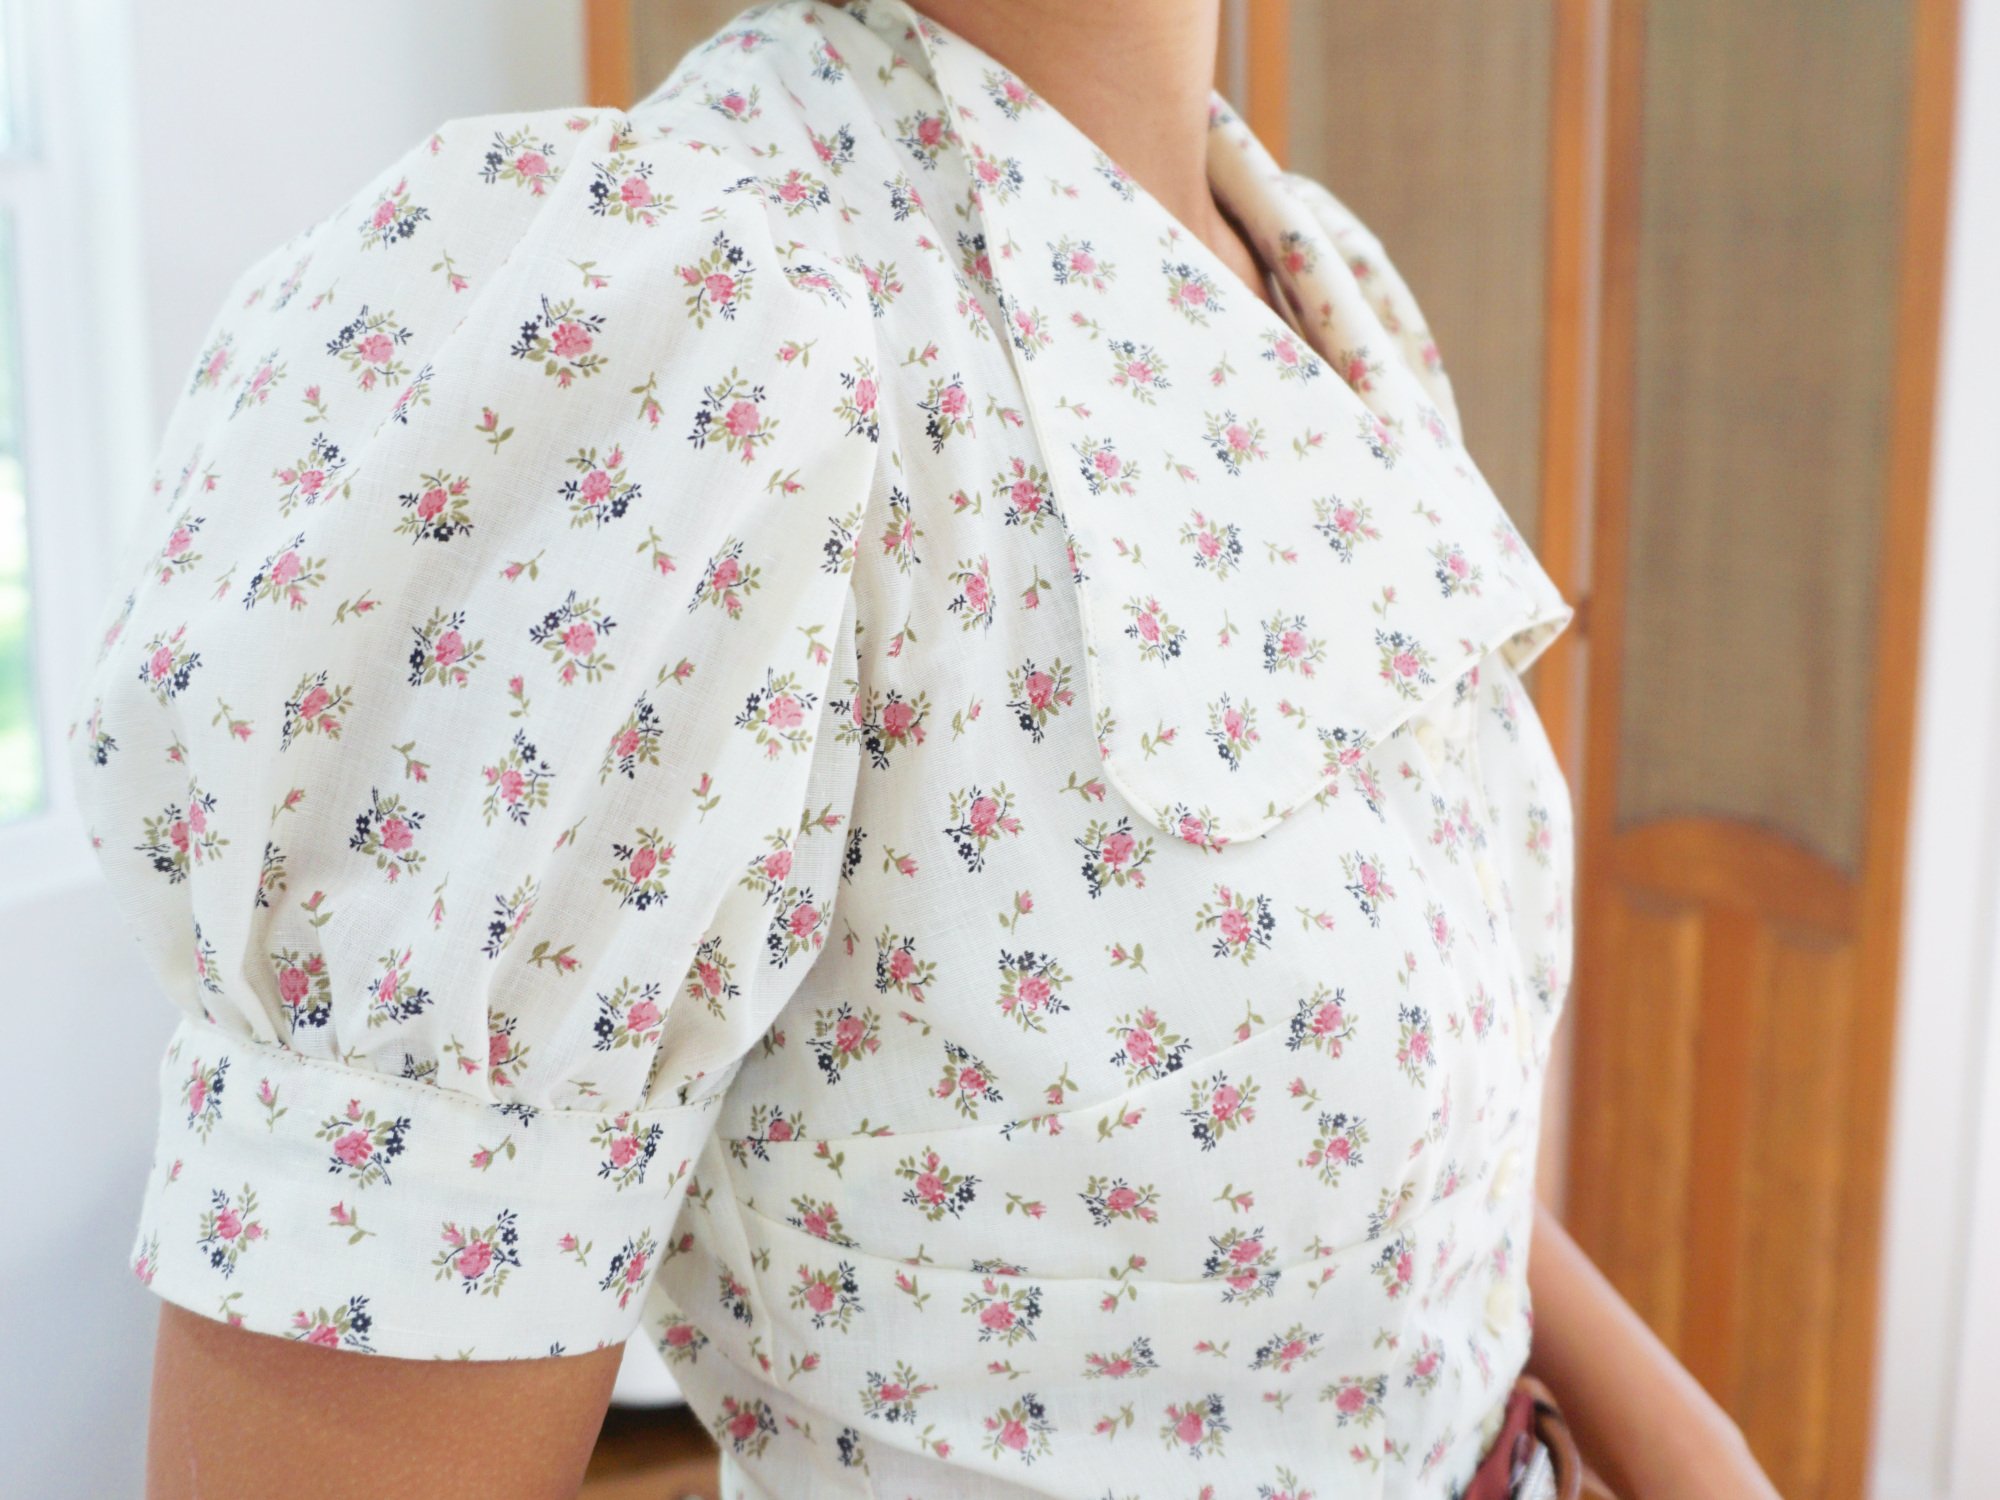
A close up photo of the 70's style floral puffed sleeve top
My original plan was to use the vintage Simplicity 6308 to make my blouse. However, once I took the pattern pieces out, I quickly realised that the pattern would not fit me. Well, I *could* make it work by altering the pattern pieces. But there would be so much reverse engineering involved just to achieve the right fit. So, what do you think I did instead?
Well, in the end, I decided that it would be faster for me to draft the pattern from scratch. Woohoo, fun times!
Drafting the pattern for the 70's style puffed sleeve blouse

All the pattern pieces laid out and cut
Here's my rough notes on how I drafted my 70's style puffed sleeve blouse from a basic fitted bodice sloper. Refer to the blue dotted lines for my original fitted basic sloper and the markings in black marker on the paper for my 70's style blouse pattern.
(Note: Pattern shown below does not have seam allowance included)
The front bodice

front bodice
Reduced shoulder seam length by 0.5cm from neckline
Added 4" deep V neckline
Lowered armhole depth by 1cm
Increased ease from armhole by 1cm
Increased ease around bust section of side seam by 1cm
Increased ease around waistline by 0.5cm
Increased ease around half hip line by 1cm
Added 1.5cm for buttonhole/button overlap from centrefront line
Added underbust line
The back bodice

back bodice
Shortened shoulder seam length from neckline by 0.5cm
Lowered armhole depth by 1cm
Increased ease from armhole and around upper back by 1cm
Increased ease around waistline by 0.5cm
Increased ease around half hip line by 1cm
The collar
To draft the collar, I simply followed the V neckline and drew a triangle with a rounded corner.
The puffed sleeve
To make the puffed sleeve pattern, I started by drafting a basic sleeve block that fits the armhole drafted bodice. This basic sleeve block is also drafted with the sleeve length I wanted for my blouse.
Then, I divided the basic sleeve pattern piece into 14 equal sections and then placed each section about 3/4" apart. I did this for all except for the 1st + 2nd, and the 13th and 14th sections (see photo below).
Following that, I traced out a new sleeve pattern, roughly increasing the width of the top and bottom part of the sleeve pattern (see photo below).

sleeve
Sewing the 70's style puffed sleeve blouse
Here's a quick summary of my construction sequence for my 70's styled puffed sleeve blouse

Watch my process of drafting and sewing this 70's puffed sleeve blouse
Note:
RS = right side(s)
WS = wrong side(s)
Apply interfacing to facing pieces and collar pieces
Sew darts for: front bust, front bodice, back bodice
Sew basting stitches for gathering front bust, then gather the bottom seam of the front bust
Sew front bust and front bodice, RS together
Sew collar RS together, trim seam allowance, then turn collar RS out
Sew collar to front bust (underside of collar to RS of blouse)
Sew front pieces to back bodice at shoulder seams and side seams, RS together
Sew front facing to back facing and finish with bias binding
Sew facing to bodice (RS together) and understitch V-neckline and round back neckline so that facing sits neatly in the blouse when worn
Press hem, and finish hem with bias tape
Edgestitch all along the button/buttonhole centre seam and the hem
Sew sleeve cuff
Sew basting stitches to top and bottom of sleeves, gather bottom sleeve hem, then sew bottom hem to sleeve cuff
Gather top of sleeve, then sew sleeve to armhole
Sew buttonholes and buttons

With front + back bodice and facing sewn

With the right puffed sleeve attached

Photo showing the inside of the 70's style floral puffed sleeve top which features a contrasting yellow bias binding
The finished puffed sleeve top

Lessons learned and mistakes made
One of the mistakes I made in sewing this puffed sleeve blouse is... no kidding, the sleeves. The volume of the puff is *PERFECT* for this fabric. But, the direction of the opening of the sleeve cuffs is wrong.
Originally, I wanted a cuff with a button closure similar to the 50's style striped blouse from my striped capsule. However, my brain had a big toot while I was sewing/drafting and I actually added a slit for the opening along the underarm seam!
Unfortunately, I only found this mistake after inserting a sleeve into an armhole and trimming the seam allowance of the armhole. To be honest, I actually didn't feel like correcting this mistake as well. So, I left the sleeve in this way and made the second sleeve the same way. Hey, at least now I have an interesting story to tell about the sleeves?
Other than the weird sleeve opening, I also find the drag lines on the shoulders a bit of an eyesore. Perhaps my front armhole needs to be a little deeper? Additionally, it seems that my underbust line could go 1-2cm lower.
Well, you know what? I think there is only one way to find out... maybe I will make an actual toile the next time??? XD
Regardless, I am grateful for everything I learnt from drafting and sewing this blouse. There's no more fun in sewing when everything is perfect and easy, isn't it?

This blouse can be worn tucked in or out!
More A/W sewing coming your way!
Well, it's the end of October and obviously, I have only just scraped the surface of my A/W sewing plans. I hope to finish sewing *most* of my A/W capsule wardrobe by the end of November!
Let me know if you enjoy reading my drafting and sewing notes. This helps me to determine how much details to include in future posts!

Big collar AND big sleeve energy
